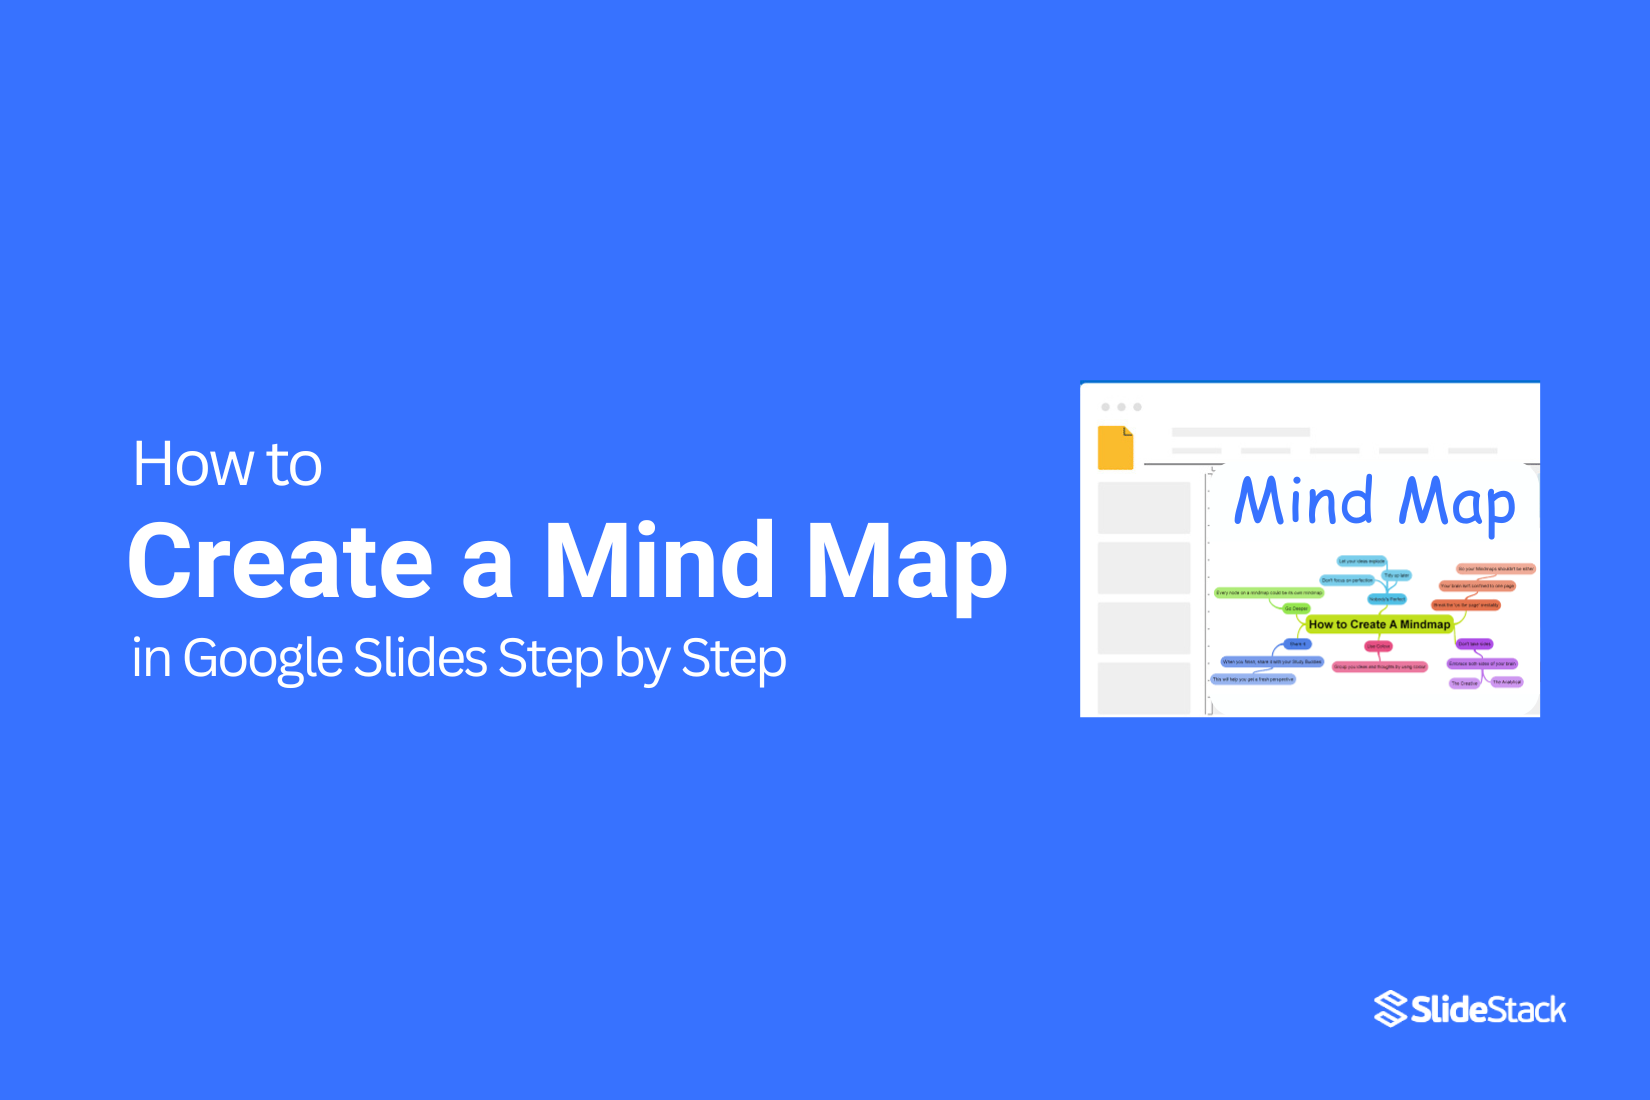
How to Create a Mind Map in Google Slides
A poster is a visual design that helps you share information in a clear and simple way. It is often used for school projects, events, and business messages. A good poster helps people understand your message quickly without extra effort. It also makes your content more engaging and easier to remember. Many people struggle with poster design because they think they need advanced tools or paid software. That belief often slows down simple tasks and makes the process feel harder than it should be. Even basic layouts can feel confusing at first. Google Slides gives a simple way to create posters for free. It works in a browser and offers easy tools for text, images, and layout. This guide shows you how to make a poster in Google Slides step by step.
What Is a Mind Map?
A mind map is a visual way to organize ideas. It starts with one main topic at the center, then spreads out into related points using branches. Each branch holds a word or short phrase that connects back to the main idea. This structure shows how thoughts link together in a clear and simple layout. It works by turning scattered ideas into a structured view. Instead of writing long lists or paragraphs, a mind map groups information by connection. This makes it easier to see patterns and relationships at a glance.
Unlike standard notes, which follow a straight line from top to bottom, a mind map grows in all directions. This layout matches how the brain often moves from one idea to another. As a result, mind maps help improve focus and memory. They also make complex topics feel easier to understand by breaking them into smaller, connected parts.
When to Use a Mind Map
Mind maps work best when you need to organize ideas visually. They help you see connections between concepts and plan projects. Use them when brainstorming new ideas for work, school, or personal goals. They are also useful for studying, taking notes, and summarizing information quickly. Mind maps make complex topics easier to understand. They help you break big ideas into smaller, manageable pieces. You can also use them to prepare for presentations or write reports. Anytime you need to think clearly and stay organized, a mind map can help.
Planning Your Mind Map
A mind map is a visual tool that helps you organize ideas and information. It allows you to see connections between concepts and structure your thoughts clearly. Before you begin drawing, careful planning ensures your mind map will be both informative and easy to follow.
Understanding the Purpose
Start by identifying the goal of your mind map. Are you summarizing a topic, brainstorming ideas, or preparing for a project? Knowing the purpose determines the depth and scope of your map. For example, if you want to outline the planets in the Solar System, your goal is to present the planets in an organized and logical order.
Initial Planning Steps
Begin by selecting a central idea. Place it at the center of your map. This represents the main topic, such as “Solar System.” Next, list the major subtopics. These will branch out from the center. In our example, the subtopics could be the names of the planets: Mercury, Venus, Earth, and so on.
Decide how much detail each branch will contain. Limiting information prevents clutter. For instance, under “Earth,” you might include key points like atmosphere, size, and distance from the Sun. Avoid adding too many minor details in the first version.
Structure and Visual Elements
Mind maps rely on visual hierarchy. Use thicker lines for main branches and thinner lines for secondary branches. Shapes, colors, and icons help differentiate ideas. For example, you could use a blue circle for gas giants and a gray circle for terrestrial planets. Visual cues make your map easier to scan and understand.
Levels and Keywords
Organize information in levels, moving from general to specific. Each branch should contain a single keyword or a short phrase. Keywords act as triggers for ideas rather than full sentences. Under “Mars,” you could list “Red color,” “Rovers,” and “Olympus Mons.” These concise notes keep your map clear and focused.
Example: Solar System Mind Map
• Central Idea: Solar System
• First-Level Branches: Mercury, Venus, Earth, Mars, Jupiter, Saturn, Uranus, Neptune
• Second-Level Branches: Key features of each planet (size, atmosphere, moons)
• Visual Enhancements: Color-coded planets, icons for moons, distinct line thickness for main vs. secondary branches
By planning your mind map carefully, you create a structured, easy-to-read visual guide. It allows you to capture essential information efficiently while highlighting relationships between concepts. Proper preparation ensures the final mind map communicates ideas effectively and supports learning or project organization.
Central Idea
Let’s begin. You are going to create the central idea, or the main level of your mind map. This is the major concept, and all other branches will connect to it.
1. Add a New Slide
Open your presentation. Click New Slide from the toolbar. Choose a layout that gives you enough space for your mind map.
2. Insert a Text Box for the Main Idea
Go to Insert → Text Box. Click on the slide to place it. Position the box in the upper half of the slide to keep a clear hierarchy.
3. Type the Main Concept
Click inside the text box and type your central idea.
4. Format the Text
• Select the text you typed.
• Click Font in the toolbar and pick a font from the dropdown menu.
• Set the Font size to make it easy to read.
• Apply Bold, Italic, or Underline as needed.
• Choose a Font color that matches the slide theme.
• Click Align and select Left, Center, Right, or Justified alignment.
Pro tip: Font weight helps establish hierarchy. Use thicker fonts for the main idea so it stands out above other branches.
Read also: How to Change Text Color in Google Slides the Easy Way
Adding Branches
Branches help you break down ideas into smaller parts. They make your map easier to read and follow. Let’s use a simple example: four planets, Mercury, Venus, Earth, and Mars. Each planet will be a branch from the main idea.
Start by creating the shapes for your branches. Use circles or rectangles. Click the shape tool in your software and draw the first shape. Then, copy it three times so you have four shapes. Align them neatly around the main idea.
Next, add text. Click inside a shape and type the planet’s name. Adjust the font size so it fits comfortably. Keep it readable but not too large. For visual clarity, try bolding or changing the color slightly to make each branch stand out.
You can also use colors to group similar ideas. For example, give Mercury and Venus one color and Earth and Mars another. This helps you see connections quickly.
Once the shapes are ready, you can add extra information. Type keywords or short notes inside or near each branch. Avoid long sentences; keep it simple. You can also use smaller shapes or icons to highlight details, like the number of moons or distance from the sun.
Finally, copy and paste shapes if you need more branches. Keep spacing consistent so your map stays clean.
After adding branches, the next step is to connect them to the main idea. Lines or arrows will show the relationship clearly. But for now, focus on making each branch complete and clear.
Read also: How to Change Shape Color in Google Slides Without Any Hassle
Design, Colors, and Icons in Mind Maps
A strong mind map is not just about words. Colors, shapes, and icons help you organize ideas and make them memorable. Even small visual touches can make a big difference.
For this mind map, we decided to add speech bubbles above each keyword. To do this, go to the toolbar and click Insert → Shapes → Callouts. Pick the style you like. Click and drag to draw it above your keyword.
To duplicate the speech bubble, click it while holding Ctrl (or ⌘ on Mac) and move the copy to the new spot. Use Fill color and Border color in the upper toolbar to change the colors, just like in previous steps.
Another option is to use illustrations from the templates. Go to the Alternative Resources slide, pick one, and press Ctrl+C (or ⌘+C on Mac). Then go to your mind map slide and press Ctrl+V (or ⌘+V) to paste it. To duplicate it, use Ctrl or ⌘ while dragging, and change its style or color as needed.
If you want to rotate a speech bubble, click Format Options. If you don’t see it, click … (More) → Format Options in the toolbar. Then choose Size and Rotation and click 90º.
Next, decorate the speech bubbles with icons. Icons make it easier to connect a keyword with an image. Go to the Alternative Icons slide, pick one, and press Ctrl+C (or ⌘+C). Go to your mind map slide, press Ctrl+V (or ⌘+V), and place it in the right spot.
Finally, connect your nodes to the central idea. One way is to use arrows from the Alternative Resources slide. Copy the arrow (Ctrl+C or ⌘+C) and paste it (Ctrl+V or ⌘+V) in your mind map. Move it to the correct position. Duplicate it with Ctrl or ⌘ if needed. Change the colors using Fill color and Border color.
Alternatively, you can add connectors directly from Google Slides. Click Insert → Line to add a line, or Insert → Shapes → Arrows to add an arrow. Click near the central idea, drag to the target node, and release. Use Line color and Line weight to adjust the style.
Pro tip: Curved lines look more natural than straight ones. If you use connectors, click the line, go to Shape Outline in the toolbar, select Arrows, and pick your preferred style.
That’s it! Your mind map is ready for brainstorming, studying, or presenting ideas visually.
For this tutorial, we used the Sketchnotes Lesson theme. We have hundreds of fully editable templates you can try, all free. Explore them and give your mind maps a professional, creative look!
Using Shapes and Connectors
Shapes and connectors help make slides easier to read. You can use shapes to highlight ideas or steps. Connectors show how different points link together.
To add a shape, go to the Insert tab and pick a shape that fits your content. You can resize it, move it, or change its color.
Connectors are lines that attach one shape to another. They keep your diagram organized. To add a connector, select the Line tool and choose a connector style. Then drag from one shape to the next.
Using these tools makes your slides look neat. It also helps your audience follow your ideas without confusion.
Design Tips for Better Mind Maps
Creating a clear mind map starts with good design. Use short words or phrases for each branch. Keep the layout simple so ideas do not overlap. Colors can help separate topics, but do not overuse them. Use shapes or icons to make key points stand out. Space out branches evenly to make the map easy to read. Add only one idea per branch to avoid clutter. Organize related ideas close together so connections are clear.
Choose a main topic for the center and make it bold or larger than the other text. Start with the most important branches first, then add smaller ones. Draw lines connecting related ideas to show relationships. Keep text readable by using a consistent font size. Avoid too many decorations that can distract from the main ideas. Review your mind map after creating it and remove anything that feels extra or confusing.
Using these design tips can help your mind maps become easier to understand. They make learning and planning faster and more organized. Even simple maps can show complex ideas clearly if the design is thoughtful.
Advanced Tips
Once you know the basics, you can try some advanced tricks to make your slides better.
Start by using custom layouts. They help you keep your slides organized and neat. You can set up placeholders for text, images, or charts so every slide looks consistent. Next, try using the Slide Master. This tool changes all slides at once. For example, you can update the font or background on every slide without editing them one by one. Another tip is to use hidden slides. You can prepare extra content that only shows when needed. This keeps your main presentation clean but lets you have backup slides ready. Finally, experiment with triggers for animations. Instead of letting everything happen automatically, you can make objects appear only when you click them. This keeps your audience focused on what matters at the right time. These tips help your slides look professional and save time while presenting.
Final Notes:
Creating a mind map in Google Slides helps keep ideas clear and organized. Using colors, shapes, and icons makes your map easy to read and remember. With careful planning and simple steps, you can turn your thoughts into a visual guide that is useful for studying, brainstorming, or presenting.
FAQs:
Can I create a mind map using Google Slides on a mobile device?
Yes, you can create a mind map on Google Slides using a mobile device. Use shapes, lines, and text boxes to connect your ideas. It might take a bit more time than on a computer, but the process is similar.
Does Google Slides provide mind map templates?
Google Slides does not have built-in mind map templates. You can start with a blank slide and create your own layout. Some users also import templates from third-party sources.
What distinguishes using a specialized mind mapping tool from Google Slides?
Specialized tools offer features like automatic layout, easy branching, and quick rearranging of ideas. Google Slides requires manual setup for shapes and connections. If you want more


You may also be interested in ...

How To Create An Eye-Catching Portfolio
If you’re looking to create an eye-catching portfolio, this post will come in handy. In this article, you can find the easies...
23 Jun, 2024

How To Easily Create An Infographic
Infographics are the perfect way to make a presentation that will impact an audience, but their design and composition might...
08 Jun, 2024

PowerPoint Template Tips & Tricks You Ne...
PowerPoint seems to be an unknown world for many people, especially those who have been assigned to create a presentation out...
08 Jun, 2024