How to Bring an Image Forward in Google Slides (Simple Guide)

Making an image stand out on your Google Slides presentation can be tricky. Pictures often get hidden behind text or other elements, which can make your slides look cluttered.
Knowing how to bring an image forward saves time and improves your slide design. With a few clicks, you can control the order of objects on any slide.
Once you learn this simple trick, images, icons, and shapes will appear exactly where you want, making your presentation clear and polished.
Let’s go through the steps to bring an image forward and discover keyboard shortcuts that make the process even faster.
Steps to Bring an Image Forward in Google Slides
Bringing an image forward can make your slides clearer and more organized. The process is simple, and following the right steps helps your content stand out. Keep reading to see the points that will guide you through each step.
1. Open Your Presentation
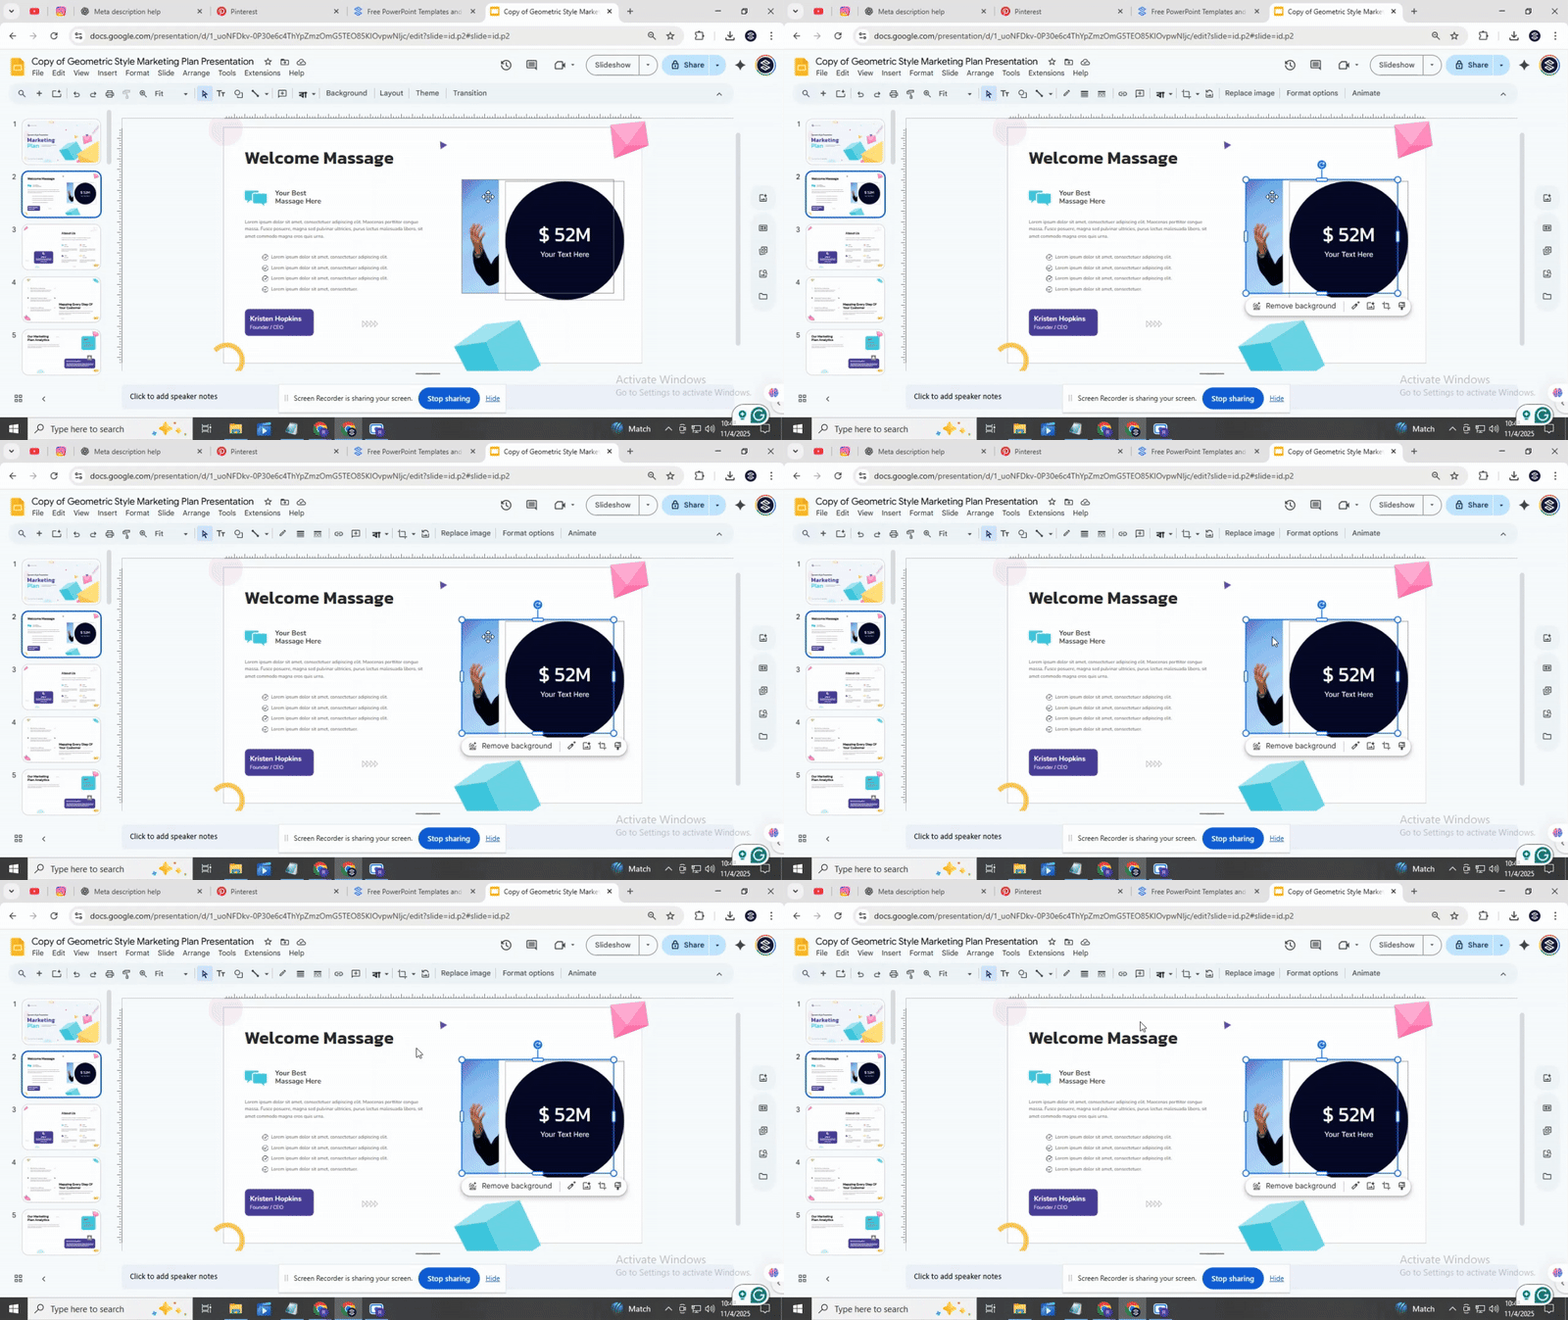
Start by opening the Google Slides file that contains the image you want to adjust. Make sure you are in the editing view.
2. Find the Slide With the Image
Look through your slides and select the one that has the image. Click on that slide to make it active.
3. Click on the Image
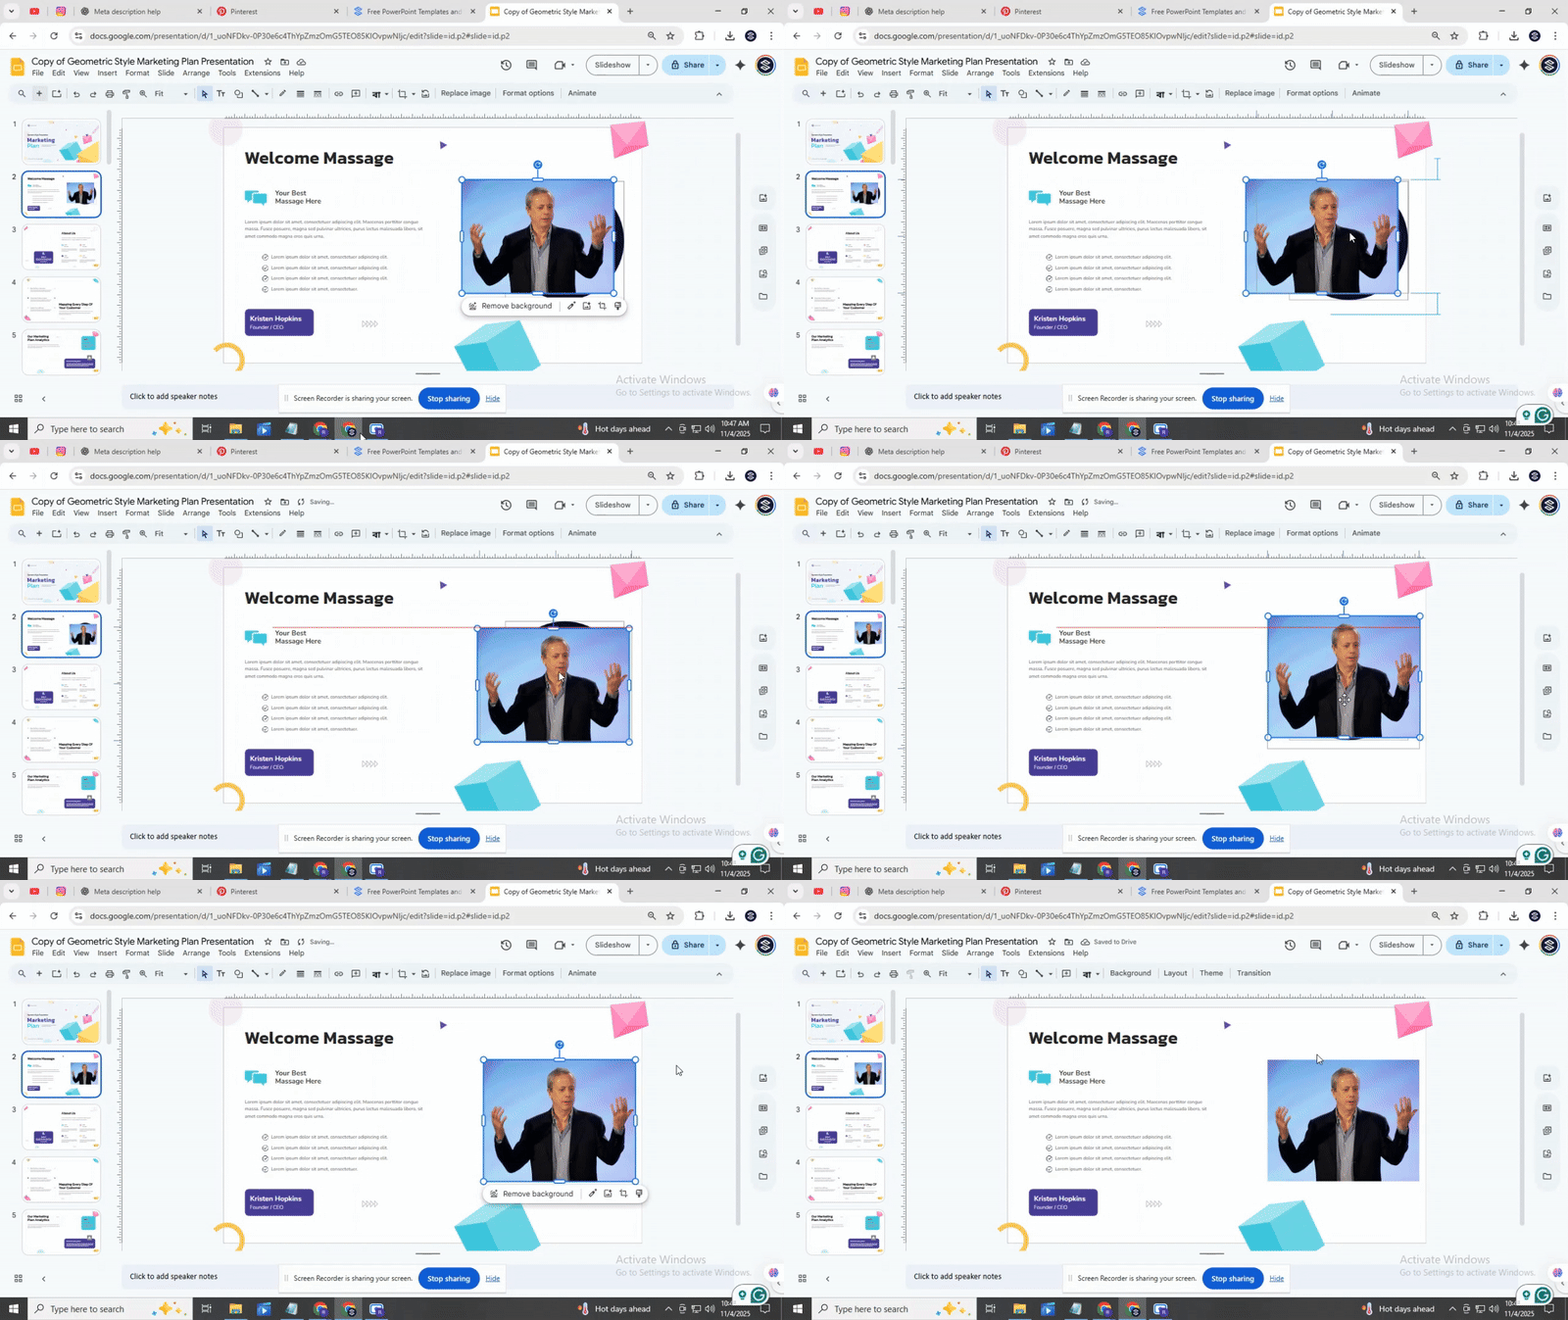
Click directly on the image you want to bring forward. You will see a blue border appear around it when it is selected.
4. Access the Arrange Menu
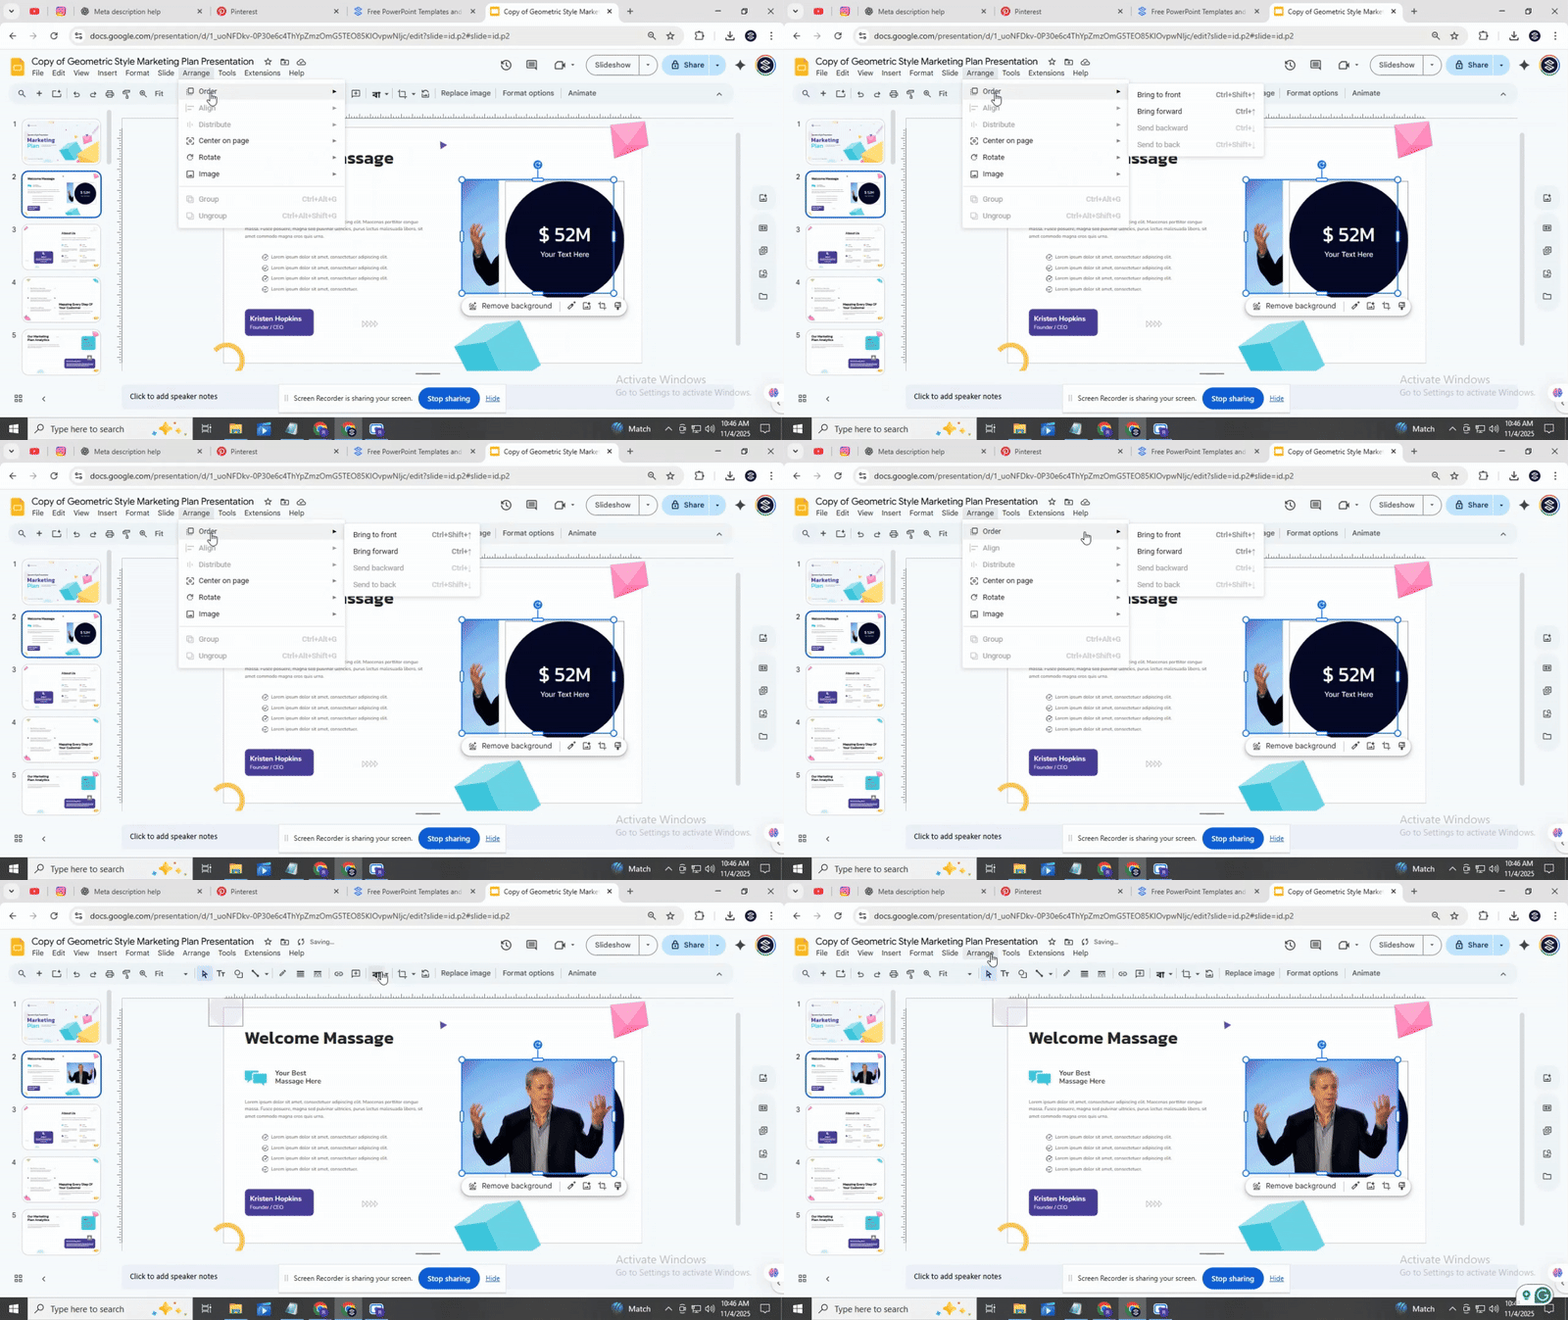
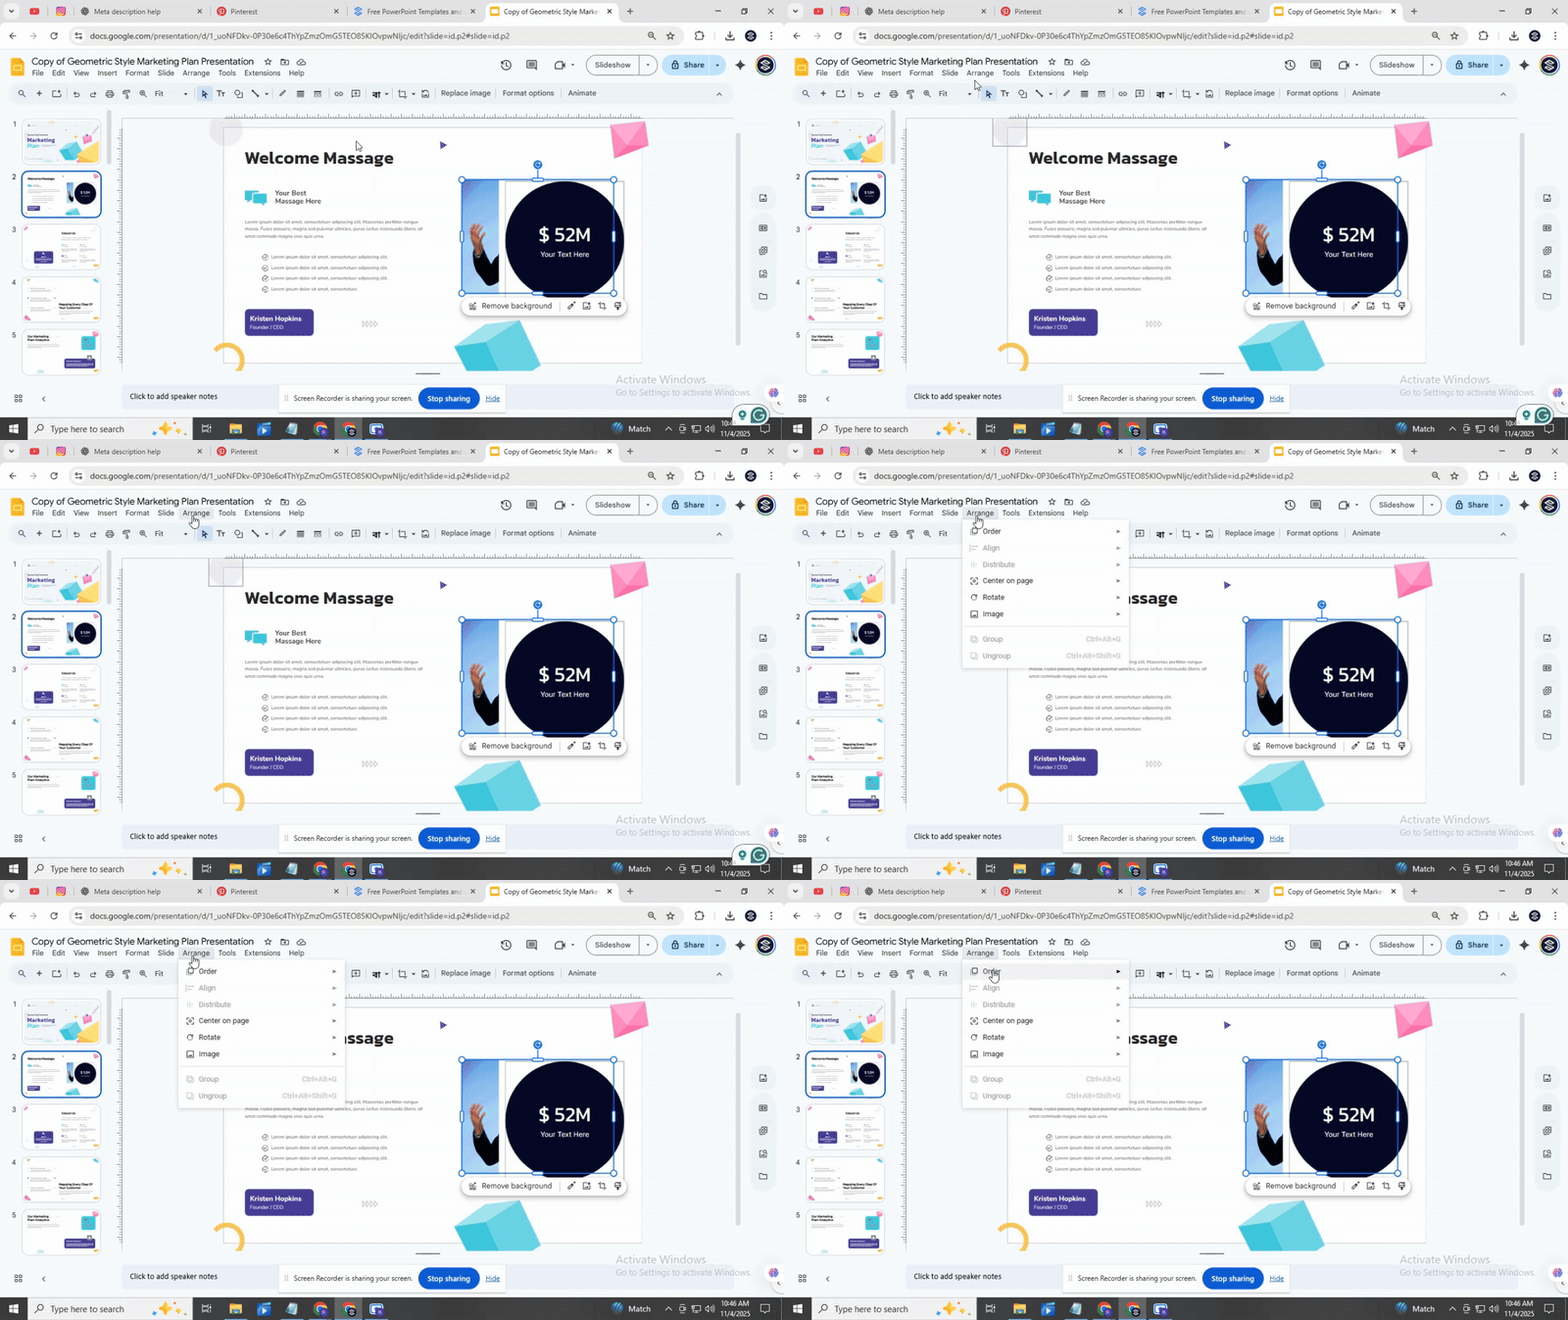
At the top menu bar, click on “Arrange.” This menu controls how objects are stacked on the slide.
5. Choose “Order”
From the Arrange dropdown, select “Order.” This will show options for moving the image forward or backward relative to other objects.
6. Click “Bring to Front” or “Bring Forward”
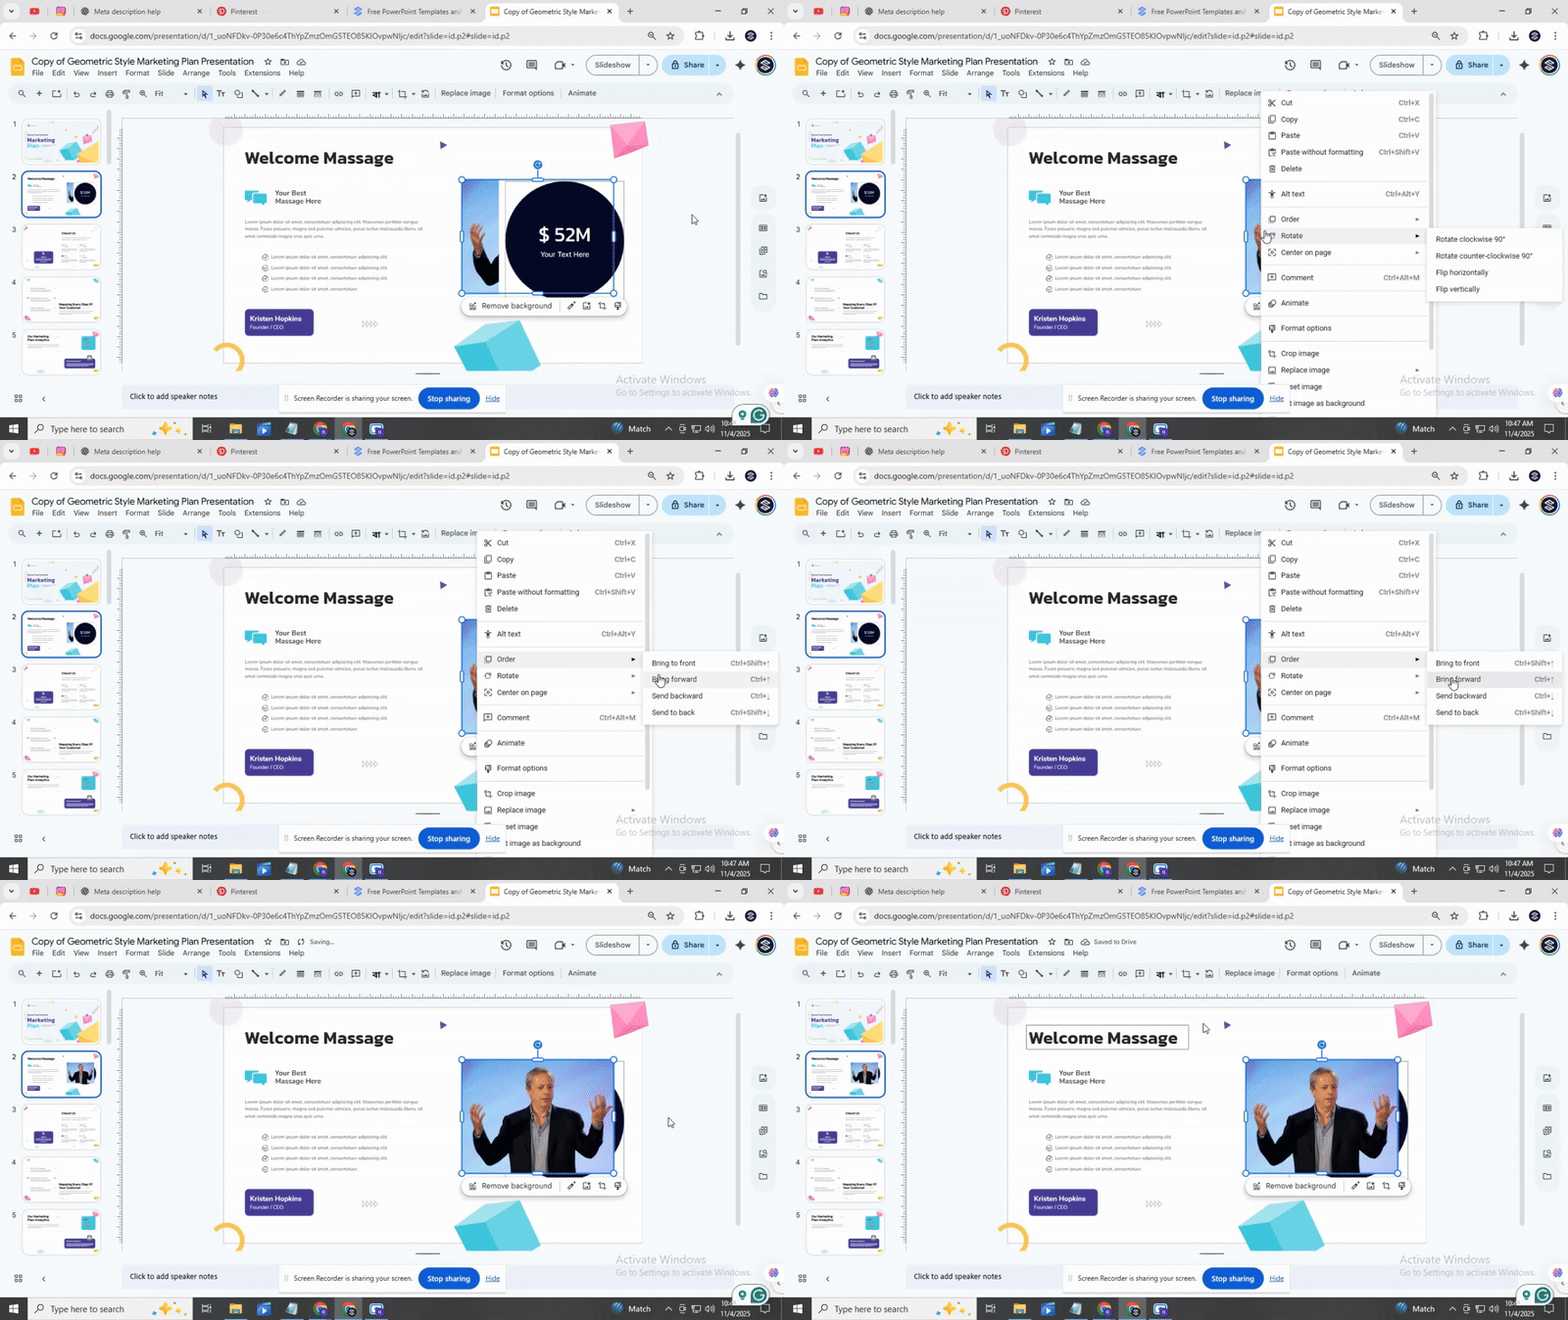
Click “Bring Forward” to move the image one layer up. Click “Bring to Front” to place it above all other objects. Repeat if needed until the image appears where you want.
7. Use the Right-Click Option (Alternative Method)
You can also right-click on the image, hover over “Order,” and choose “Bring Forward” or “Bring to Front” from the menu.
8. Check the Image Position
Make sure the image is layered correctly. Adjust if necessary using the same steps.
9. Save Your Changes
Once the image is in the right position, save your work to keep the changes.
Read Also: How to Arrange and Align Objects in Google Slides: Tips and Tricks
Keyboard Shortcuts to Bring an Image Forward in Google Slides
Use these shortcuts to move an image forward quickly. Choose the option that fits your needs.
Move forward one layer:
- Windows: Select the image and press Ctrl + Up Arrow
- Mac: Select the image and press Command + Up Arrow
Bring to the front (move above all layers):
- Windows: Select the image and press Ctrl + Shift + Up Arrow
- Mac: Select the image and press Command + Shift + Up Arrow
Conclusion:
You’ve learned how to open your presentation, locate the right slide, select your image, and use the Arrange menu to bring it forward. Each step is simple, but together they give you full control over your slide layout. Now it’s your turn to experiment, move images, layer them creatively, and see how your slides come to life. Go forth and make your presentations more dynamic with the skills you just picked up.
H2: FAQs
Why would I need to bring an image forward in Google Slides?
Bringing an image forward lets it appear on top of other elements. This is useful if you want a picture to stand out or overlap text and shapes. It helps organize your slide visually.
Can I adjust the layering of multiple images on a single slide?
Yes. You can move images forward or backward to change their order. This helps you place certain images on top of or behind others.
Are there limits to how many layers I can create within a slide?
There isn’t a strict limit, but too many layers can make your slide crowded. Google Slides handles dozens of layers well, but performance may drop if a slide is very busy.
What if I accidentally move an image too far forward? Can I reverse it?
Yes. You can send the image backward or reorder it using the Arrange menu. This restores the previous layer order quickly.
Will these layering adjustments affect the image's quality?
No. Moving an image forward or backward does not change its resolution or clarity. The image will look the same as before.
You may also be interested in ...
How To Create An Eye-Catching Portfolio
If you’re looking to create an eye-catching portfolio, this post will come in handy. In this article, you can find the easies...
23 Jun, 2024
How To Easily Create An Infographic
Infographics are the perfect way to make a presentation that will impact an audience, but their design and composition might...
08 Jun, 2024
PowerPoint Template Tips & Tricks You Ne...
PowerPoint seems to be an unknown world for many people, especially those who have been assigned to create a presentation out...
08 Jun, 2024

