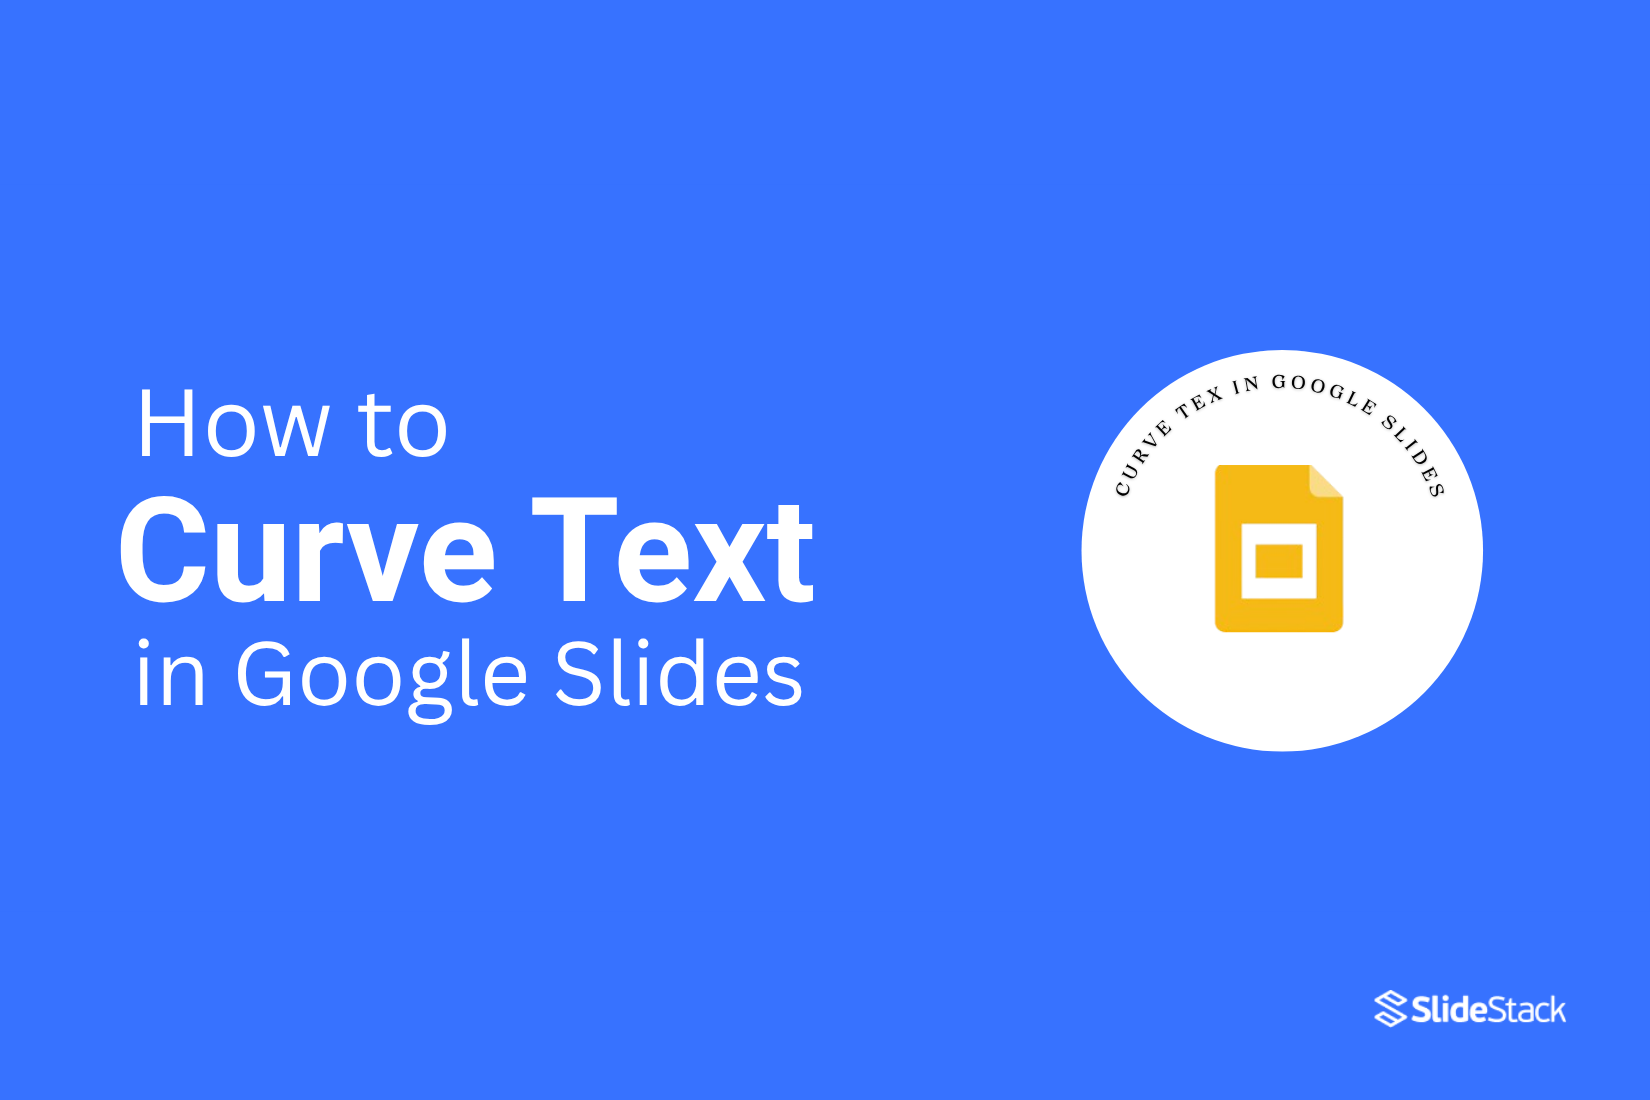
How to Curve Text in Google Slides? Quick and Simple Steps
Curving text in Google Slides can be tricky since the platform doesn’t offer a built-in tool for it. Many users struggle to make text follow a circular or curved path, leaving slides looking plain or less engaging. This can slow down your design process and make your presentations less visually appealing.
The good news is that there are simple ways to add curved text without starting from scratch. In this guide, you will learn two practical methods: using PowerPoint to create curved text and transferring it to Google Slides, or designing curved text directly with popular online tools. By following these steps, you can quickly make your slides stand out.
2 Methods to Add Curved Text in Google Slides
Adding curved text in Google Slides can make your slides more fun and engaging. It is easier than you might think. Keep reading to see 2 simple methods to add curved text using the steps below.
Method 1: Add Curved Text in Google Slides Using PowerPoint
You can create curved text in PowerPoint first and then transfer it to Google Slides. This method ensures precise curves and retains formatting.
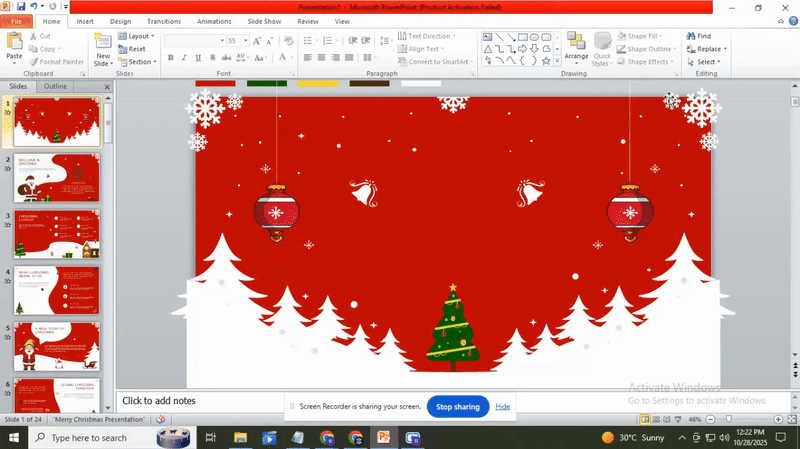
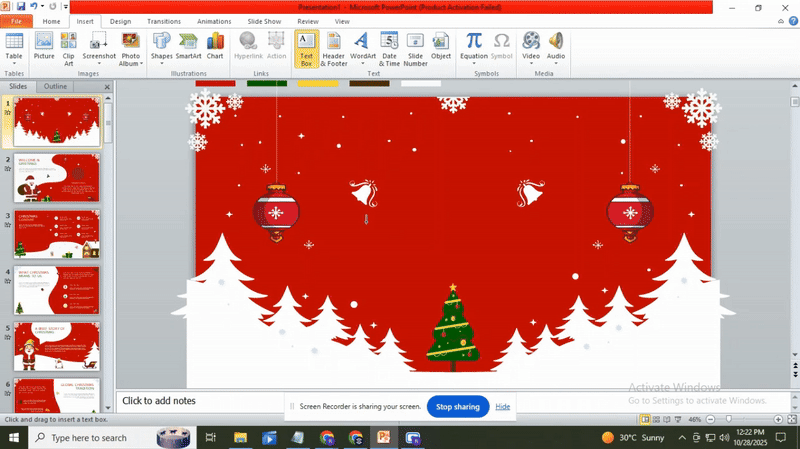
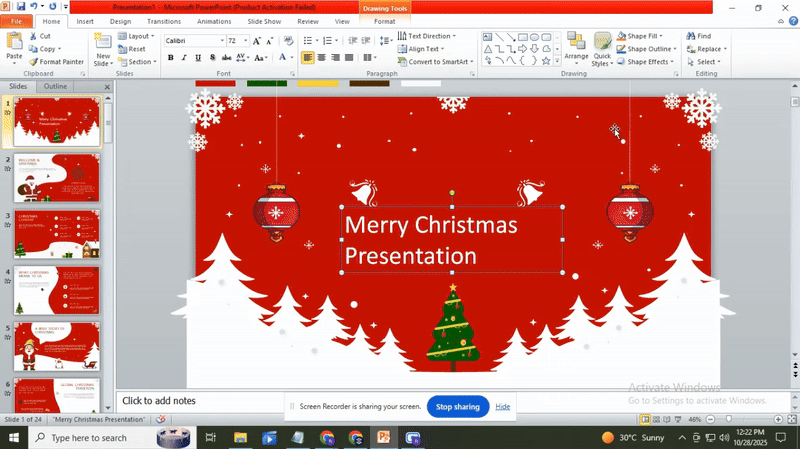
1. Create the Curved Text in PowerPoint
• Open PowerPoint and select a blank slide.
• Go to the Insert tab and click Text Box.
• Type your text in the box.
• Select the text.
• Go to the Format tab under Text Effects.
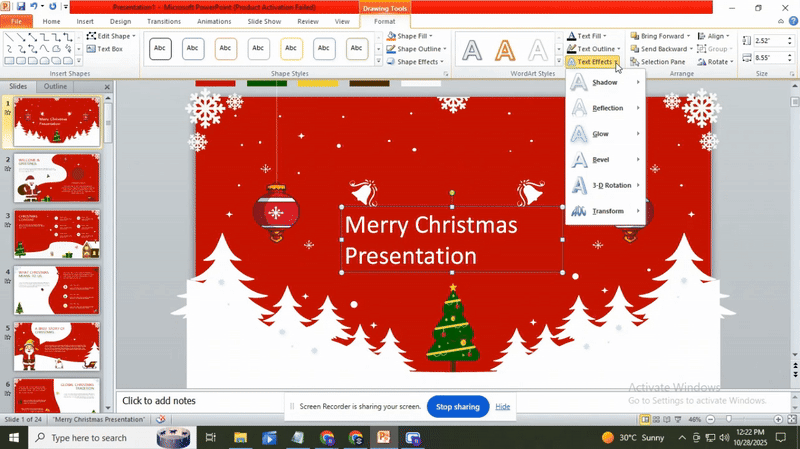
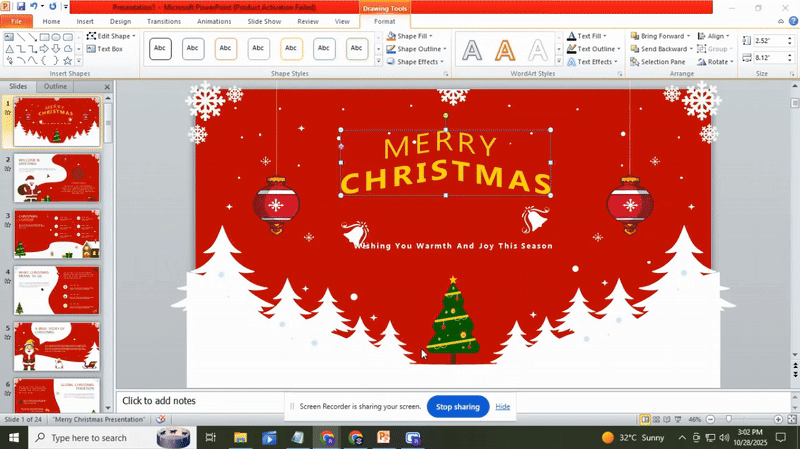
• Choose Transform, then select a curved style from the options.
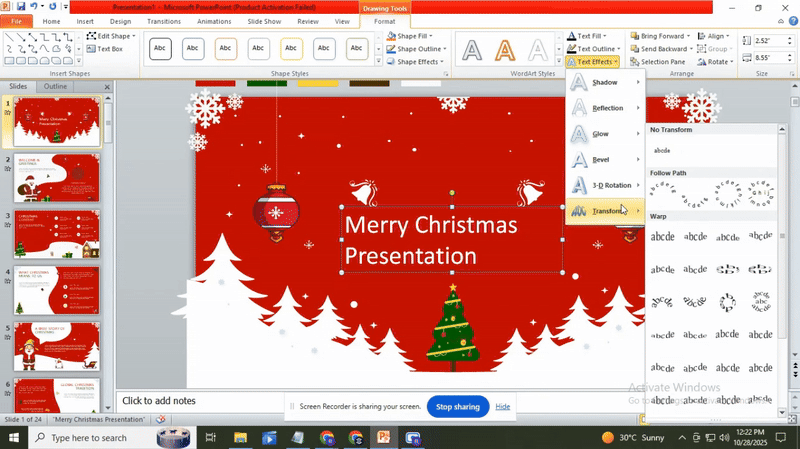
• Adjust the curve by dragging the handles or using the rotation options.
2. Copy the Curved Text to Google Slides
• Click the curved text to select it.
• Press Ctrl + C (or Cmd + C on Mac) to copy.
• Open your Google Slides presentation.
• Go to the slide where you want the text.
• Press Ctrl + V (or Cmd + V) to paste the text.
3. Adjust the Text in Google Slides
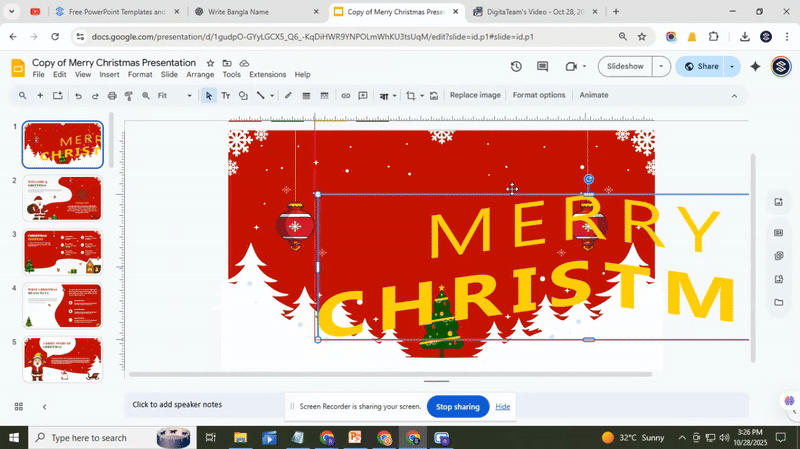
• Select the pasted text.
• Resize the text box to fit your slide layout.
• Move the text to the desired position.
• If needed, change the font size or style from the toolbar.
• Ensure the curve looks correct and is not distorted.
Tips:
• Keep the curve simple to avoid distortion when pasting.
• Use high-contrast colors for readability.
• Make minor adjustments in Google Slides rather than recreating the curve.
Method 2: Create and Add Curved Text Using Design Tools
You can use external design tools to make curved text and then add it to Google Slides. Each tool lets you create, customize, export as PNG, and insert directly into your slides.
1. Canva

• Open Canva and log in to your account.
• Click Create a Design and select Custom Size for your slide dimensions.
• Add a Text Box and type your text.
• Select the text, then click Effects and choose Curve.
• Adjust the curve slider until the text forms the shape you want.
• Customize the font, size, and color.
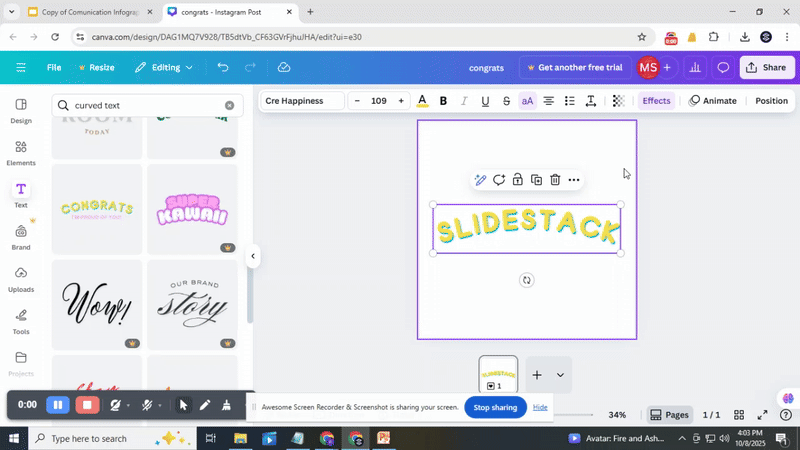
• Click Download and select PNG with a transparent background.
• Open Google Slides, go to Insert > Image > Upload from Computer, and add your curved text.
• Resize or move the text as needed.
Read more: How to Arrange and Align Objects in Google Slides
2. Mockofun
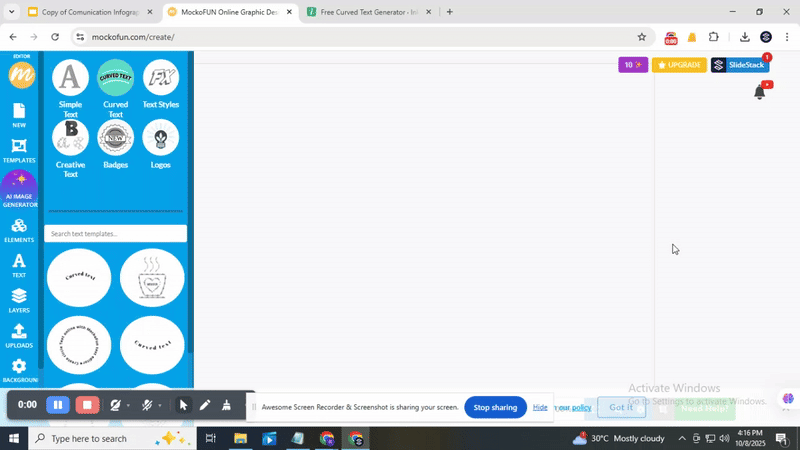
• Log in to Mockofun and create a new project with custom dimensions.
• Insert a Text Box and type your message.
• Click the Text Effects option and select Curve.
• Drag the curve handles to adjust the shape.
• Change font style, color, and size to your preference.
• Export the design as a PNG with a transparent background.
• In Google Slides, select Insert > Image > Upload from Computer and place your curved text.
• Adjust the position and size of your slide.
3. InkPX
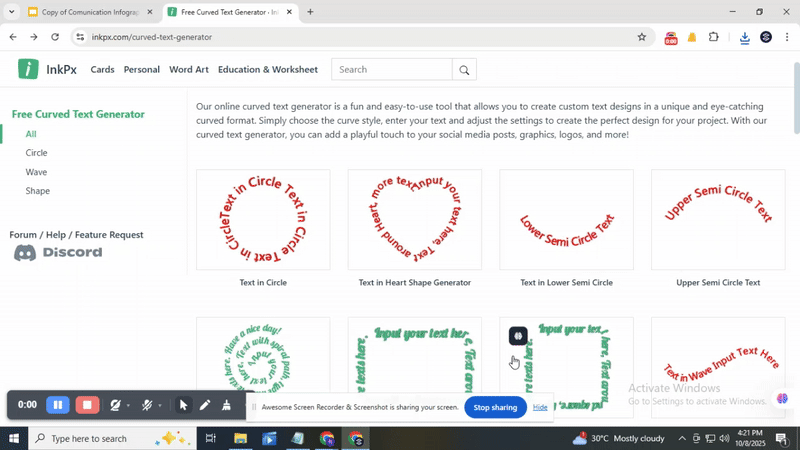
• Go to InkPX and start a new design with slide dimensions.
• Add a Text Box and enter your text.
• Click the Curve Text option to bend your text.
• Use the controls to adjust the curvature.
• Modify font, color, and size as needed.
• Download the design as a PNG with a transparent background.
• Open Google Slides and choose Insert > Image > Upload from Computer.
• Place and resize the curved text to fit your slide layout.
Read more: Google Slides Masterclass: Advanced Tips and Tricks for Professional Presentations
Conclusion:
Curving text in Google Slides does not have to be tricky. With these methods, you can add style and creativity to your slides without much effort. Whether you use PowerPoint or an online design tool, your text can follow smooth curves and make your presentation more engaging. Try these steps on your next slide and see how a small design change can make a big visual impact.
FAQs:
Can I directly curve text in Google Slides?
No, Google Slides does not have a built-in feature to curve text. You need to create curved text in another tool and then import it into Slides.
What are alternative methods to curve text in Google Slides?
You can use tools like PowerPoint, Canva, or online text generators to create curved text. After creating it, copy it as an image or shape into Google Slides.
Can I edit curved text after importing it into Google Slides?
Once imported, curved text is treated like an image. You can resize, move, or rotate it, but you cannot change the text itself without editing it in the original tool.
Is it possible to curve text without leaving Google Slides?
Not directly. Google Slides cannot curve text on its own. You need to use add-ons or external tools to achieve a curved effect.
Are there curved text effects in Google Slides?
No, Slides does not offer built-in curved text effects. Any curved text must be created elsewhere and added as an image or shape.
When should you use Curved Text in Google Slides?
Use curved text to make titles, labels, or design elements stand out. It works best for visual emphasis rather than large paragraphs.
Does Curved text affect the responsiveness of Google Slides presentations?
Curved text images may slightly affect file size, but they do not break slides or stop presentations from working. Keep image resolution reasonable to maintain smooth performance.


You may also be interested in ...

How To Create An Eye-Catching Portfolio
If you’re looking to create an eye-catching portfolio, this post will come in handy. In this article, you can find the easies...
23 Jun, 2024

How To Easily Create An Infographic
Infographics are the perfect way to make a presentation that will impact an audience, but their design and composition might...
08 Jun, 2024

PowerPoint Template Tips & Tricks You Ne...
PowerPoint seems to be an unknown world for many people, especially those who have been assigned to create a presentation out...
08 Jun, 2024