How to Easily Format Text in Google Slides
Formatting text in Google Slides can be confusing. Many users struggle with messy fonts, inconsistent sizes, or unclear alignment, which makes slides look unprofessional. These issues can waste time and distract from your message.
Fortunately, Google Slides offers simple tools to fix these problems quickly. By learning a few easy steps, you can format text neatly, adjust spacing, and apply consistent styles throughout your presentation. This not only saves time but also ensures your slides look polished and easy to read. Let’s explore how to format text effectively and make every slide visually appealing.
How to Easily Format Text in Google Slides Step by Step
Making text look right in Google Slides can change how your audience sees your presentation. With a few simple steps, you can style text clearly and neatly. Read on to follow each step and format your slides easily.

Step 1: Selecting Your Text
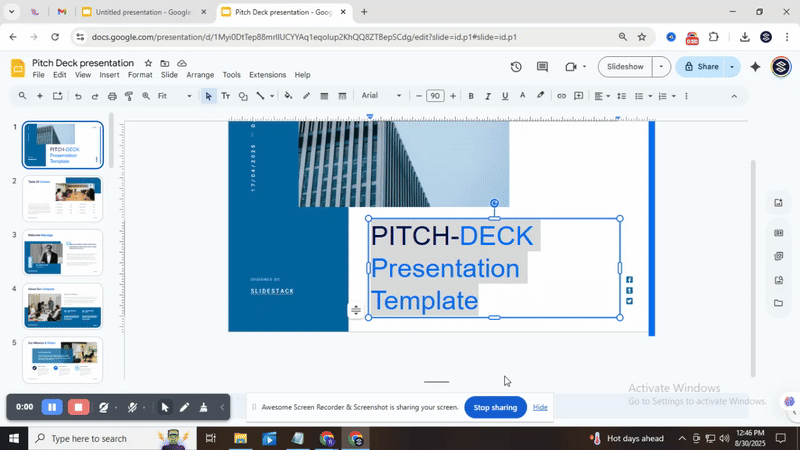
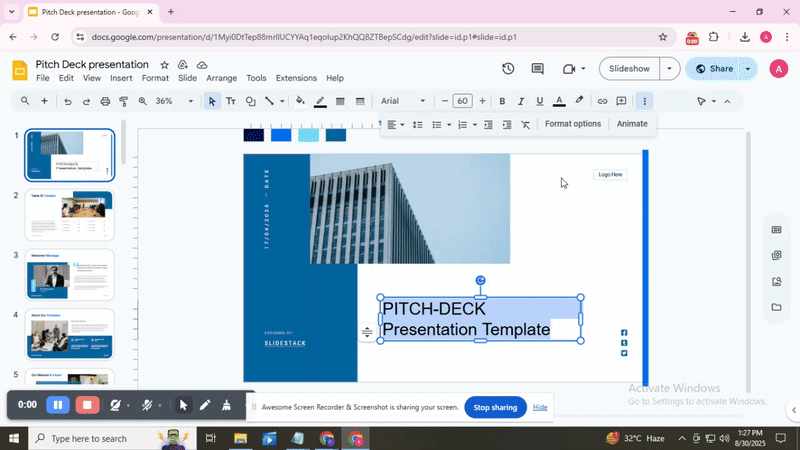
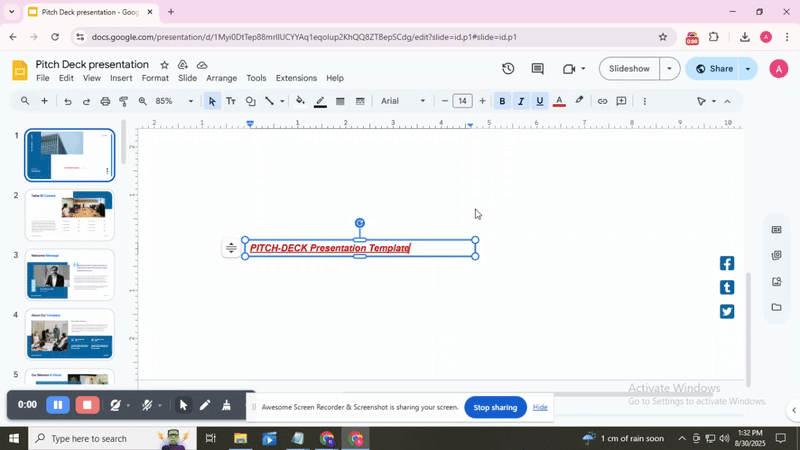
Start by clicking on the text box you want to edit. Drag your cursor over the words you need. You can also double-click a word to select it quickly. This makes editing and formatting easier.
Step 2: Changing the Font
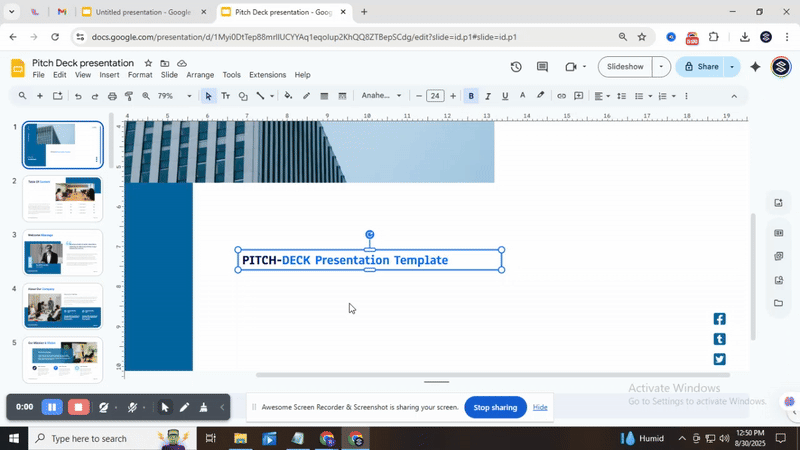
Changing the font in Google Slides can give your presentation a fresh and clear look. Start by selecting the text you want to modify. Then, click the font menu in the toolbar to see a list of available fonts. Scroll through the list or type the font’s name in the search bar to find the one you like. Once selected, the font will apply immediately. Adjust the size or style if needed to make sure your text is readable and fits well. Choosing the right font can help headings stand out and highlight key points effectively.
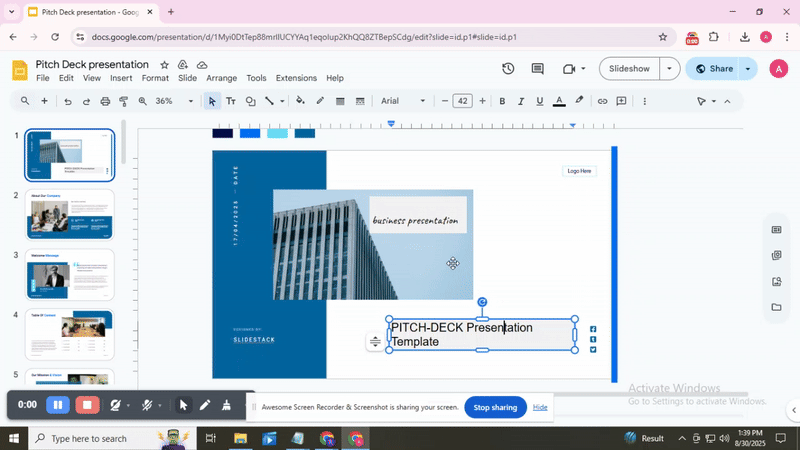
Step 3: Adjusting Font Size
Text size affects how your audience reads your slides. Larger fonts work well for headings, while smaller fonts suit supporting details. To change font size, click the drop-down arrow on the toolbar or enter a custom value. You can also use keyboard shortcuts to quickly increase or decrease text size, saving time and effort.

Step 4: Applying Text Styles
Select the text you want to change. Click the text color icon in the toolbar and pick a new color from the palette. To add a highlight, click the highlight icon next to the text color and choose your preferred color. Release the mouse to apply the changes.
Step 5: Aligning Your Text
By selecting several text boxes in Google Slides, you can align them to the top, middle, bottom, left, or right. This saves time, keeps slides consistent, and ensures your layout looks professional without adjusting each box individually.
Step 6: Adjusting Line Spacing
Line spacing controls the distance between lines of text. Adjusting it can make your text easier to read and improve the overall look of your slide. You can use preset options like single, 1.15, 1.5, double, or set a custom value for precise spacing.
Step 8: Clearing Formatting
Select the text you want to reset and click “Clear formatting” on the toolbar. You can also use the keyboard shortcut Ctrl + \ to remove all text styles instantly.
Using the Paint Format Tool
The Paint Format tool in Google Slides is a quick way to copy text formatting from one part of your slide to another. This tool saves time and keeps your presentation looking consistent. With just a few clicks, you can match fonts, sizes, colors, and styles across multiple slides. It is especially useful when you have a large deck and want uniform formatting without adjusting each text box individually. For more tips on using this tool effectively and speeding up your slide design process, check out our detailed guide on Using the Paint Format Tool.
Best Practices for Text Formatting
Keep text clear and simple. Use a readable font and size for all slides. Maintain consistent spacing between lines and paragraphs to help the audience follow your points easily. Use bold or color sparingly to highlight key ideas, and avoid overloading slides with too many styles. Align text neatly, as proper alignment improves readability and gives slides a professional look. Finally, review your formatting and check for consistency before presenting to ensure a clean and polished appearance.
Common Issues and Troubleshooting
Text may not align properly, so check margins and spacing settings. Fonts can change unexpectedly, making it important to select the correct font before typing. Formatting can be lost after pasting, so use “Paste without formatting.” Slides can look cluttered, so reduce text or split content into separate slides for clarity.
Closing Thoughts
Learning to format text in Google Slides makes presentations more readable and polished. Tools like the paint format tool, font adjustments, and text sizing let you maintain consistency. Practicing these steps improves speed and confidence. Well-formatted slides help your audience follow ideas clearly and make your presentation look professional and organized.
FAQs:
1. Can I change all text in Google Slides simultaneously?
Yes, you can change all text at once by using the “Master Slide” view. Editing text styles here updates every slide that uses that layout. This saves time instead of editing each slide individually.
2. What formatting options are available for text in Google Slides?
Google Slides lets you change font style, size, and color. You can also bold, italicize, underline, or highlight text. Additional options include alignment, line spacing, and bulleted or numbered lists.
3. How can I create unique text shapes in Google Slides?
You can use Word Art or insert shapes and add text inside them. This allows you to create curved, angled, or custom-shaped text. Adjusting the size and rotation can make your text stand out.
4. How can I enhance the appearance of text in my slides?
Use color, bolding, or italics to highlight key points. You can also apply shadows or reflections for depth. Combining these effects carefully makes your slides more engaging without clutter.


You may also be interested in ...

How To Create An Eye-Catching Portfolio
If you’re looking to create an eye-catching portfolio, this post will come in handy. In this article, you can find the easies...
23 Jun, 2024

How To Easily Create An Infographic
Infographics are the perfect way to make a presentation that will impact an audience, but their design and composition might...
08 Jun, 2024

PowerPoint Template Tips & Tricks You Ne...
PowerPoint seems to be an unknown world for many people, especially those who have been assigned to create a presentation out...
08 Jun, 2024