How to Quickly Add Filters to Pictures in PowerPoint for Better Slides

Plain pictures can make your slides look dull and forgettable. This can cause your audience to lose interest quickly and miss your key points. Luckily, PowerPoint offers easy filters that can make your images stand out in seconds. In this article, you’ll learn how to quickly add filters to pictures and create better, more professional slides without any hassle.
Why Use PowerPoint Photo Filters?
Using photo filters in PowerPoint helps make your slides more eye-catching and clear. Filters can improve the look of your images, keep your audience focused, and give your presentation a polished feel. Before we dive into how to add filters, check out these key reasons why using PowerPoint photo filters can boost your slides:
1. Enhance image quality
2. Create a consistent look
3. Highlight important details
4. Add visual interest
5. Set the tone or mood
6. Improve readability
7. Save time on editing
8. Match your brand colors
9. Make text stand out
10. Fix lighting issues
11. Give a professional finish
Keep these benefits in mind as you learn to apply filters step-by-step in the next section.
Step-by-Step Guide to Applying Filters:
Insert an Image in PowerPoint:
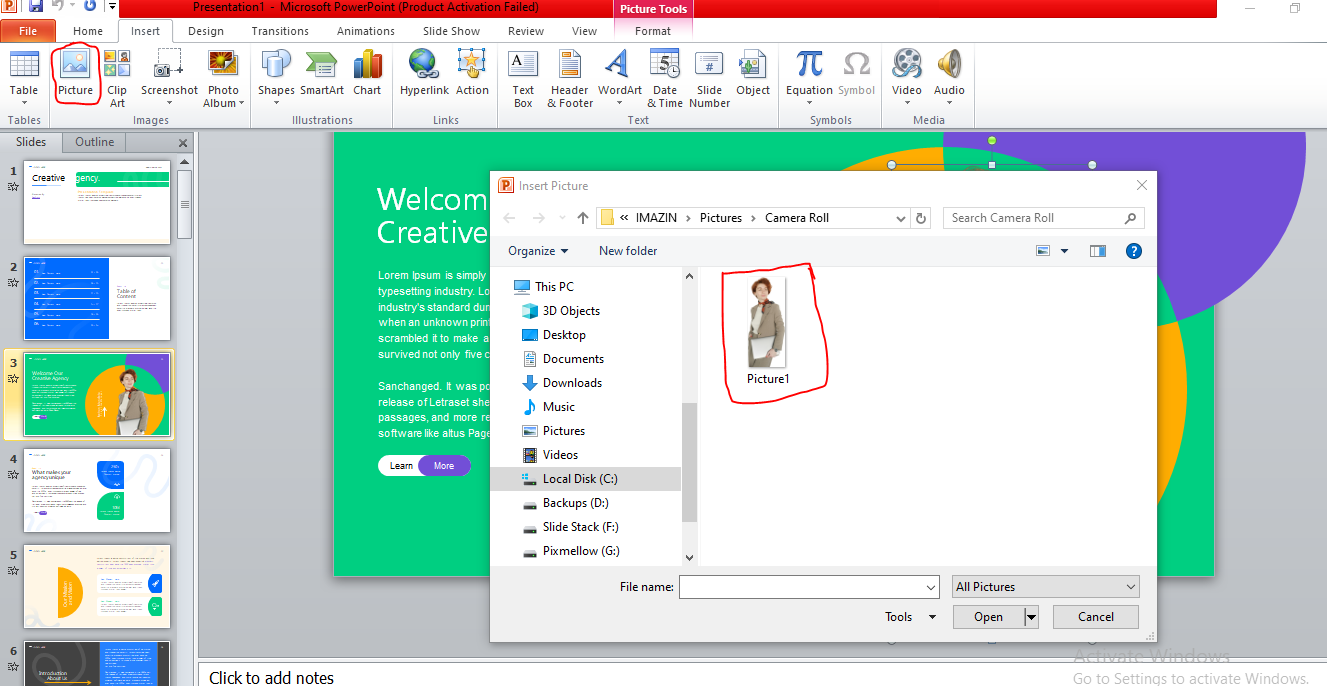
PowerPoint lets you add pictures from your computer using Insert → Pictures. You can also insert images stored in OneDrive or other cloud accounts linked to PowerPoint. This gives you easy access to photos saved online without downloading them first. For this post, we added an image to the title slide of the Creative Agency Presentation Template by replacing the sample image.
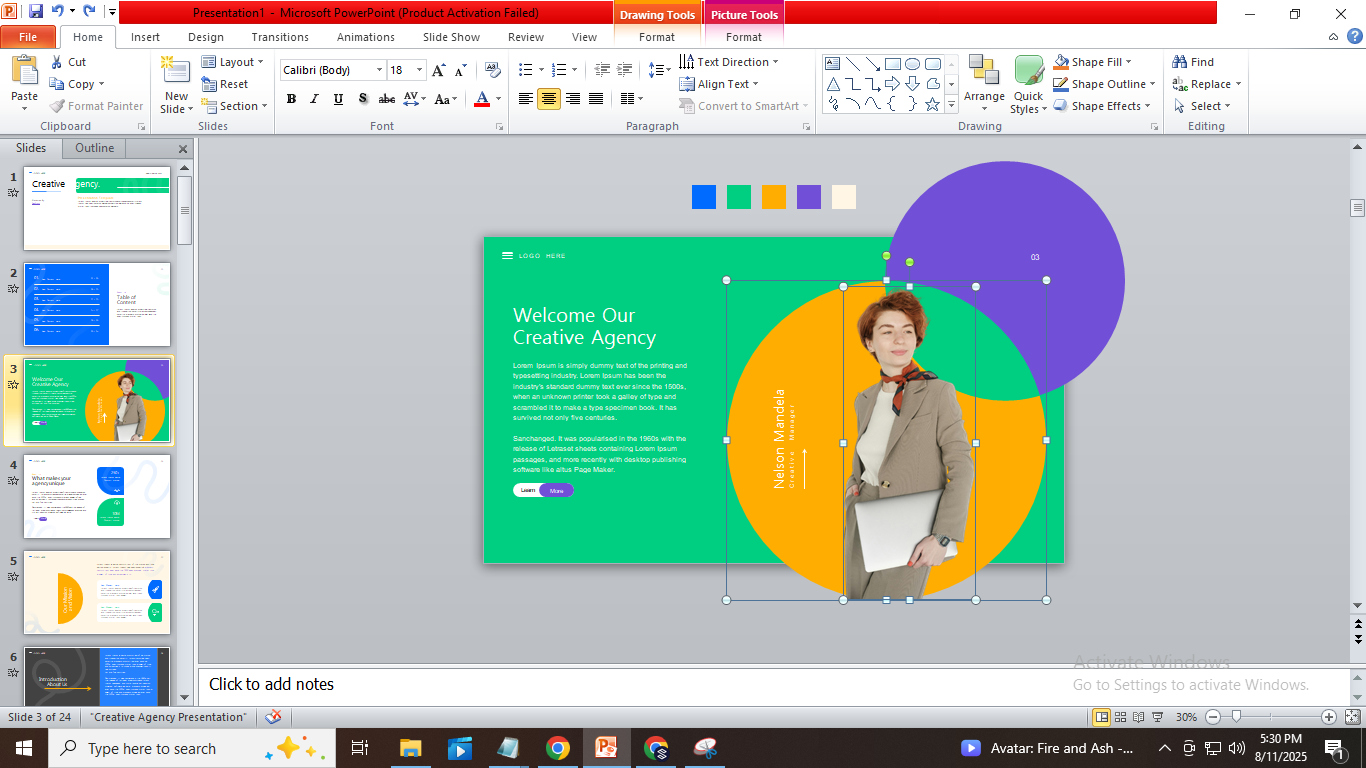
Select the Picture:
Press Tab to cycle through objects and select a picture. When selected, a border with sizing handles appears, showing the picture is active and ready for editing.
Open Artistic Effects Menu:
You can quickly open the Artistic Effects menu by selecting your picture and pressing Alt + JP + AE. Hover over each effect to see a live preview before applying it, helping you pick the best filter for your slide.
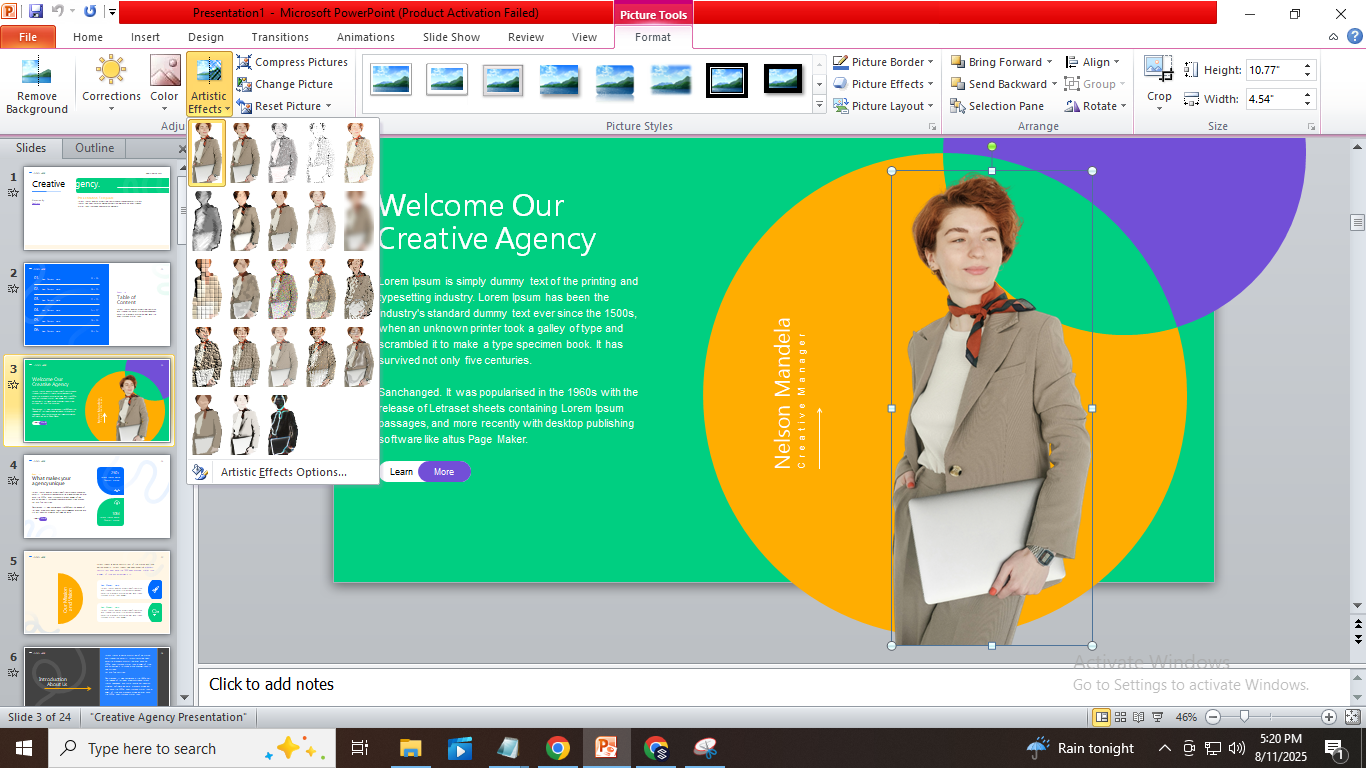
Use Artistic Effects for a Professional Look:
Selecting the right effect depends on your presentation’s mood. Soft effects like Pencil Sketch suit formal or professional slides. Sharper effects like Film Grain work well for creative or dynamic topics. Think about the message you want to send. Subtle effects keep the focus on your content. Bold effects draw attention but can distract if overused.

Matching effects with your slide tone helps keep the design balanced. This approach makes your slides look polished and clear without overwhelming the audience.
Refine the Image by Adjusting Picture Settings:
Right-click on the image and choose “Format Picture” from the menu. This will open a sidebar on the right. In this panel, you can fine-tune settings like brightness, contrast, transparency, and sharpness. These options help improve the look of your image and match it with your slide’s overall style.
Picture Tab:
The Picture tab gives you quick tools to improve and edit images right from the ribbon. It’s designed to make simple changes without opening extra menus.
• Picture Corrections: Adjust sharpness, brightness, and contrast. For example, increase sharpness to make details stand out or reduce brightness to tone down overexposed images.
• Picture Color: Change the image’s color tone or saturation. You can make a photo warmer with an orange tint or cooler with a blue filter.
• Picture Transparency: Use this to fade the image into the background. It’s helpful when placing text over the image without losing readability.
• Crop: Trim the image to focus on the most important part. You can also use aspect ratio settings to fit the image to your slide layout.
Size and Position Tab:
The Size and Position tab offers tools to adjust an image’s dimensions, placement, and text box settings.
• Size: Change height, width, rotation, and scale to fit the image perfectly on your slide.
• Position: Set the exact horizontal and vertical location for precise alignment.
• Text Box: Adjust margins, text alignment, and direction within the image’s text box for better layout control.
Effects Tab:
The Effects tab lets you add visual styles to images or shapes in PowerPoint. These effects enhance depth, highlight elements, or create artistic looks, making your slides more engaging.
• Shadow: Apply shadows with presets and customize direction, distance, blur, and transparency to add depth.
• Reflection: Add reflections below the image with adjustable size, blur, and transparency for a polished look.
• Glow: Surround images with colored glows. You can change the glow color, size, and transparency.
• Soft Edges: Soften the edges of an image to blend it better with the background. Adjust the softness level using a slider.
• 3-D Format: Add 3D depth with preset styles or adjust bevel, depth, and contour for a raised effect.
• 3D Rotation: Rotate the image in 3D space using presets or custom X, Y, and Z axis controls.
• Artistic Effects: Apply filters like pencil sketch or blur for creative touches. Adjust intensity with a slider for subtle or strong effects.
Applying Color Filters to Photos in PowerPoint
Color filters help change the look of images by adjusting saturation, tone, and color. They differ from Artistic Effects, which add creative styles like sketches or blurs. Color filters focus on modifying the image’s colors to fit your slide’s theme or mood.
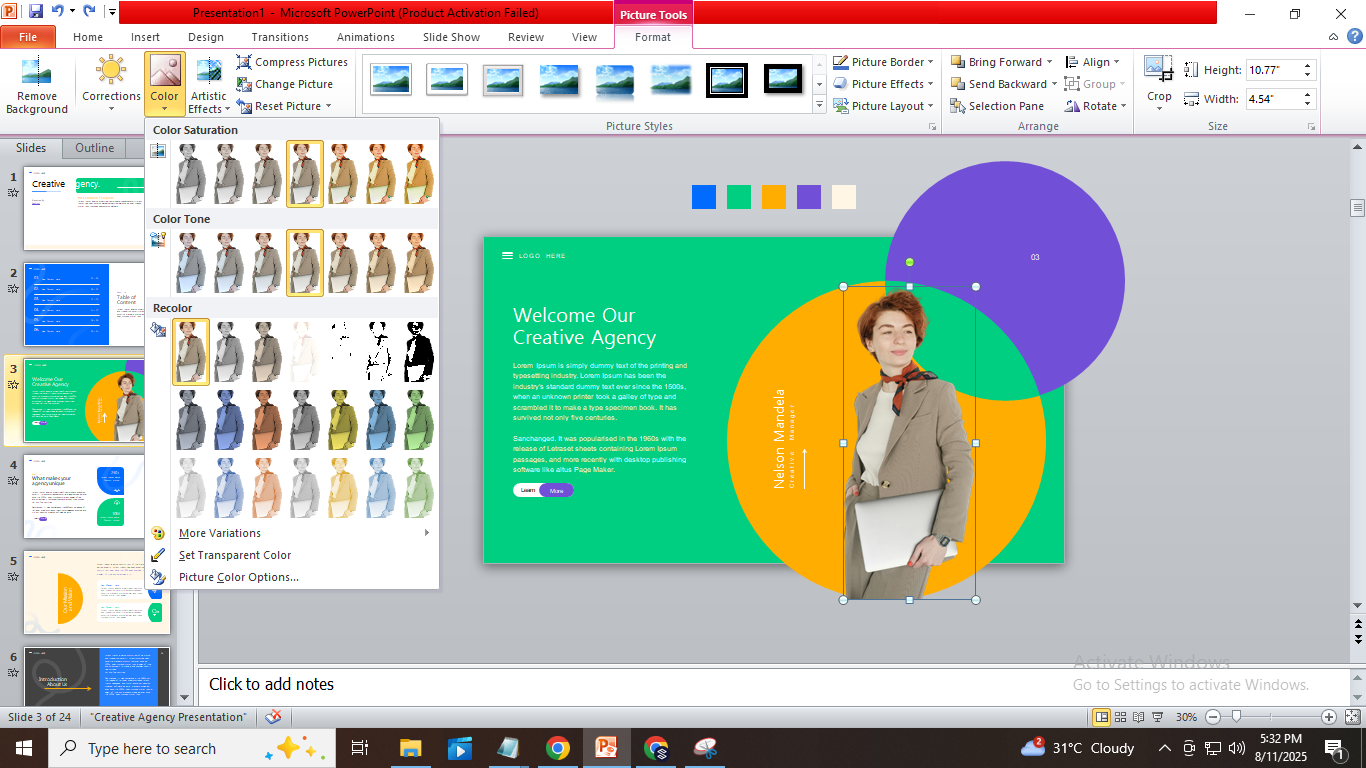
A common color filter is grayscale, which removes all color to create a black-and-white image. To apply this, go to the Picture Format tab and click the Color menu. Here, you can adjust saturation to 0% for a full grayscale effect.
Other useful options in the Color menu include:
• Color Variations: Choose from preset color tones to warm or cool your image.
• Set Transparent Color: Select a color in the image to make transparent, helping blend it with the background.
• Picture Color Options: Open a sidebar with detailed controls for saturation, tone, and recolor adjustments.
Best Practices for Using PowerPoint Filters in Corporate PowerPoint Presentations
Photo filters can improve the look of your slides and help focus attention. However, using them carefully is important to keep your presentation clear and professional. Applying filters with purpose helps maintain a strong visual impact without distracting your audience.
• Use Subtle Filters: Avoid heavy effects that overpower your message. Light adjustments keep images clear and polished.
• Maintain Brand Consistency: Choose filters that match your company’s colors and style for a unified look.
• Ensure Text/Image Contrast: Filters should help text stand out, not blend in. Check readability on all slides.
• Keep Style Consistent: Use similar filters across images to create a cohesive visual flow.
• Favor Simplicity: Avoid too many effects at once. Simple edits often look more professional.
• Align with Your Message: Pick filters that support the tone of your presentation, whether formal or creative.
• Test on Different Devices: Check how filters appear on screens and projectors to avoid surprises.
• Highlight Key Data: Use filters to draw attention to important charts or photos without distracting.
• Layer Creatively: Combine filters with shapes or text boxes to add depth while keeping clarity.
• Consider Accessibility: Choose filters that do not reduce visibility for viewers with visual impairments.
Also, you can check this: The Best Free PowerPoint Templates For College
Final Words:
PowerPoint filters offer a simple way to enhance the look of your slides. They can improve focus and add visual interest when used correctly. It is important to use these tools thoughtfully. Stick to your brand guidelines and keep effects subtle to maintain a professional appearance. By applying filters with care, you can raise the quality of your presentations and make your message stand out. Take time to explore these features and see how they can help you create polished, effective slides.


You may also be interested in ...

How To Create An Eye-Catching Portfolio
If you’re looking to create an eye-catching portfolio, this post will come in handy. In this article, you can find the easies...
23 Jun, 2024

How To Easily Create An Infographic
Infographics are the perfect way to make a presentation that will impact an audience, but their design and composition might...
08 Jun, 2024

PowerPoint Template Tips & Tricks You Ne...
PowerPoint seems to be an unknown world for many people, especially those who have been assigned to create a presentation out...
08 Jun, 2024