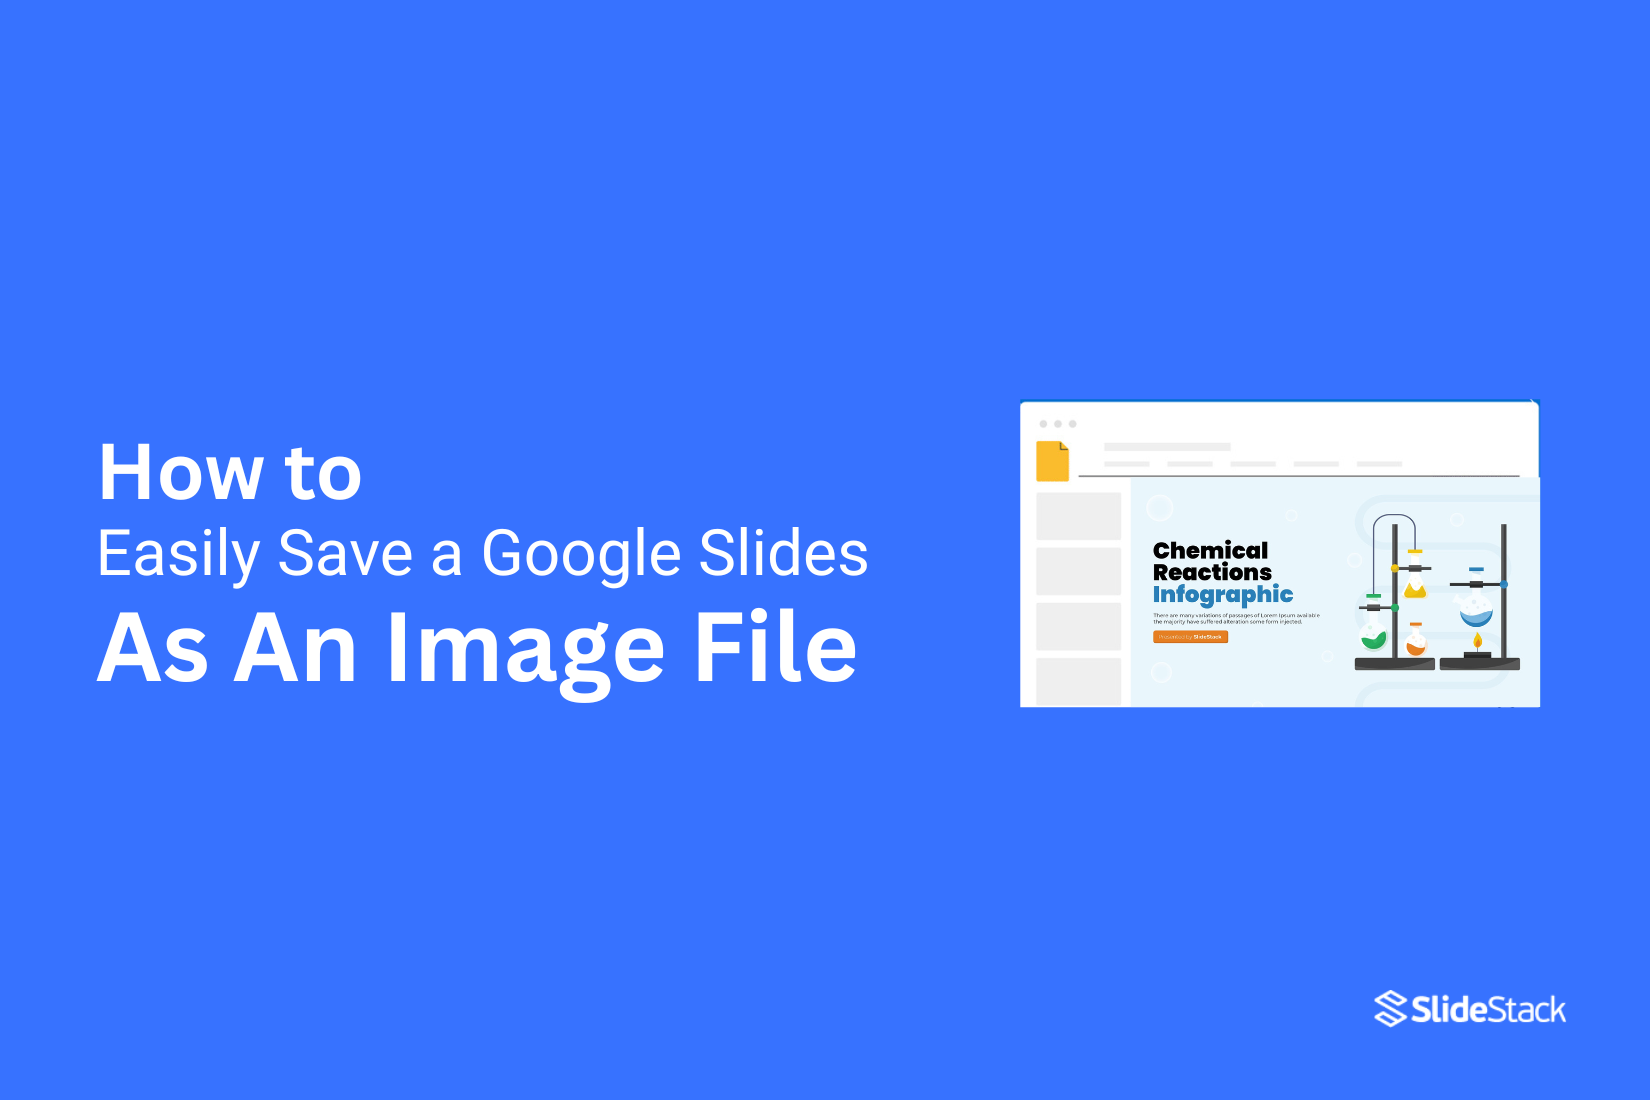
How to Easily Save a Google Slides as An Image File
Sharing your Google Slides outside of presentations is easier than you might think. Saving a slide as an image lets you use it in documents, emails, or social media without extra steps. This method gives you more flexibility and control over your content. You can quickly turn entire slides, single images, or even specific objects into standalone images. In the sections below, we’ll guide you step-by-step on how to save slides and images from Google Slides, so you can share and reuse your work efficiently while maintaining high quality.
Why save a slide as an image?
Saving a slide as an image lets you share it easily or use it in other documents. It keeps the design and content intact without needing the full presentation. Read on to see the steps you can follow to turn your slide into an image.
Improved sharing
Saving slides as images makes it easier to share your work. You can send them through email, messaging apps, or upload them online. Recipients can view the content without needing special software.
Increased flexibility
Images can be used in different ways. You can insert them into documents, reports, or social media posts. This allows your slides to reach more people in more formats.
Enhanced portability
Slide images are small and easy to carry. You can save them on a USB drive, phone, or cloud storage. This makes it simple to access your work anywhere.
Improved presentation quality
Images keep the design and layout intact. Colors, fonts, and graphics appear exactly as intended. This ensures your work looks professional wherever it is viewed. Saving slides as images gives you these advantages. Next, we will look at practical steps to convert your slides quickly and easily.
How To Save A Slide As An Image On Google Slides
Learn the quick steps to save any Google Slides as an image file.
Step 1: Open your Google Slides presentation and go to the slide you want to save.
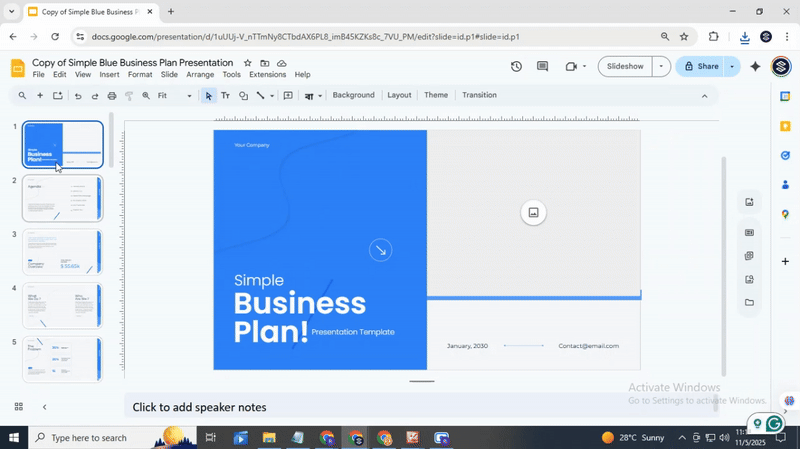
Step 2: Click on the slide in the left-hand panel to select it.

Step 3: Click File in the top-left corner of the screen.
Step 4: Hover over Download in the dropdown menu.

Step 5: Click JPEG image (.jpg) or PNG image (.png) to choose the format.

Step 6: Choose a location on your computer and click Save.
How To Save An Image From Google Slides
Saving an image from Google Slides is simple. Follow these steps to get the image on your device.
Step: 1
Go to Google Slides and open the presentation with the image you want. Click on the slide that has the image.

Step: 2
Click on the image to highlight it. Make sure only the image is selected.
Step: 3
With the image selected, right-click on it. A menu will appear with several options.
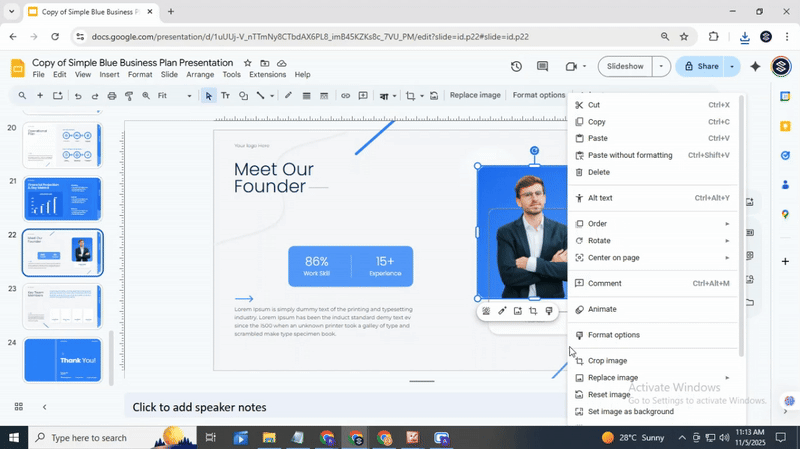
Step: 4
From the menu, click “Save to Keep”. Google Keep will open on the right side of your screen. The image will appear there as a new note.

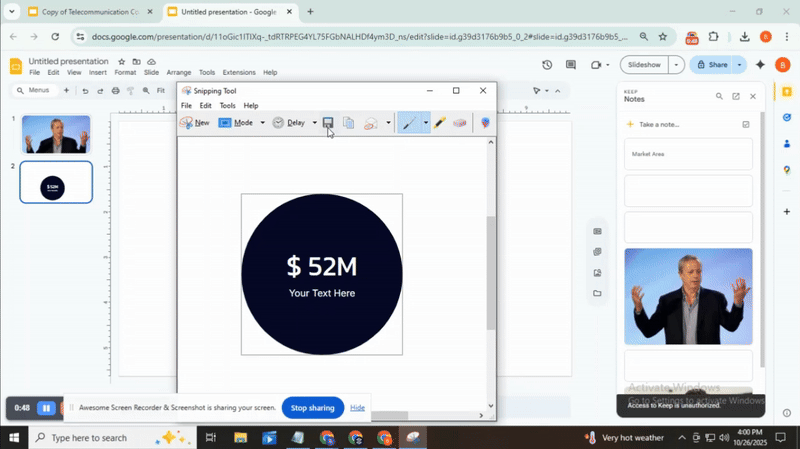
Step: 5
In the right panel, find the note with your image. Click on it to view a larger version.

Step: 6
Right-click on the image in Google Keep. Select “Save Image As”. Choose the location on your device where you want to save the image. Click Save.

Step: 7
Go to the folder where you saved the image. Open it to make sure it saved correctly.
By following these steps, the image from your Google Slides presentation is now saved on your device. You can use it in other documents, presentations, or personal projects.
How To Save Google Slides Objects As Images?
Sometimes, Google Slides does not let you export certain objects directly. Shapes, charts, or grouped items may not save as images on their own. You can still capture them using a simple process. Follow these steps to save objects from your slides.
Step 1:
Open your presentation and go to the slide that contains the object you want to save. Make sure the object is fully visible on your screen.
Step 2:
Use your device’s screenshot tool. On Windows, press Windows + Shift + S. On Mac, press Command + Shift + 4. On Chromebook, press Ctrl + Show Windows. Capture only the object.
Step 3:
Open the screenshot in your preferred image editor. Crop out any extra parts around the object. This keeps your image clean and focused.

Step 4:
Choose the file format, like PNG or JPEG, and save it to your computer. Give it a clear name so you can find it later.
Conclusion:
Saving a Google Slides as an image is simple. Once you know the steps, you can do it quickly and without stress. This makes it easy to use your slides in other documents or share them on their own.
Remember to choose the right file format. PNG works well for clear images with text, while JPEG is good for photos. Picking the best format can make your slides look sharper and more professional. If you run into small issues, like cropping mistakes or low resolution, try double-checking the slide size before exporting. A small adjustment can save time later. For extra help, you might explore extensions or tools that let you export slides in bulk. They can speed up your workflow if you do this often.
People Are Also Reading:
• How to Download Google Slides as PDF Files
• How to Edit Master Slide in Google Slides Quickly
• How to Open Edit History in Google Slides Step by Step
With these tips, saving your slides as images becomes smooth and practical. You can easily include them in projects, presentations, or emails and keep your work looking neat.
FAQs:
How can I save an image on the Google Slides mobile app?
Open your slide and tap the image you want. Look for the option “Save to Keep” or “Copy”. From Keep, you can then save it to your device’s gallery.
Does saving the image through Keep affect its quality?
The image may lose a little quality when saved through Keep. It is usually still clear enough for most uses, but it might not be as sharp as the original.
Can I save the entire slide instead of just the image?
Yes, you can save a full slide as an image. Go to File > Download > PNG or JPEG to save the slide to your device.
Can I use an image editing app to save the image?
Yes, you can copy the image from Google Slides and paste it into an image editing app. From there, you can save or edit it however you like.
Is there a way to save each slide as a separate image file?
Yes, use File > Download > PNG or JPEG. Each slide will be saved as its own image file.
Are there add-ons for Google Slides that help save images?
Yes, some add-ons let you export images or slides easily. Check the Add-ons menu in Google Slides to find one that fits your needs.
Can I just right-click and save an image from Google Slides?
Not always. Right-click may not show a save option for some images. Using “Save to Keep” or downloading the slide as an image works more reliably.


You may also be interested in ...

How To Create An Eye-Catching Portfolio
If you’re looking to create an eye-catching portfolio, this post will come in handy. In this article, you can find the easies...
23 Jun, 2024

How To Easily Create An Infographic
Infographics are the perfect way to make a presentation that will impact an audience, but their design and composition might...
08 Jun, 2024

PowerPoint Template Tips & Tricks You Ne...
PowerPoint seems to be an unknown world for many people, especially those who have been assigned to create a presentation out...
08 Jun, 2024