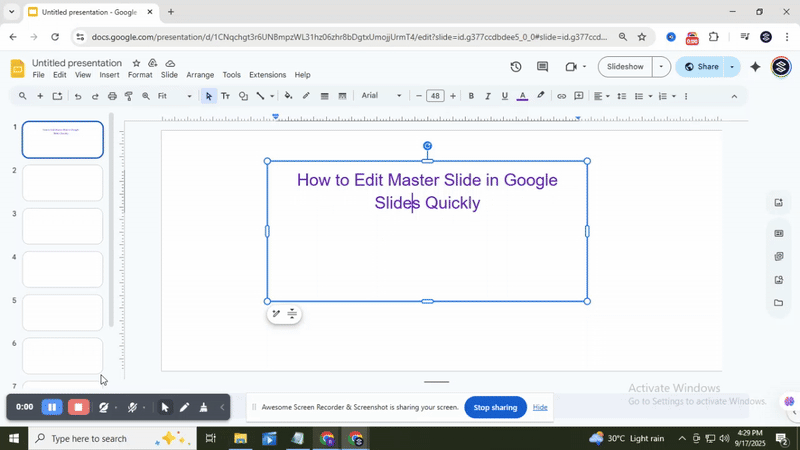
How to Edit Master Slide in Google Slides Quickly

Editing slides one by one can take a lot of time and cause inconsistencies in your presentation. This makes the whole process frustrating and slows down your workflow. Luckily, using the Master Slide in Google Slides helps you fix these issues quickly and keep your design consistent. Let’s explore how to edit the Master Slide with easy steps that save you time and effort.
Why Use the Master Slide?
Using the master slide helps keep your presentation consistent. It sets the style, fonts, and colors for all slides at once. This saves time because you don’t have to change each slide separately. When you update the master slide, all slides reflect those changes automatically.
The master slide also improves your workflow. It makes designing easier by reducing repetitive tasks. This way, you can focus more on the content instead of formatting. Plus, your presentation looks clean and professional with uniform design elements.
Keep reading to see key reasons for using the master slide. The following points explain how it boosts efficiency and keeps your slides organized.
How to Edit a Master Slide in Google Slides?
Learn how to edit the Master Slide in Google Slides to customize your presentation’s look—read the points below to get started.
Step 1: Open Your Presentation:
To begin, sign in to your Google account. Then, open the Google Slides presentation you want to edit.
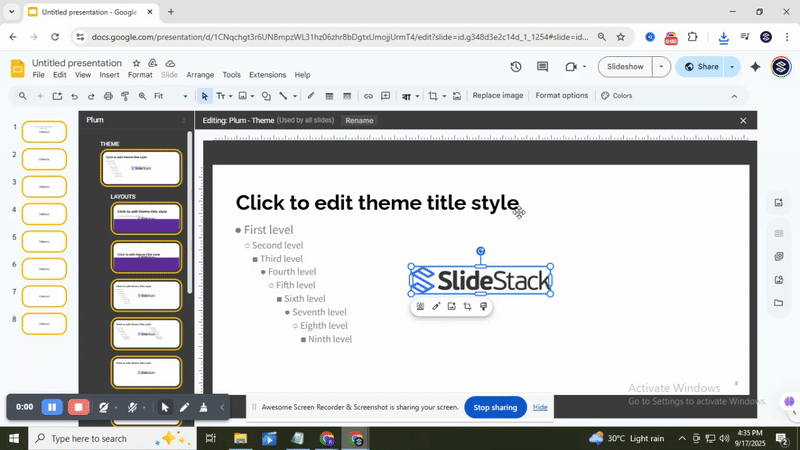
Step 2: Navigate to the Master Slide View
To make changes that affect every slide, you need to open the master slide "View". Start by clicking on the View tab in the menu bar. From the "drop-down" list, choose "Theme Builder". This will display a set of layouts linked to your theme.
Step 3: Select the Master Slide:
Look at the left panel. The top slide is the Master Slide. Click it. You’ll see smaller layouts underneath. That’s how you know you’ve selected the right one.

Step 4: Edit the Master Slide:
You can change fonts, colors, backgrounds, and move or resize elements on the Master Slide. Additionally, adding placeholders for text, images, or videos helps guide where content should go on individual slides later.
Step 5: Adjust Layouts:
Adjust individual slide layouts below the master slide to customize different slide types like title and content slides. Resize or reposition placeholders such as text boxes and image areas for better design flexibility and a cleaner look.
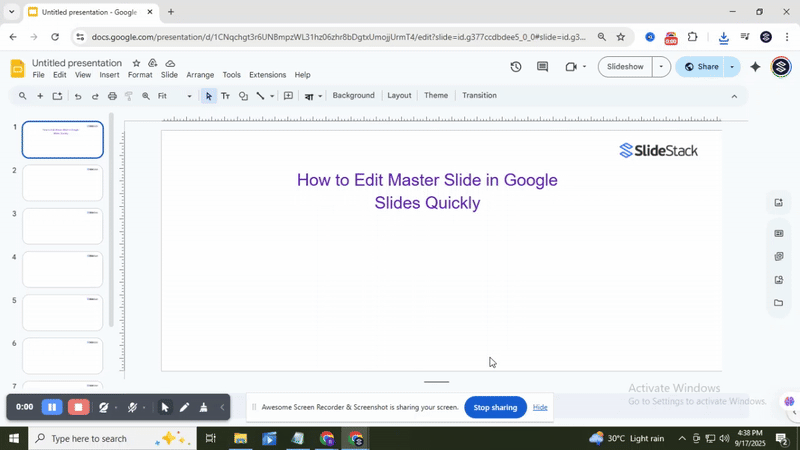
Step 5: Close Master View
Click the “X” or “Close Master View” button to exit. Your changes will update every existing slide and any new slides created from this master layout.
How to Edit Layout in Google Slides?
Step 1: Start with the layout view.
Open your presentation, then click on Slide > Edit theme. This brings you to the theme editor, where layout options are stored.

Step 2: Pick the layout you want to change.
Look at the left sidebar. You’ll see smaller slide designs under the main slide. These are layouts. Select one that fits your content needs.
• Option 1: You can change text boxes, add images, or resize shapes.
• Option 2: You can rename the layout so it’s easier to find when applying it later.
Each layout is like a preset. It helps you create slides with a consistent look, without editing the master slide every time.
Bonus Tips:
• Use fewer fonts to make your slides easier to read. Stick to one or two styles for a neat look.
• Keep spacing even around text and images. It helps your layout feel balanced and easy to follow.
• Avoid clutter by leaving some white space. It makes each point stand out more clearly.
Final Thoughts:
This feature makes your work simpler and more organized. It saves time by keeping everything consistent. You can complete tasks more efficiently and without extra effort. For bigger projects, it helps maintain clarity and smooth workflow from start to finish.
FAQs:
What is a Master Slide in Google Slides?
The Master Slide is the main slide that controls the design and layout of all slides in your presentation. It sets the fonts, colors, backgrounds, and other design elements. Changing the Master Slide lets you keep your presentation consistent without editing each slide individually.
How do I edit the Master Slide in Google Slides?
To edit the Master Slide, click on “View” in the top menu, then select “Master.” From there, you can change the background, fonts, colors, and layouts. Any changes you make here will affect slides linked to this master.
Can I add a logo to all slides using the Master Slide in Google Slides?
Yes, you can add a logo to the Master Slide. Once added, it will appear on all slides that use that master layout. This is an easy way to keep branding consistent.
How do I customize individual layouts in Google Slides?
In the Master view, each layout appears under the main Master Slide. You can select a layout and change its design, fonts, or placeholders. These changes apply only to slides using that specific layout.
Can I make custom changes for different layouts?
Yes, each layout can be customized separately. This allows you to have slides with different styles while keeping the main design consistent.


You may also be interested in ...

Tips To Create A Great Infographic
Infographics Have been around for a while, but not many people know about them or are their preferred presentation choice. If...
08 Jun, 2024

3 Steps To Create The Best Presentation...
Presentations are something wonderful when well done, you can captivate an audience or be super interested in what another pe...
23 Jun, 2024

3 Tips For Your Next Presentation You MU...
PowerPoint presentations are perfect for explaining a topic and communicating your ideas with a visual aid. But most people s...
08 Jun, 2024