How to Make a Calendar in Google Slides Quickly and Easily
Many people want to make a calendar in Google Slides. They open a blank slide and pause. The space looks wide, and they are not sure where to begin. The rows, columns, and labels feel like a lot to set up on their own. This slows the work and creates stress.
A clear plan removes that stress. A simple path shows what to add and where to place each part. The layout becomes easy to build, and the slide starts to look organized. The process feels steady and calm.
Now the steps guide the flow. Each step is short. Each step brings the calendar closer to a ready design.
Why Use Google Slides for Calendars
Google Slides makes creating calendars simple. You can add, move, and resize text or images easily. It works well for both personal and work schedules.
You can customize colors, fonts, and layouts to match your style. Sharing your calendar is quick, and others can view or edit it at the same time.
It also saves your work automatically. You won’t have to worry about losing updates.
Finally, it works on any device with internet access. You can check or update your calendar from a computer, tablet, or phone.
Benefits of Using Google Slides for Your Calendar
Google Slides makes creating a calendar simple and flexible. You can easily add dates, events, and notes without needing complex software. Editing is quick, so you can update your calendar anytime.
It also allows you to customize colors, fonts, and layouts to match your style. Sharing is easy too; you can send it to friends, family, or coworkers with a link.
Collaboration is another strong point. Multiple people can work on the same calendar at once, making planning smoother and faster.
Finally, Google Slides works on any device. You can view or edit your calendar on a computer, tablet, or phone. This keeps your schedule handy wherever you are.
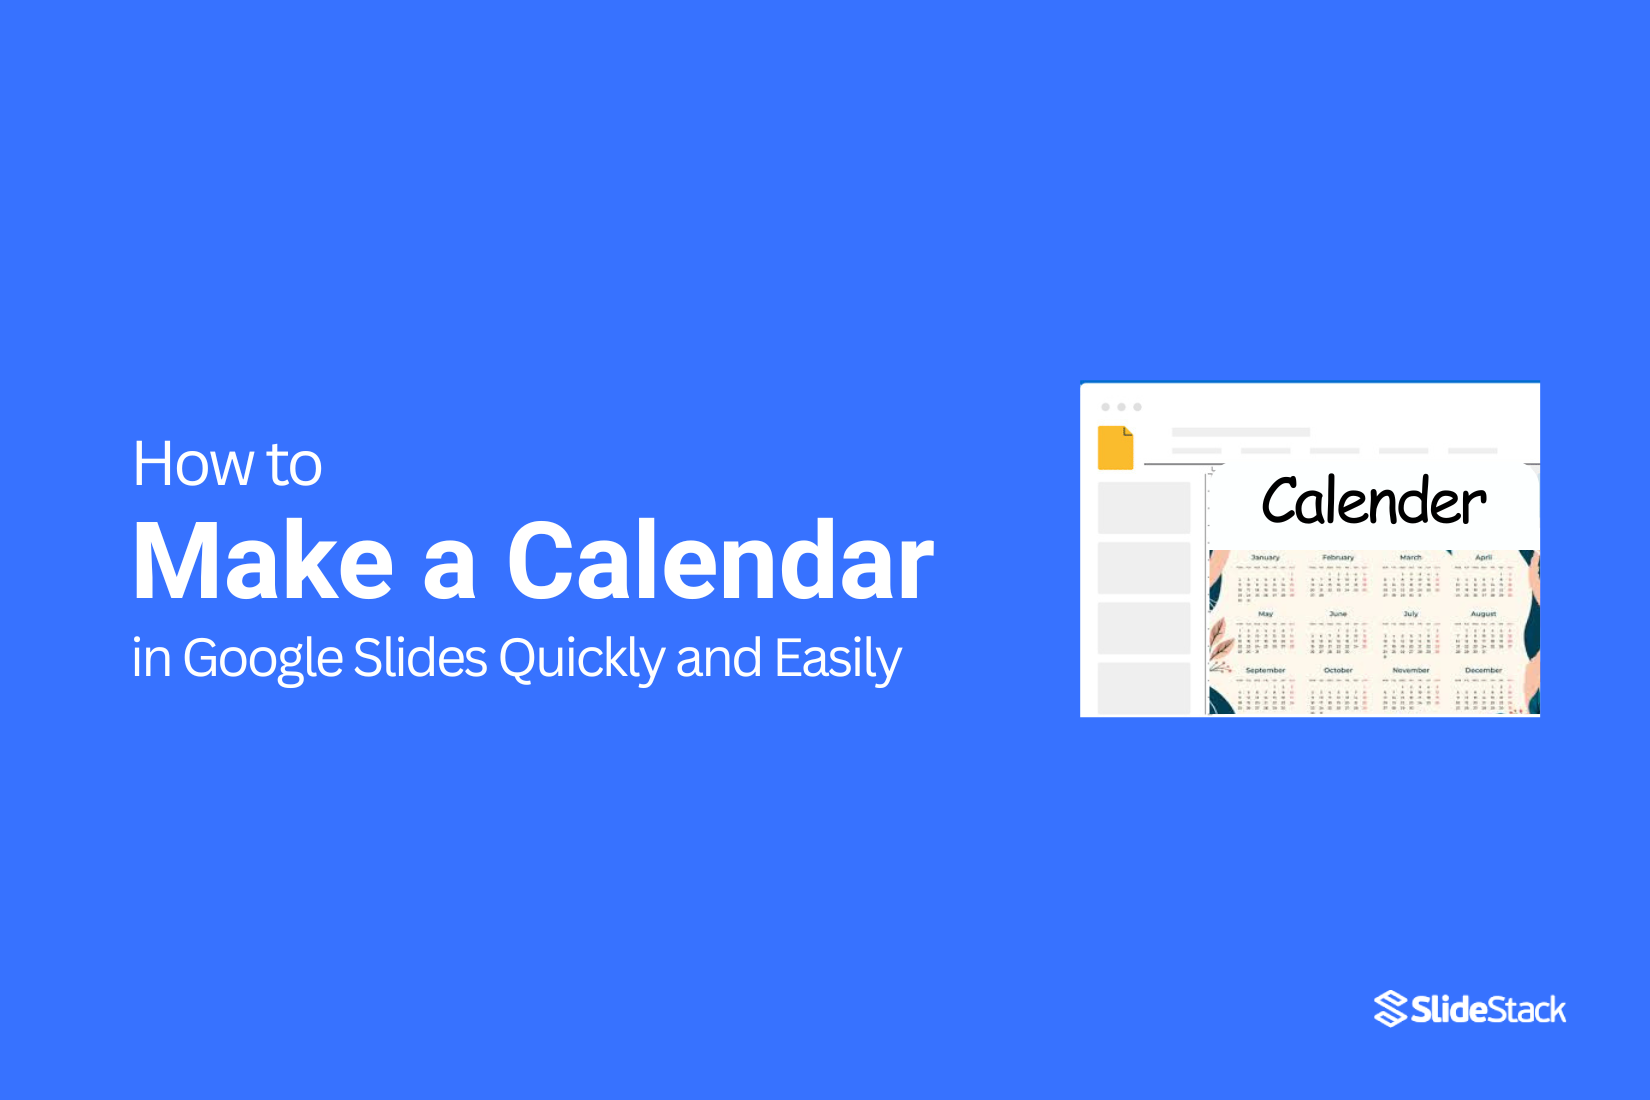
How to Insert a Calendar in Google Slides:
Adding a calendar to your slide helps your audience follow dates with ease. The steps are simple, and each one guides you through placing the calendar where you need it. Keep reading the points below to see how the process works.
Method 1: Manually Create a Calendar in Google Slides
Method 1 shows you how to build a simple calendar by hand using basic tools in Google Slides.
Step 1: Start with a blank canvas
Open a new slide and switch to a plain layout. A clean space gives your calendar room to shine.
Step 2: Build the table
Insert a table with seven columns. Add as many rows as you need for the days. Adjust the size so each box feels easy to use.
Step 3: Fill in the blanks
Type the days of the week across the top row. Add the dates in each box. Keep the layout neat and clear.
Step 4: Fine-tune the table
Adjust the borders and spacing. Make the boxes even so the calendar feels simple to follow.
Step 5: Style your calendar
Add soft colors, lighter lines, or bold text. Small touches help the layout stand out.
Step 6: Add a title
Place a short heading at the top. Keep it clear so the purpose of the slide is easy to spot.
Step 7: Enhance it with WordArt
Use WordArt for a fun twist. Pick a style that fits the mood of your calendar.
Read also: How to Use WordArt in Google Slides Easily
H3: Method 2: Create a Calendar in Google Slides Using Templates
Create a calendar in Google Slides using a template. This gives you a quick way to set up a clean layout without building each month from scratch.
Step 1: Open Google Slides. This is the file where you want your calendar.
Step 2: Click File in the top menu. This shows your file options.
Step 3: Select Import slides. This lets you bring in slides from a template.
Step 4: Pick your saved calendar template. A window appears with two choices:
- Click the thumbnail if it shows up in Recent.
- Click Browse to find the file on your computer. Select it, then click Open.
Step 5: Click Import slides. The calendar slides move into your presentation.
You now have the template inside your file. Adjust the dates and layout to match your needs.
Read also: How to Import Google Slides Themes Step by Step
Bonus Tips for Faster Calendar Creation
Keep your calendar simple. Use a single template for all months. This saves time and keeps your design consistent.
Use shortcuts in Google Slides. Copy and paste elements instead of recreating them. Group items so you can move them all at once.
Add colors and labels smartly. Pick a few colors for events or deadlines. This makes your calendar easy to read at a glance.
Check spacing and alignment before finishing. Proper spacing avoids clutter and keeps your calendar neat.
Finally, save a master copy. You can reuse it for future months without starting over.
Conclusion:
A short plan brings the work to a calm finish. Each step helps the layout take shape in a steady way. The table, colors, and title come together in a clean design. Now the slide holds a calendar that is easy to read and simple to update. This gives you a tool that fits many needs and keeps your dates in one clear place.
FAQs:
Can I customize how the calendar looks in my slides?
Yes, you can change the look of the calendar. You can adjust colors, fonts, and layout. You can also resize each part to match your slide style. These edits help the calendar fit the theme of your presentation.
How can I add holidays to my calendar?
You can add holidays by typing them into the date boxes. Some users like to use small icons or color codes to make special dates easy to spot. You can choose any style that feels clear and simple for your audience.
What happens if I delete the calendar by mistake?
You can undo the change right away using the undo button. Another option is to add the calendar slide again from your file or template. This gives you a clean version without extra work.
Can I link specific dates to other documents?
Yes, you can add a link to any date box. Highlight the text or shape, then attach a link to a file, slide, or webpage. This helps your audience move to extra details with one click.


You may also be interested in ...

How To Create An Eye-Catching Portfolio
If you’re looking to create an eye-catching portfolio, this post will come in handy. In this article, you can find the easies...
23 Jun, 2024

How To Easily Create An Infographic
Infographics are the perfect way to make a presentation that will impact an audience, but their design and composition might...
08 Jun, 2024

PowerPoint Template Tips & Tricks You Ne...
PowerPoint seems to be an unknown world for many people, especially those who have been assigned to create a presentation out...
08 Jun, 2024