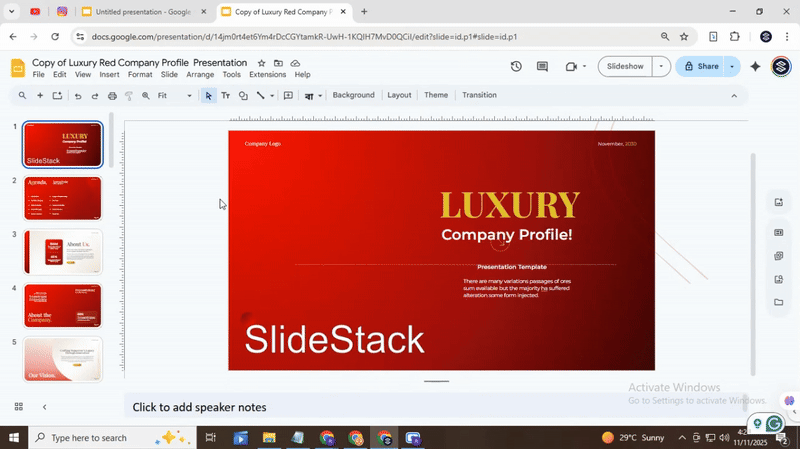
How to Use WordArt in Google Slides Easily
Plain text on a slide can make your presentation look dull and forgettable. Many people struggle to make their titles or key points stand out, even when the content is strong. This can leave audiences disengaged and slides feeling lifeless.
WordArt in Google Slides solves this problem by turning simple text into eye-catching designs. With just a few clicks, you can create bold, colorful, and dynamic text that draws attention.
Next, we will walk you through how to add WordArt step by step, so you can bring your slides to life with style and ease.
How to Add Word Art in Google Slides?
Give your text a creative twist by adding Word Art to make your slides more fun and eye-catching.
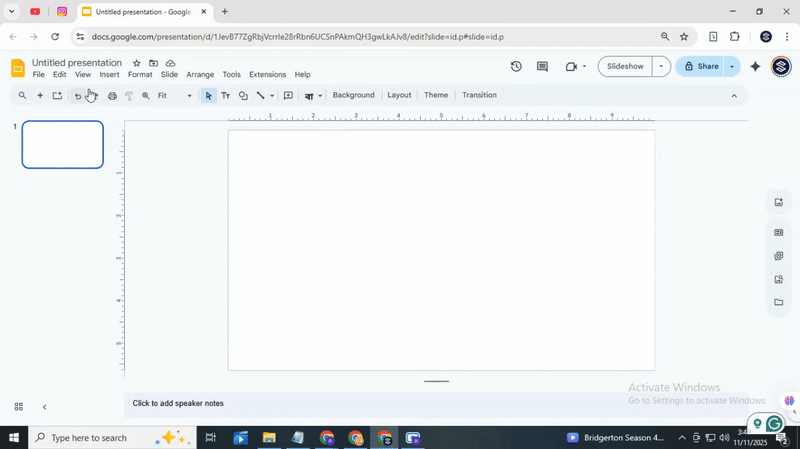
Step 1: Access the Insert Menu
Open your Google Slides presentation and look at the top menu bar. Click on Insert to open a drop-down list. Here, you’ll find options like Text Box, Image, Shape, or Chart that you can add to your slides. These are the most common elements to help you start building your content quickly.
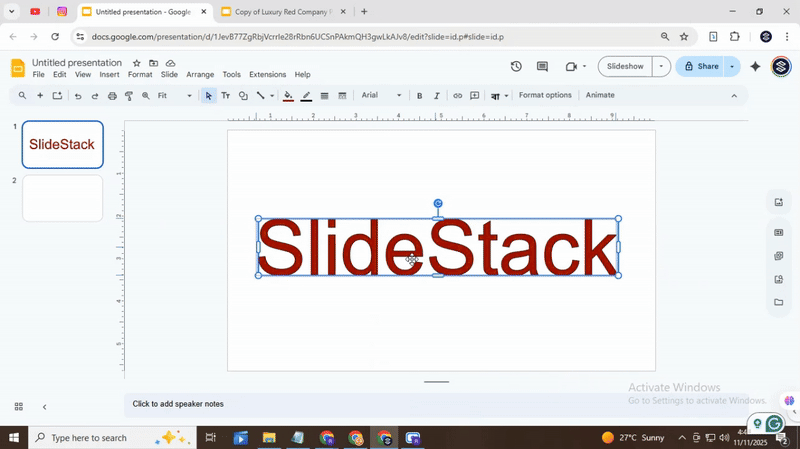
Step 2: Find the Word Art Option
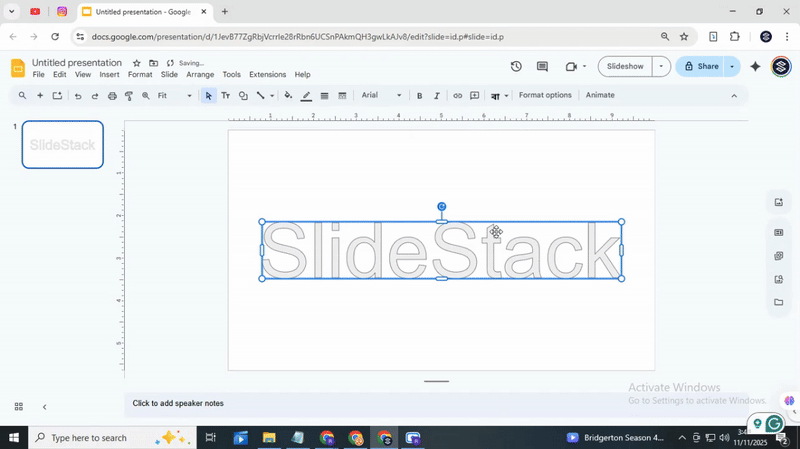
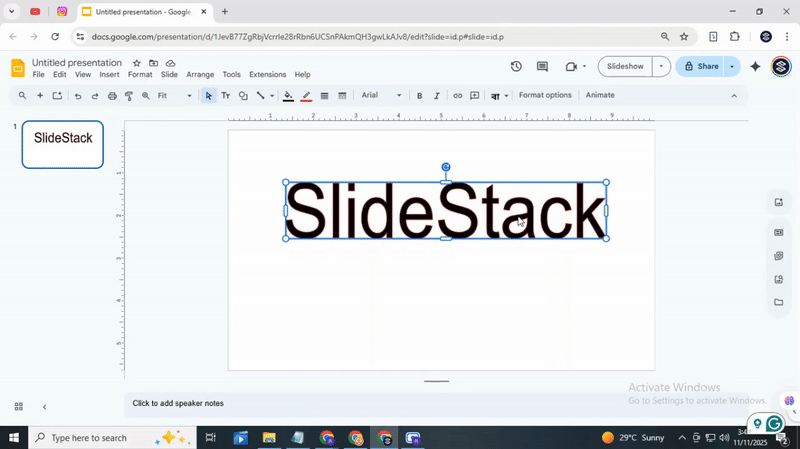
After opening the Insert menu, scroll down and click Word Art. A small text box will appear on your slide. This is where you will type the text you want to turn into Word Art.

Step 3: Craft Your Text Box
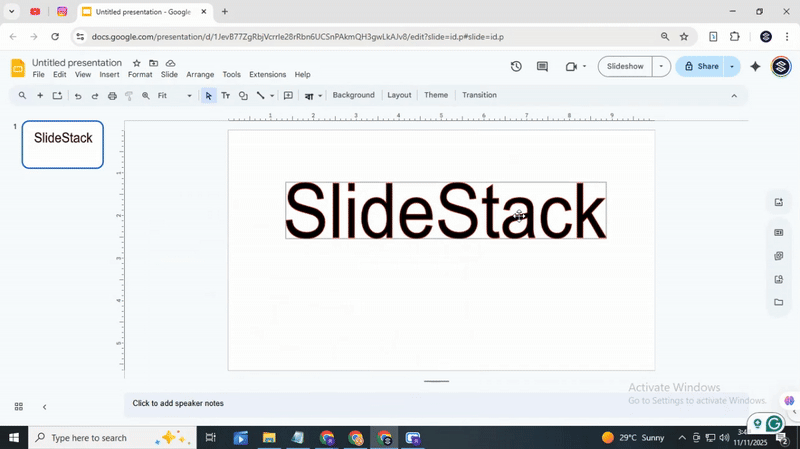
Type your message into the Word Art box and press Enter. Your text now appears on the slide in the Word Art style. You can move it around and resize it to fit your layout perfectly.
Step 4: Bring Your Word Art to Life
Customize your Word Art by changing the font, color, or adding effects from the toolbar. Experiment with outlines or bold colors to make your text stand out. Adjust it until it looks just right on your slide.
How to Edit the Text in Word Art in Google Slides
Editing WordArt text in Google Slides is quick and simple. Follow these steps:
Select the WordArt
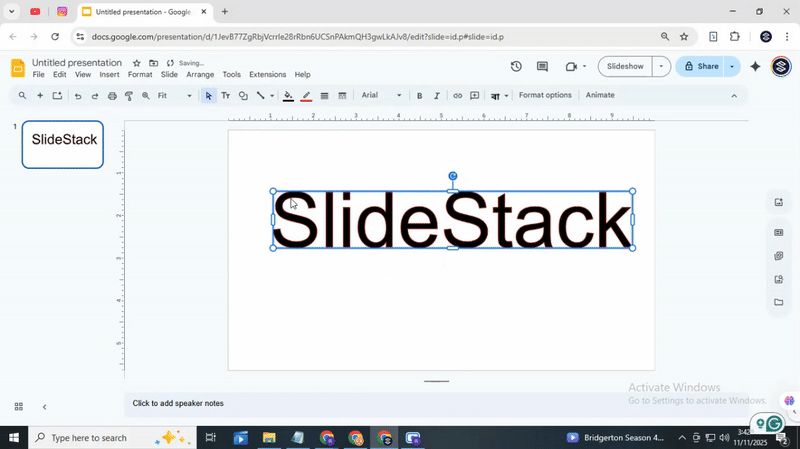
Click on the WordArt object you want to change. A border will appear around it, showing it is active.
Edit the text
Double-click the text inside the WordArt. Type your new text. Use the toolbar to change font, size, or color if needed.
How to Customize Word Art in Google Slides
Customizing Word Art in Google Slides can make your text stand out. Follow these steps to give your Word Art a unique look.
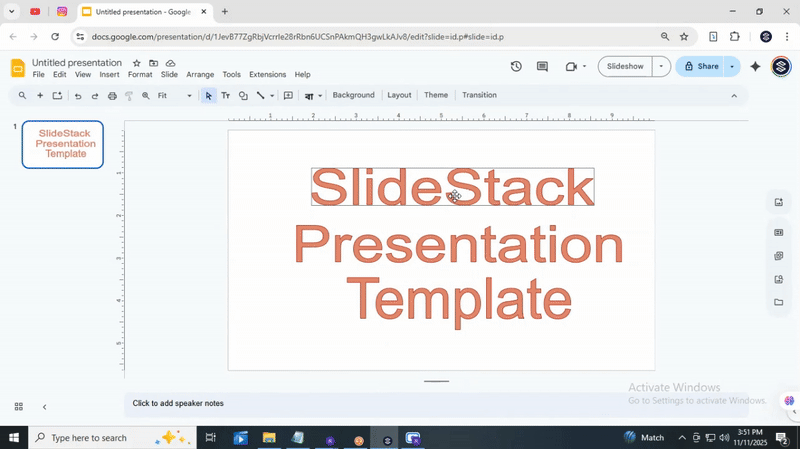
Step 1: Select the Word Art Object
Click on the Word Art you want to change. A blue box with small squares will appear around it. This shows that the object is selected. You can now make edits and apply new styles.
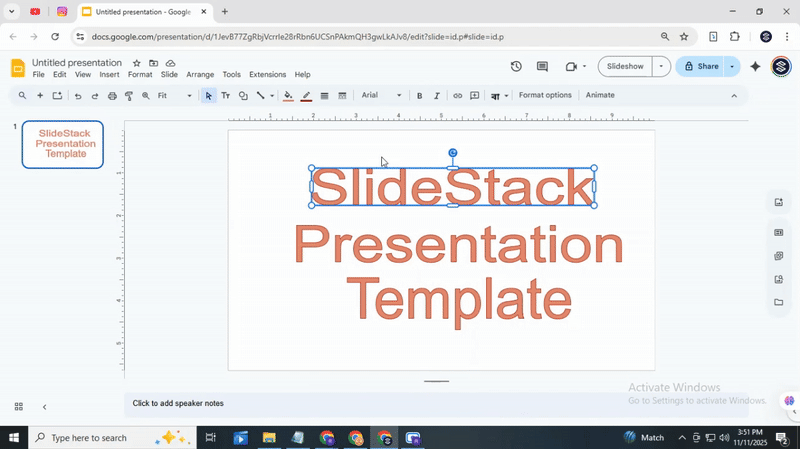
Step 2: Explore the Formatting Options
Look at the toolbar at the top. You can change the font to match your style. Try different sizes to see which one fits best on your slide. Click the text color button to choose a new color. Each choice updates your Word Art instantly so you can see how it looks.

Step 3: Personalize with Borders
Borders can add a clear outline to your Word Art. Click the border color icon to pick a color. Use the border weight option to make the outline thicker or thinner. You can even change the border style to dashed or solid. These adjustments help your text pop on the slide.
Step 4: Witness the Transformation!
After applying fonts, colors, and borders, your Word Art will look fresh and lively. Move it around the slide to find the perfect position. Each change updates immediately, so you can see your creativity come to life. Small tweaks can make a big difference in how your slide appears. Customizing Word Art is simple and fun. With a few clicks, you can turn plain text into eye-catching headings or titles. Experiment with different combinations to find a style that matches your presentation.
How to Add Word Art Effects in Google Slides
Adding effects to Word Art makes your text stand out. You can create shading, 3D looks, reflections, and gradients. Follow these steps to apply each effect easily.
1. Shading and Drop Shadows
Shading and drop shadows add depth to your text, making it easier to read and visually appealing.
1. Select your WordArt text.
2. Click on the “Format” menu, then choose “Format options.”
3. Open the “Drop shadow” section.
4. Adjust the color, transparency, angle, distance, and blur to see what looks best.
Tip: Use a light shadow for subtle depth or a darker shadow to make text pop against a bright background.
2. Creating 3D Text
3D text makes your words appear raised or carved, giving a more dynamic look.
1. Select the WordArt text.
2. Change the text color to “Transparent.”
3. Choose a border color, thickness, and line style. For example, a white border with 4px thickness and solid lines works well.
4. Add a drop shadow using the steps above to enhance the 3D effect.
Tip: Experiment with different border colors to match your slide design.
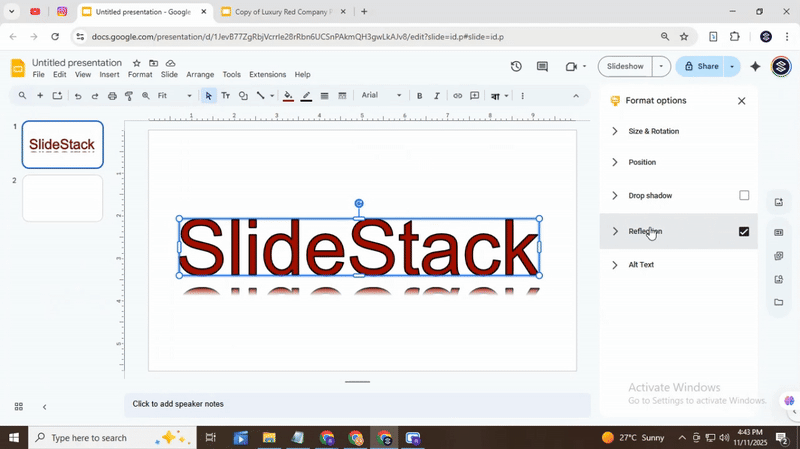
3. Reflections
Reflections create a mirror effect below your text for a polished look.
1. Select your WordArt text.
2. Click on “Format options.”
3. Open the “Reflection” section.
4. Adjust the transparency and distance until you like the appearance.
Tip: Keep reflections subtle. High transparency looks more natural than a solid mirror.
4. Blending Colors with Gradients
Gradient fills blend two or more colors across your text for a smooth, colorful effect.
1. Select your WordArt text.
2. Click the “Fill color” option in the toolbar, then choose “Gradient.”
3. Pick a preset gradient or create a custom one by selecting colors and adjusting the angle.
4. Apply the gradient and see how it changes the text's look.
Tip: Use colors that match your slide theme for a professional touch.
Experiment with these effects to find combinations that suit your slides. Each setting can be adjusted until the text looks just right.
Understanding the Use Case of Word Art in Google Slides
WordArt isn’t just decorative text; it’s a versatile tool that can make your presentations more engaging and easier to understand. Here are some practical ways you can use WordArt effectively:
Highlight Key Points: Use WordArt to draw attention to crucial terms or phrases in your slides. For instance, in a sales presentation, emphasize “Quarterly Growth” or “Top Performing Product” so your audience immediately notices what matters most.
Create Visual Hierarchy: Large, styled WordArt can indicate headings or main ideas, while smaller text handles details. In a project update, the main project phase could be in bold WordArt, with supporting tasks in regular text, making the structure clear at a glance.
Add Personality to Slides: When presenting a creative pitch or brainstorming session, WordArt can convey tone or mood. For example, a playful font for team-building ideas adds energy and makes the content feel approachable.
Emphasize Numbers or Data: Important statistics or figures stand out when styled as WordArt. For example, displaying “75% Customer Satisfaction” in WordArt instantly catches the eye, supporting your narrative in a data-driven presentation.
Guide Audience Focus: In training or educational slides, use WordArt as a visual cue. Highlight steps like “Step 1: Research” or “Step 2: Analysis” to help viewers follow a process without losing track.
Enhance Event or Campaign Slides: For events, launches, or marketing campaigns, WordArt can make titles or taglines more dynamic. A slide titled “Spring Sale Extravaganza” in WordArt instantly communicates excitement and theme.
WordArt, when applied thoughtfully, strengthens both readability and visual engagement. It’s a tool to guide your audience’s attention, emphasize important ideas, and add character to your presentation without overwhelming the content.
Closing Thoughts
Using WordArt in Google Slides can make your presentations more lively and easier to follow. Even small changes, like a new font or border, can make a big difference. By highlighting key points, adding personality, or guiding your audience’s focus, WordArt helps your slides communicate better. Take a few minutes to experiment, and your plain text can turn into slides that capture attention and make your message stick.
FAQs
Is there a way to animate my Word Art?
Yes, you can animate Word Art in Google Slides. Select your Word Art, click on “Animate,” and choose an effect like fade, fly in, or bounce. You can also adjust the speed and order of the animation.
How do I change the font size of my Word Art?
Click on your Word Art to select it. Then use the font size menu or the plus and minus buttons to increase or decrease the size. You can see the changes in real time on your slide.
Is there a way to create a 3D effect with Word Art?
You can make Word Art look 3D by adding shadows or reflections. Go to the “Format” options and pick “Format options” to find shadow settings. Adjust the angle, distance, and blur to create a 3D-like effect.
How do I make my Word Art text curved?
Select your Word Art, then click “Format options” and choose “Text fitting” or “Shape.” Some versions let you use “Word Art styles” to curve the text around a circle or arc. Adjust the curve to fit your design.
Can I add an image inside my Word Art?
Yes, you can place an image inside Word Art by using a mask or shape. First, insert the image and then select the text. Use “Mask with shape” to fit the image inside the Word Art letters.
Is it possible to rotate the text in my Word Art?
Yes, select your Word Art and click the rotate handle at the top. Drag it to turn your text to any angle. You can also use the “Rotate” menu to flip or set a precise degree.


You may also be interested in ...

How To Create An Eye-Catching Portfolio
If you’re looking to create an eye-catching portfolio, this post will come in handy. In this article, you can find the easies...
23 Jun, 2024

How To Easily Create An Infographic
Infographics are the perfect way to make a presentation that will impact an audience, but their design and composition might...
08 Jun, 2024

PowerPoint Template Tips & Tricks You Ne...
PowerPoint seems to be an unknown world for many people, especially those who have been assigned to create a presentation out...
08 Jun, 2024