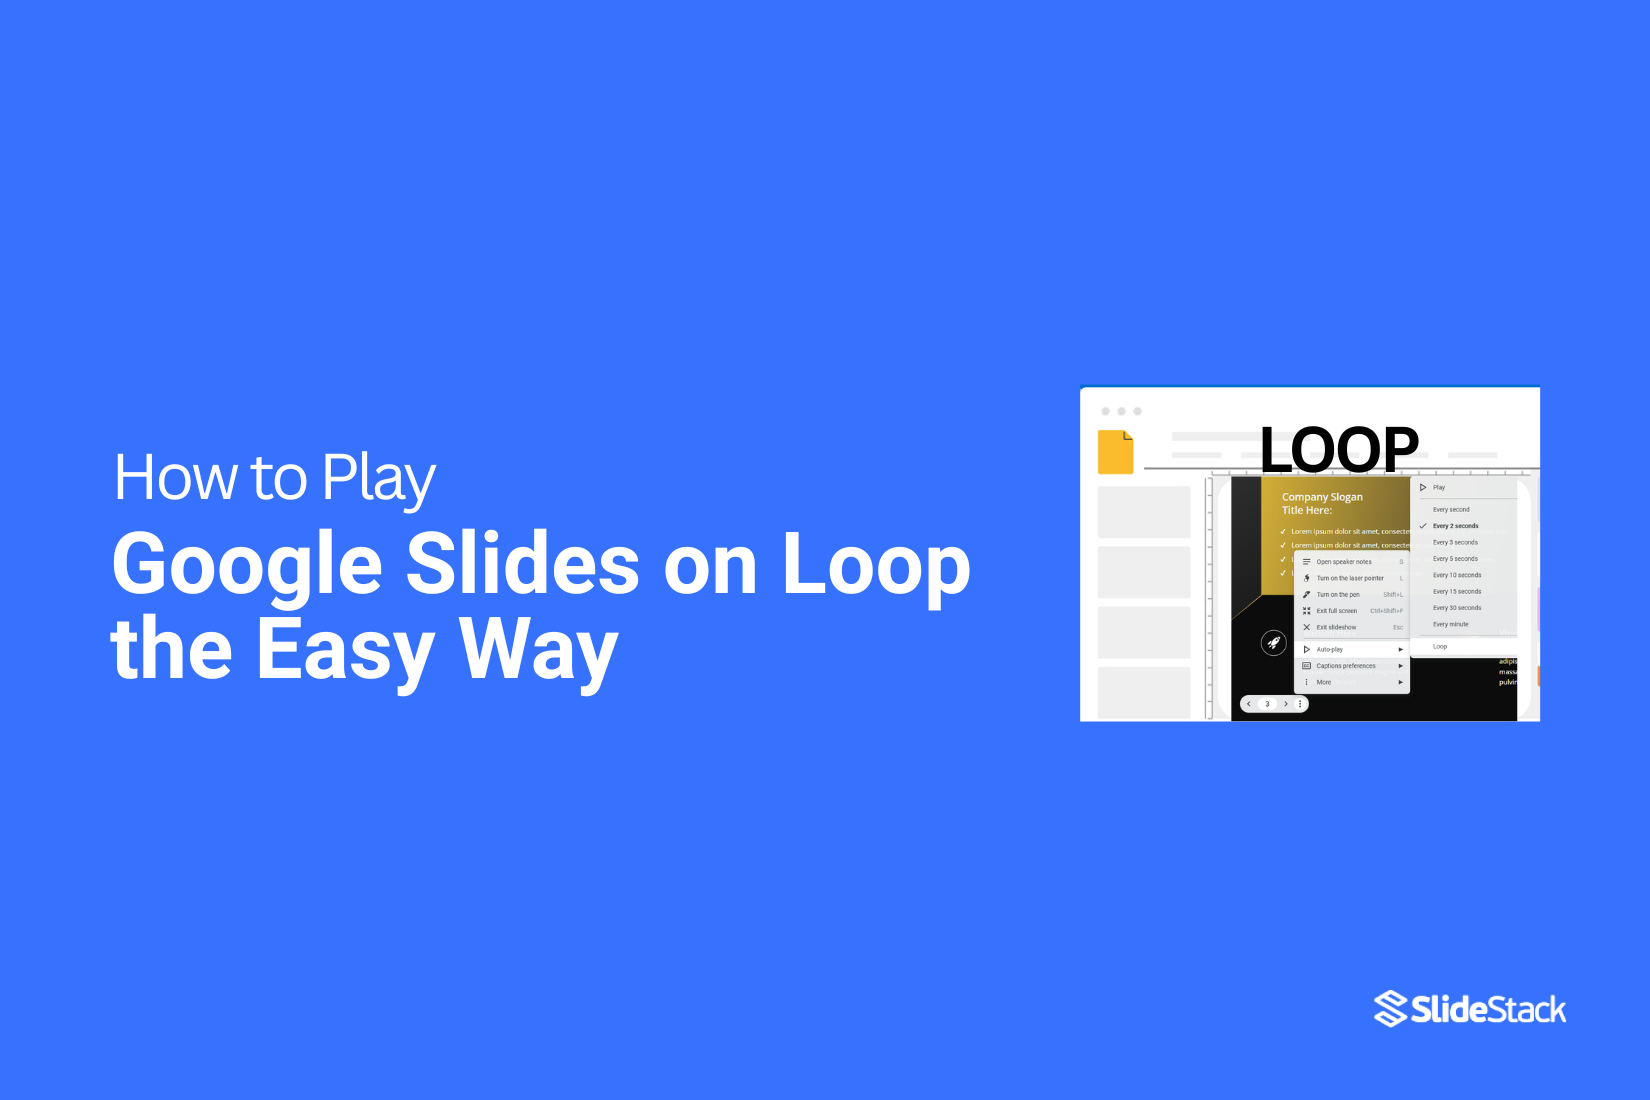
How to Play Google Slides on Loop the Easy Way
Some people struggle to keep a presentation running without stopping. The slides pause, the flow breaks, and the room starts to wait. This simple problem can slow events or displays. A steady loop can fix that. It keeps the show moving on its own and removes the need to click through each slide. Next, it helps you stay focused on the moment while the screen handles itself. The steps to set this up are short and clear. You learn how the feature works. You set the pace. You share the final link if you need it for a wider view. The guide below walks you through each part with ease.
Why Would You Require Google Slides to Play Automatically?
Playing Google Slides automatically can save time and make presentations smoother. It is useful in many situations:
• Trade shows or exhibits: Slides can loop on a screen without a speaker.
• Classroom lessons: Teachers can let slides advance while students focus on activities.
• Company lobbies: Display information or promotions continuously.
• Online tutorials or webinars: Pre-recorded slides keep the flow without manual clicks.
• Events or conferences: Background slides can run while speakers prepare.
Automatic playback helps presentations run without interruption and keeps the audience engaged.
How to Make Google Slides Play Automatically?
Sometimes you want your Google Slides presentation to run on its own. This can be useful for displays, kiosks, or repeated meetings. There are two main ways to set slides to play automatically. This section covers the first method.
1. Using the “Slideshow/Presenter” Option to Play Google Slides Automatically
Follow these steps to make your slides advance without manual clicks:

Step 1: Open Your Presentation
Go to Google Slides and open the file you want to play automatically. Make sure all slides are ready and in order.
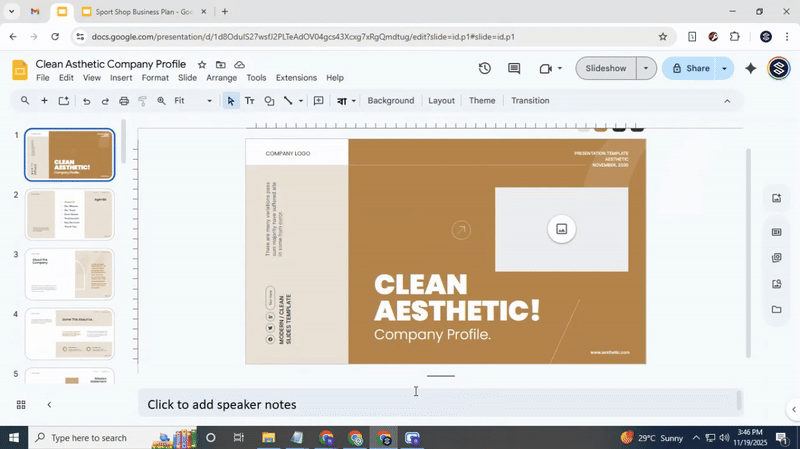
Step 2: Access the Slideshow Menu
At the top of the screen, click on Slideshow. Then select Auty Play or Play depending on your version.
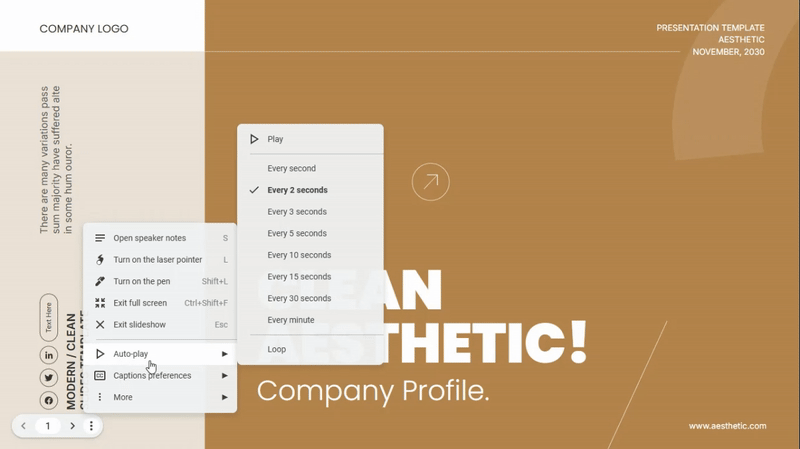
Step 3: Choose Auto-Play
Look for the option that says Auto-Play slides. You can select the timing for each slide. Common choices are every 3, 5, or 10 seconds.

Step 4: Start the Presentation
Click Play to begin the slideshow. The slides will now move automatically based on your timing settings.

Step 5: Loop the Presentation (Optional)
If you want the slides to repeat, check the Loop option in the settings. This will restart the presentation after the last slide.
Now your Google Slides can play automatically without any clicks. You can adjust timing or looping as needed to fit your display.
2. Using “the Publish to Web/Published Version” Option to Make Google Slides Play Automatically
Making your slides play automatically is simple with the “Publish to Web” option. This method lets your presentation start on its own and move through slides at the pace you choose. Follow these steps to set it up.

Step 1: Get Started
Open the Google Slides presentation you want to share. Then go to File → Share → Publish to web to bring up the publishing options.

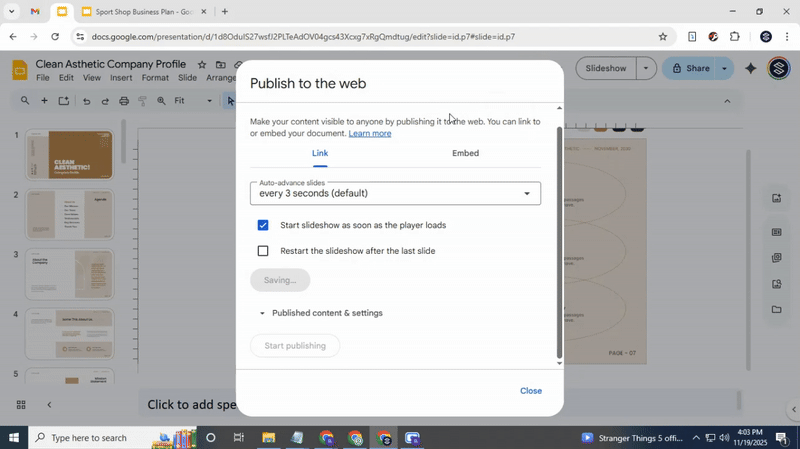
Step 2: Make it Automatic
In the pop-up window, select the Link tab. Turn on Start slideshow as soon as the player loads. This ensures your presentation begins automatically for anyone opening the link.

Step 3: Set the Pace
Under Auto-advance slides, choose the duration for each slide to remain on screen. This helps maintain a smooth flow without overwhelming viewers.
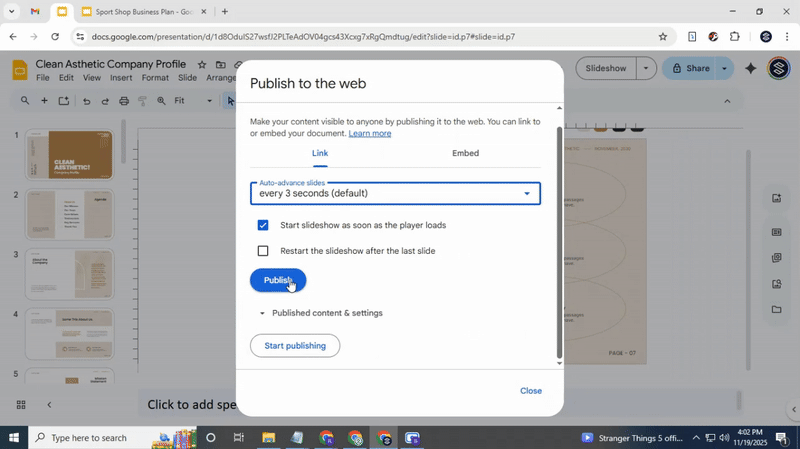
Step 4: Publish It
Once the settings are set, click Publish. A confirmation message will appear; select OK to finalise.
Step 5: Share the Link
After publishing, copy the link provided. Share it with anyone who should view your slideshow.
Final Words:
Now you can keep your slides moving without interruptions. Automatic playback saves effort and makes any presentation look polished. Whether for a display, lesson, or event, your slides will keep running at the pace you choose. Try both methods and pick the one that works best for your situation. With these steps, you are ready to set your presentation on a loop and let it run smoothly every time.
Read Also:
How to Wrap Text in Google Slides Easily
How to Make Any Background Transparent in Google Slides
How to Arrange and Align Objects in Google Slides
How to Use WordArt in Google Slides
FAQs:
1. How do I stop the loop?
Open your presentation in Google Slides. Go to File > Publish to the web and uncheck the “Restart slides after the last slide” option. This will stop the slides from looping automatically.
2. Can I loop only a section of my Google Slides?
No, Google Slides only allows looping the entire presentation. You can duplicate the slides you want to loop and create a separate file to play just that section.
3. Are there any limitations to looping Google Slides?
Yes. You cannot loop a specific section, and animations or transitions may reset when slides repeat. Also, embedded videos may not play automatically in a loop.
4. Can I loop a presentation offline?
No, the built-in loop option works only when published online. Offline, you can manually replay slides or use a third-party tool to simulate looping.


You may also be interested in ...

How To Create An Eye-Catching Portfolio
If you’re looking to create an eye-catching portfolio, this post will come in handy. In this article, you can find the easies...
23 Jun, 2024

How To Easily Create An Infographic
Infographics are the perfect way to make a presentation that will impact an audience, but their design and composition might...
08 Jun, 2024

PowerPoint Template Tips & Tricks You Ne...
PowerPoint seems to be an unknown world for many people, especially those who have been assigned to create a presentation out...
08 Jun, 2024