How to Create Flowcharts in Google Slides for Better Organization
Messy slides, unclear workflows, and scattered information can make meetings longer and leave teams unsure about the next steps.
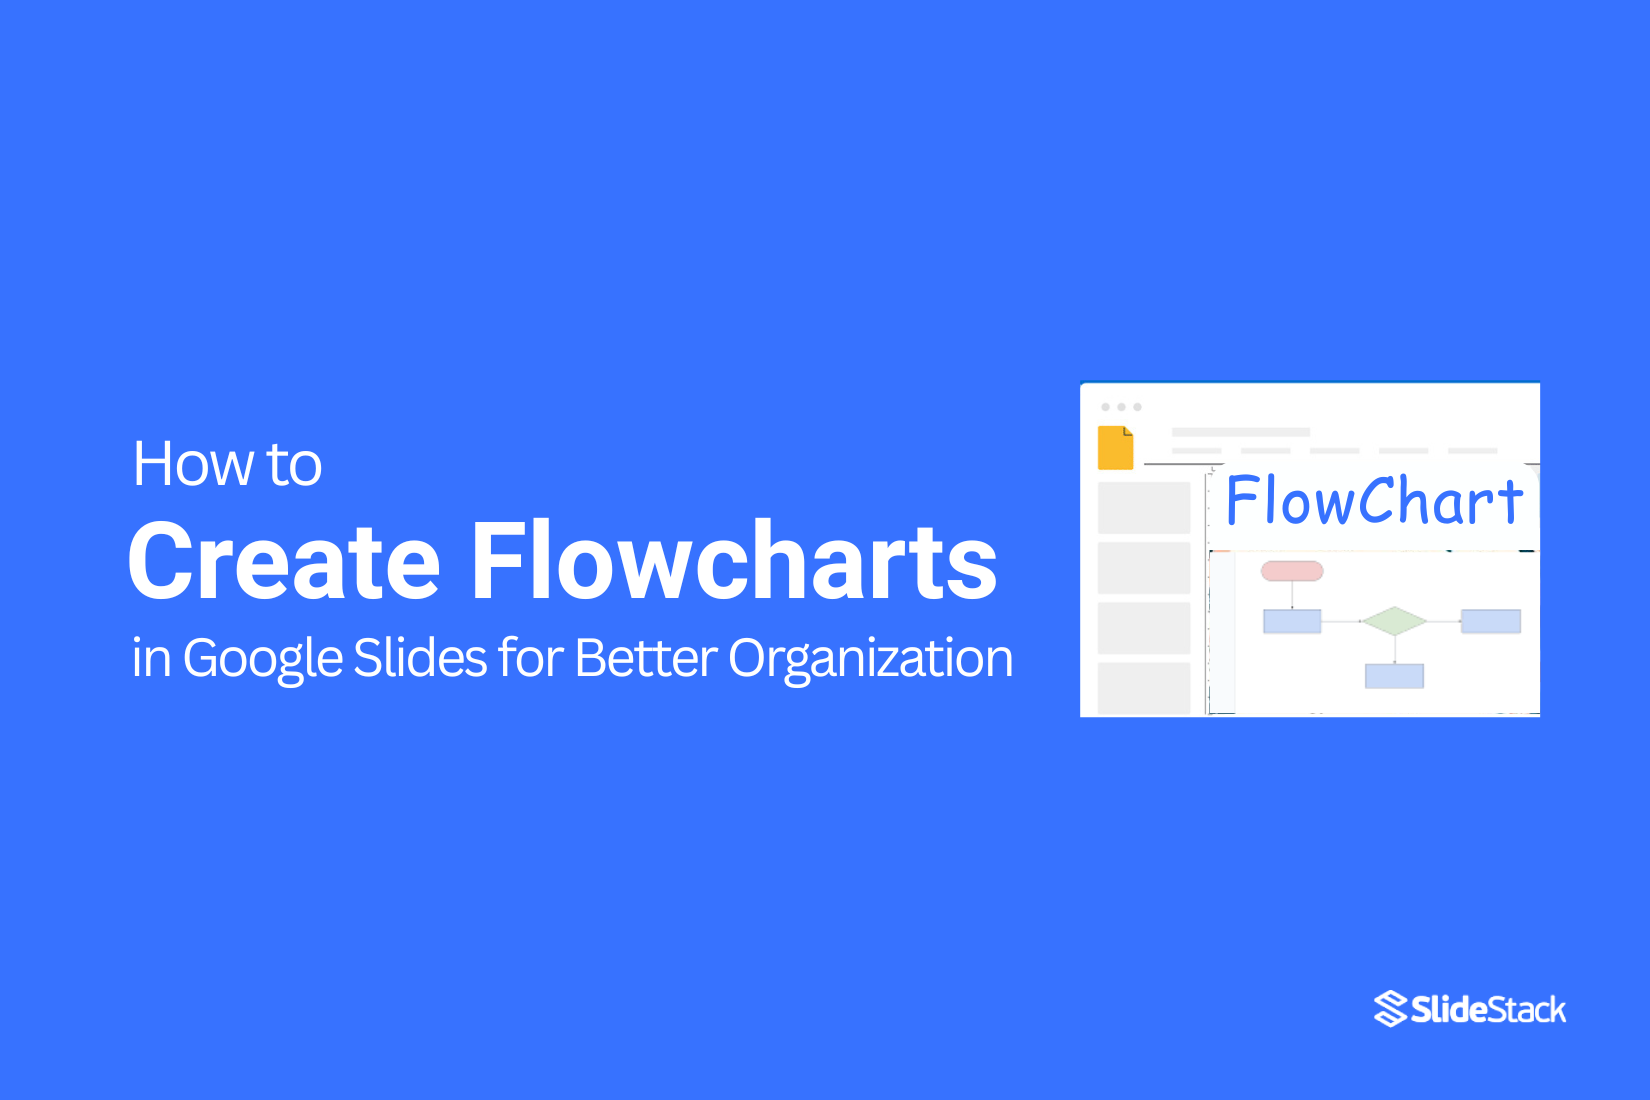
Creating flowcharts in Google Slides provides an easy solution. With a few shapes, lines, and arrows, you can turn scattered ideas into a clear visual map. Flowcharts show steps, connections, and priorities at a glance, making projects easier to manage and presentations more effective.
Creating a flowchart in Google Slides can help you show processes, ideas, or decisions visually. You can start from scratch or use a pre-made template. Templates are quicker, but creating a flowchart manually gives you full control over each shape and connection.
How to create a flowchart in Google Slides from scratch
You can either design flowcharts manually by inserting and aligning shapes or use a pre-built Google Slides flowchart template if you want a quicker option.
To make a flowchart manually in Google Slides, follow these steps.
Step 1: Create a blank slide
Step 2: Go to “Insert” and select “Shape”
Step 3: Add lines or arrows to connect your flowchart shapes
Step 4: Add text to your flowchart
Step 5: Customize your flowchart
Step 6: Save your flowchart
Let’s look at each of these steps in detail:
Step 1: Create a Blank Presentation Slide
Before adding any content, I’ll first open up a blank slide. Starting with a clean slide makes it easier to organize your ideas and avoid unnecessary clutter. It gives you full control over the layout and design from the very beginning.
To create a blank slide, click on the “New Slide” button in your presentation software. Most programs will add a default layout, so make sure to select the blank option. This removes any preset text boxes or images, giving you a completely empty canvas.
Tip: If you’re using Google Slides, go to Slide > New Slide, then choose Blank from the dropdown menu. In PowerPoint, click Home > New Slide, then select Blank. Having this blank foundation ensures that the next steps, like adding text or images, stay neat and easy to manage.
Step 2: Click on “Insert” and then “Shape” to add flowchart shapes.
Flowcharts use shapes to show different types of actions or decisions in a process. Each shape has a specific role, so choosing the right one makes your chart easier to understand.
First, go to the menu at the top of your slide. Click Insert, then select Shape from the dropdown. A list of shape options will appear. Look for the section labeled Flowchart.
• Process (rectangle): Use this for regular steps in your workflow. It shows tasks or actions clearly.
• Decision (diamond): This shape represents a choice point. It usually asks a yes/no question or presents two options.
• Terminator (oval): Start or end points of the process go here. It marks the beginning or conclusion.
• Input/Output (parallelogram): Use this for data coming into or leaving the process, like files, reports, or user input.
• Document (rectangle with wavy base): Shows information in the form of a document or report.
• Click the shape you want, then click or drag on the slide to place it. Repeat this process to build your flowchart step by step, making sure each shape matches the action or decision it represents.
Step 3: Click on “Insert” > “Line” to add flowchart lines
Adding lines to your flowchart is essential because they show how each part connects. Without lines, your chart can look confusing, and viewers may not understand the process. For example, if you have a “Start” box and several decision points, lines guide the eye from one step to the next, making the flow clear.
To insert lines in Google Slides, click on Insert in the top menu. Then select Line. You can choose from straight lines, arrows, or elbow connectors, depending on the style you need. After selecting a line, click and drag from one shape to another to link your steps. This creates a clear path that visually explains how each part of your process relates.
Step 4: Add text to your flowchart
Adding text to your flowchart helps clarify each step and makes the diagram easier to understand. Clear labels let anyone reading the chart know exactly what each shape represents.
1. Click on the shape where you want to add text.
2. Start typing your description directly inside the shape. Keep it short and precise.
3. Use line breaks if needed to separate ideas and keep the text readable.
4. Adjust the font size or style if the text doesn’t fit well.
Tip: To save time, double-click a shape to start typing instantly. You can also copy and paste text from a list if you have many steps.
Example: If you are mapping out a hiring process, label a rectangle “Review Resumes.” This makes it clear what happens at that step and helps team members follow the workflow without extra explanation.
Step 5: Customize your flowchart
A plain flowchart can feel dull and hard to follow. All the boxes and lines in the same style make it easy to lose track of the steps. Customizing your flowchart solves this problem. It helps your readers quickly understand the process and keeps them engaged.
Start by adjusting the colors. Use different shades to separate key steps from supporting ones. Highlight important decisions or outcomes with brighter tones. This simple change guides the eye and makes the flowchart easier to read.
Next, try changing line styles. Solid lines can show main paths, while dashed or dotted lines can indicate optional steps. This adds clarity and prevents confusion about how steps connect.
You can also adjust shapes and sizes. Circles, rectangles, and diamonds give each type of step a distinct look. Bigger shapes can mark major milestones, while smaller ones show minor tasks.
Adding small icons or symbols helps too. A checkmark can show completion, an exclamation point can signal caution, and arrows can emphasize direction. Visual cues make the flowchart more intuitive.
Finally, keep your design consistent. Pick a limited color palette and stick to a few shape types. Too many variations can be distracting. The goal is to make your flowchart both attractive and easy to follow.
Customizing your flowchart takes a few extra minutes, but it pays off. Readers can quickly grasp the process, and your work looks polished and professional.
Step 6: Save your flowchart
After finalizing your flowchart, you don’t need to worry about losing your work. Google Slides automatically saves changes as you go. You can see the “All changes saved” note at the top of the screen, which means your flowchart is safely stored in your Google Drive.
With your flowchart saved, you’re ready to move on to the next step: using templates to create more diagrams quickly. Templates can help you keep a consistent style and speed up your workflow.
How to Make a Flowchart Using Google Slides’ Diagram Option
To make a flowchart using Google Slides’ diagram option, follow these steps.
Step 1: Open a blank presentation
Step 2: Change the layout of your presentation
Step 3: Go to “Insert,” select “Diagrams,” and then “Process.”
Step 4: Add text and customize your flowchart
Step 5: Save your flowchart
This method is faster but gives less control over how your flowchart appears.
Follow these steps to create your flowchart.
Step 1: Open a blank presentation
Start by opening Google Slides. You can click on the blank slide option to begin a new presentation. This gives you a clean space to work.
You can also go to File, then select “New” and choose “Presentation.” Either way, you’ll start with an empty slide ready to edit.
Step 2: Change the layout of your presentation
By default, Google Slides sets your presentation to a standard layout. This can make your slides look crowded or not fit the paper well. We don’t want that. Adjusting the layout ensures your slides print clearly and look the way you want.
First, open your presentation. Click on File and choose Page setup. A box will appear with the current slide size. Select the drop-down menu to see other options. You can pick Standard (4:3), Widescreen (16:9), or Custom to enter your own dimensions.
After selecting the size, click Apply. Check your slides in the preview. If something looks off, you can repeat the steps and try a different size. This helps your slides fit the page neatly and avoids awkward gaps or cut-off content.
Step 3: Go to “Insert”, then select “Diagrams”
Now it’s time to add a flowchart template to your slide. First, click Insert at the top menu. Then select Diagrams from the dropdown.
A side panel will appear on the right. This panel shows different diagram categories. You can scroll through and pick the one that fits your content.
Here are the main diagram types you will see:
• Flowchart – Shows steps in a process.
• Hierarchy – Displays levels or organizational structure.
• Timeline – Maps events in order over time.
• Process – Highlights stages of a workflow.
• Relationship – Shows how items connect or interact.
Select the type you need, and it will appear on your slide ready for editing.
Step 4: Add Text and Customize Your Flowchart
You can change the colors and the number of steps to make the flowchart fit your project. Keep in mind, the tool only allows up to five steps. If you need more, you’re out of luck.
Start by clicking on the default text. Replace it with your own words. Make each label clear so anyone can follow the flow easily. Focus on keeping the information simple and precise
Step 5: Save your flowchart
Save your flowchart. Google autosaves your work, but it is good to save manually, too. Click File, then Save. Give your project a clear name. This makes it easy to find later.
How to Create a Flowchart with Lucidchart
Start by opening Lucidchart and logging in to your account. Click the “+ New Document” button to start a blank canvas. On the left, you will see shapes like rectangles, diamonds, and circles. Drag the shapes you need onto the canvas.
Connect the shapes using arrows. Click a shape, then drag the small handle to another shape to make a connection. Add text inside the shapes to explain each step. Use color or lines to organize your flowchart clearly.
Once your flowchart is ready, click File → Download As and choose PNG or JPEG.
To add the flowchart to Google Slides, open your presentation. Go to the slide where you want it. Click Insert → Image → Upload from Computer. Select your saved flowchart image, and it will appear on the slide. Resize or move it as needed.
How to Create a Flowchart with SmartDraw
Create a clear flowchart quickly by using SmartDraw’s templates, shapes, and easy-to-connect arrows.
1. Go to SmartDraw and log in or create a free account.
2. After logging in, click Flowchart from the template options. You can choose a ready-made template or start with a blank chart.
3. Drag shapes from the left-hand library onto the canvas. These shapes represent different steps in your process.
4. Connect the shapes using arrows. This shows the order of the steps.
5. Click each shape to add text. Label the steps so the flowchart is easy to follow.
6. Adjust the layout by moving shapes or arrows until it looks clean and organized.
7. Once finished, click File → Export → Download as PNG or JPEG to save your flowchart.
Adding Your Flowchart to Google Slides
1. Open your Google Slides presentation and go to the slide where you want the flowchart.
2. Click Insert → Image → Upload from computer.
3. Select the flowchart file you saved from SmartDraw.
4. Resize or move it so it fits neatly on the slide.
How to Create a Flowchart with Diagram
1. Go to Diagram and log in or create an account.
2. Click New Diagram.
3. Select Flowchart as your template.
4. Add shapes like rectangles, diamonds, or circles for each step in your process.
5. Connect the shapes with arrows to show the order of steps.
6. Add short labels to each shape to describe the step.
7. When finished, click File → Export → PNG or JPEG to save your flowchart as an image.
8. Open your Google Slides presentation.
9. Go to the slide where you want the flowchart.
10. Click Insert → Image → Upload from computer and select your saved flowchart.
11. Resize or move the flowchart so it fits well on the slide.
How to Create a Flowchart with Canva
Start by going to Canva and logging in or creating an account. Once you are logged in, type “flowchart” in the search bar. Pick a template that fits your needs or start from a blank page.
To add shapes, click Elements → Shapes. Drag the shapes onto your canvas. Connect them using lines or arrows from Elements → Lines. Add text by clicking Text and typing inside the shapes. Adjust colors and fonts to make your flowchart clear.
When your flowchart is ready, click Share → Download. Choose PNG or JPEG and save the file.
To add it to Google Slides:
1. Open your Google Slides presentation.
2. Go to the slide where you want the flowchart.
3. Click Insert → Image → Upload from computer.
4. Select your downloaded Canva file. The flowchart will appear on your slide.
Conclusion:
Creating flowcharts in Google Slides or using tools like Lucidchart, SmartDraw, Diagram, and Canva makes your work clearer. Visual maps help teams follow steps, see connections, and stay organized. Whether you start from scratch or use a template, adding shapes, lines, and labels keeps your ideas easy to understand. Once your flowchart is done, saving and inserting it into your slides ensures everyone can see the process at a glance. Clear flowcharts make projects smoother and presentations simpler to follow.
FAQs:
Do I need any special software to create flowcharts in Google Slides?
No. Google Slides has built-in shapes, lines, and text tools that let you make flowcharts without extra software.
Can I use templates instead of creating a flowchart from scratch?
Yes. Google Slides and tools like Canva, Lucidchart, and SmartDraw offer templates. Templates save time but give less control over each shape and connection.
How do I add a flowchart from another tool into Google Slides?
Save your flowchart as an image (PNG or JPEG). In Google Slides, go to Insert → Image → Upload from computer, and select your saved file.
What shapes should I use in a flowchart?
Common shapes include rectangles for steps, diamonds for decisions, ovals for start or end points, and parallelograms for input/output.
Can I customize the colors and styles in my flowchart?
Yes. You can change shape colors, line styles, and add icons or symbols. Keeping a consistent style makes the flowchart easier to read.


You may also be interested in ...

How To Create An Eye-Catching Portfolio
If you’re looking to create an eye-catching portfolio, this post will come in handy. In this article, you can find the easies...
23 Jun, 2024

How To Easily Create An Infographic
Infographics are the perfect way to make a presentation that will impact an audience, but their design and composition might...
08 Jun, 2024

PowerPoint Template Tips & Tricks You Ne...
PowerPoint seems to be an unknown world for many people, especially those who have been assigned to create a presentation out...
08 Jun, 2024