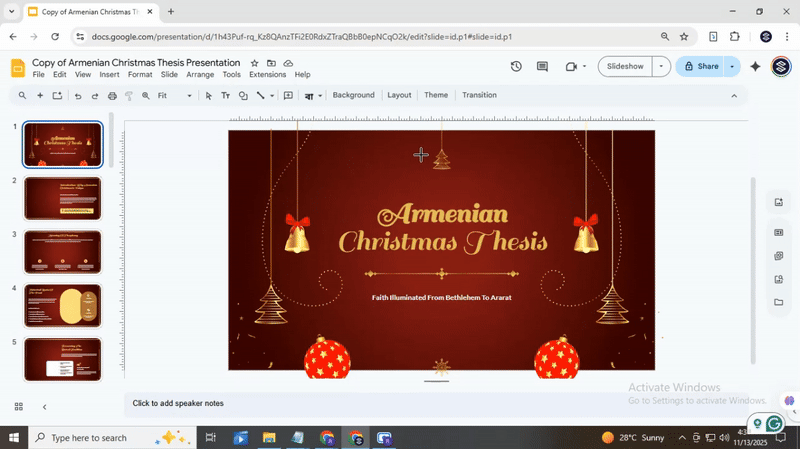
How to Add a Border in Google Slides for Better Design

Many Google Slides presentations look plain because the slides lack borders. Text and images can blend into the background, making key points hard to see. This problem can make your slides feel messy and less professional, even if the content is strong.
Adding borders can change this quickly. Borders help separate elements, highlight important areas, and make slides look neat. In the sections below, you will learn simple ways to create borders in Google Slides and even add them to pictures. These steps will make your slides clearer, more organized, and visually appealing.
How to Make a Border on Google Slides
Adding a border can make your slides look neat and professional. Borders help your content stand out and give your presentation a clean frame. Creating a border is very easy, and you don’t need any extra tools. You can even use a template to save time and keep your slides consistent.
Step-by-Step Instructions to Add a Border

Select a Shape
Go to the top menu and click Insert > Shape. Choose a rectangle or any shape that matches the size of your slide.
Draw the Shape
Click and drag on your slide to create the shape. Make sure it covers the area where you want the border.
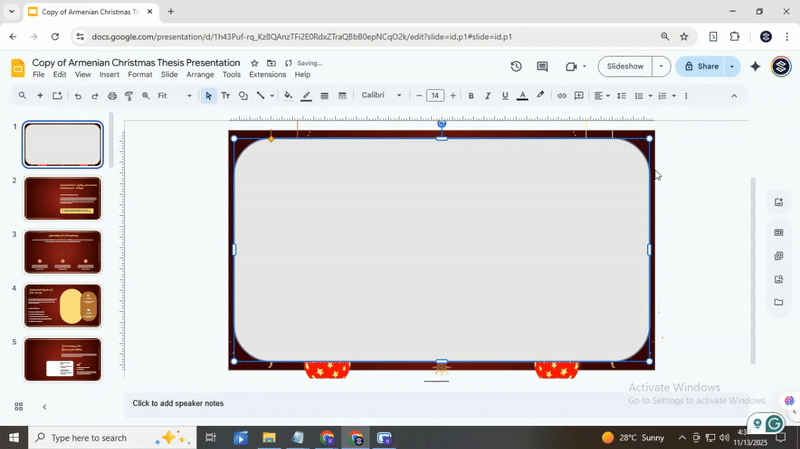
Remove Fill Color
With the shape selected, go to the Fill color icon in the toolbar. Select Transparent. This will make only the border visible.
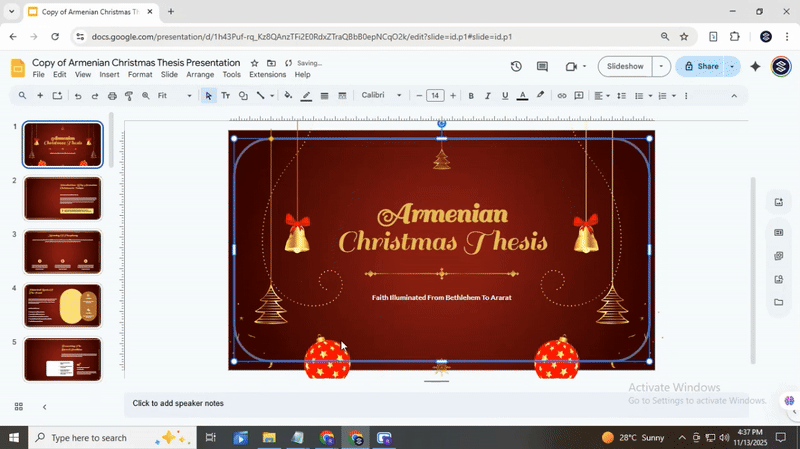
Add a Border Color
Click the Border color icon in the toolbar. Pick a color that matches your presentation theme.

Adjust Border Width
Click Border weight in the toolbar. Select a line thickness that fits your slide style.
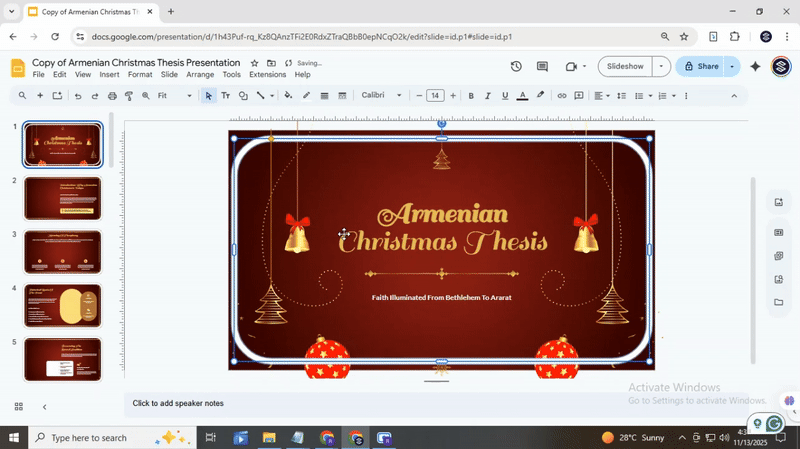
Choose Border Style
If you want, click Border dash and select a solid, dotted, or dashed line for a unique look.
Pro Tips for Customization
• Keep the border simple to avoid distracting from your content.
• Use a contrasting color to make the border noticeable.
• Try thinner lines for text-heavy slides and thicker lines for image-focused slides.
Advanced Tip: Apply Borders to All Slides
• Go to Slide > Edit Master.
• Add a rectangle shape with transparent fill and a border.
• Adjust size and style as needed.
• Close the master view, and the border will appear on all slides automatically.
Adding borders in Google Slides is quick and helps your presentation look polished. With these steps, you can create consistent and attractive borders for every slide.
How to Add a Border to a Picture in Google Slides
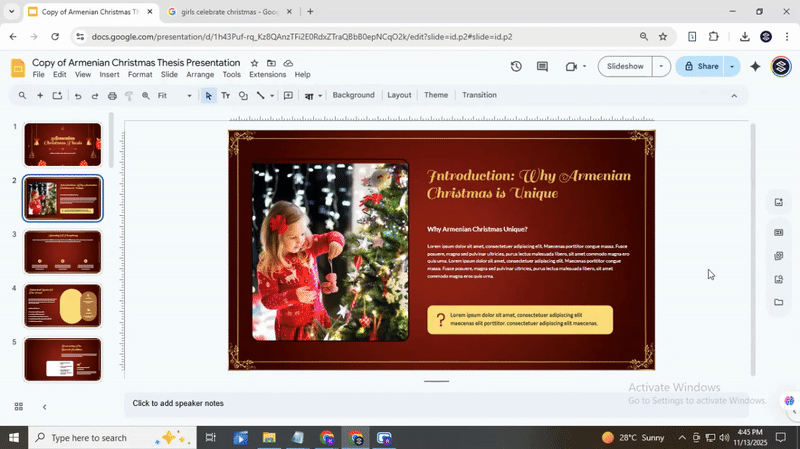
Pictures can make a slide more engaging. The best pictures always come in beautiful frames. Adding a border helps your images stand out. It makes your slides look polished and professional. Google Slides offers simple ways to create borders. Let’s explore them step by step.
Method 1: Use Built-in Border Tools
Google Slides has built-in options for borders. You can adjust color, style, and thickness with ease.
• Click on the picture you want to frame.
• In the top menu, select Border color to pick your favorite hue.
• Choose Border weight to make the line thicker or thinner.
• Use a Border dash to add a solid or dashed style.
With these tools, you can match your border to your slide theme. Take a look at SlideStack Google Slides templates to see how borders bring images to life.
Method 2: Add a Shape Behind the Picture
For a more creative border, you can place a shape behind your picture.

• Go to the Insert menu and select Shape, then pick a rectangle or circle.
• Draw the shape slightly larger than your picture.
• Right-click the shape and choose Order → Send to back.
• Adjust the color or border style of the shape to create a frame effect.
This method allows for custom shapes and colors. You can even add shadows or gradients to make your pictures pop.
Using Templates for Practical Borders
Sometimes, using a ready-made template can save time. Templates often come with designed frames or background shapes. For example:
• Business pitch templates often include image placeholders with subtle borders.
• Education slides use bright, clean frames to highlight photos.
• Marketing decks may have layered shapes to create stylish borders.
Take a look at our Google Slides templates to see these effects in action. You can copy the design or adapt the borders to your own images.
Optional Further Learning
Want more tips? Check out tutorials on Google Slides design. You can learn to combine borders with shadows, transparency, and shapes. Using templates is a fast way to make your slides look professional without starting from scratch.
Conclusion:
Adding borders in Google Slides is an easy way to make your presentations look organized and polished. They separate elements, draw attention to important content, and give slides a clean, professional look. Whether you use shapes, built-in picture borders, or templates, you can create consistent designs without extra tools. With a few simple steps, your slides can stand out and communicate your ideas more clearly.
FAQs:
Why use borders in Google Slides?
Borders help separate content and make slides look organized. They can highlight text, images, or shapes, making important points easier to see. A good border can also make your slides look more polished.
Can I add borders to different things?
Yes, you can add borders to images, shapes, text boxes, and even slides themselves. Each type works a little differently, but all can help your content stand out.
How can I customize borders?
You can change a border’s color, thickness, and style in Google Slides. Some borders can also have dotted or dashed lines. This lets you match the border to your slide’s design.
Can I edit or remove borders after adding them?
Yes, you can change or remove borders at any time. Just select the item, go to the border options, and make your changes or choose “none” to remove it.
Do borders affect file size?
Borders have very little impact on file size. Adding a few lines or shapes won’t make your presentation noticeably larger.
Can I use borders on mobile devices?
Yes, you can add and edit borders using the Google Slides mobile app. The options are slightly limited compared to the desktop version, but most basic borders work the same way.


You may also be interested in ...

How To Create An Eye-Catching Portfolio
If you’re looking to create an eye-catching portfolio, this post will come in handy. In this article, you can find the easies...
23 Jun, 2024

How To Easily Create An Infographic
Infographics are the perfect way to make a presentation that will impact an audience, but their design and composition might...
08 Jun, 2024

PowerPoint Template Tips & Tricks You Ne...
PowerPoint seems to be an unknown world for many people, especially those who have been assigned to create a presentation out...
08 Jun, 2024