How to Split a PowerPoint Presentation into Multiple Files (Step-by-Step Guide)
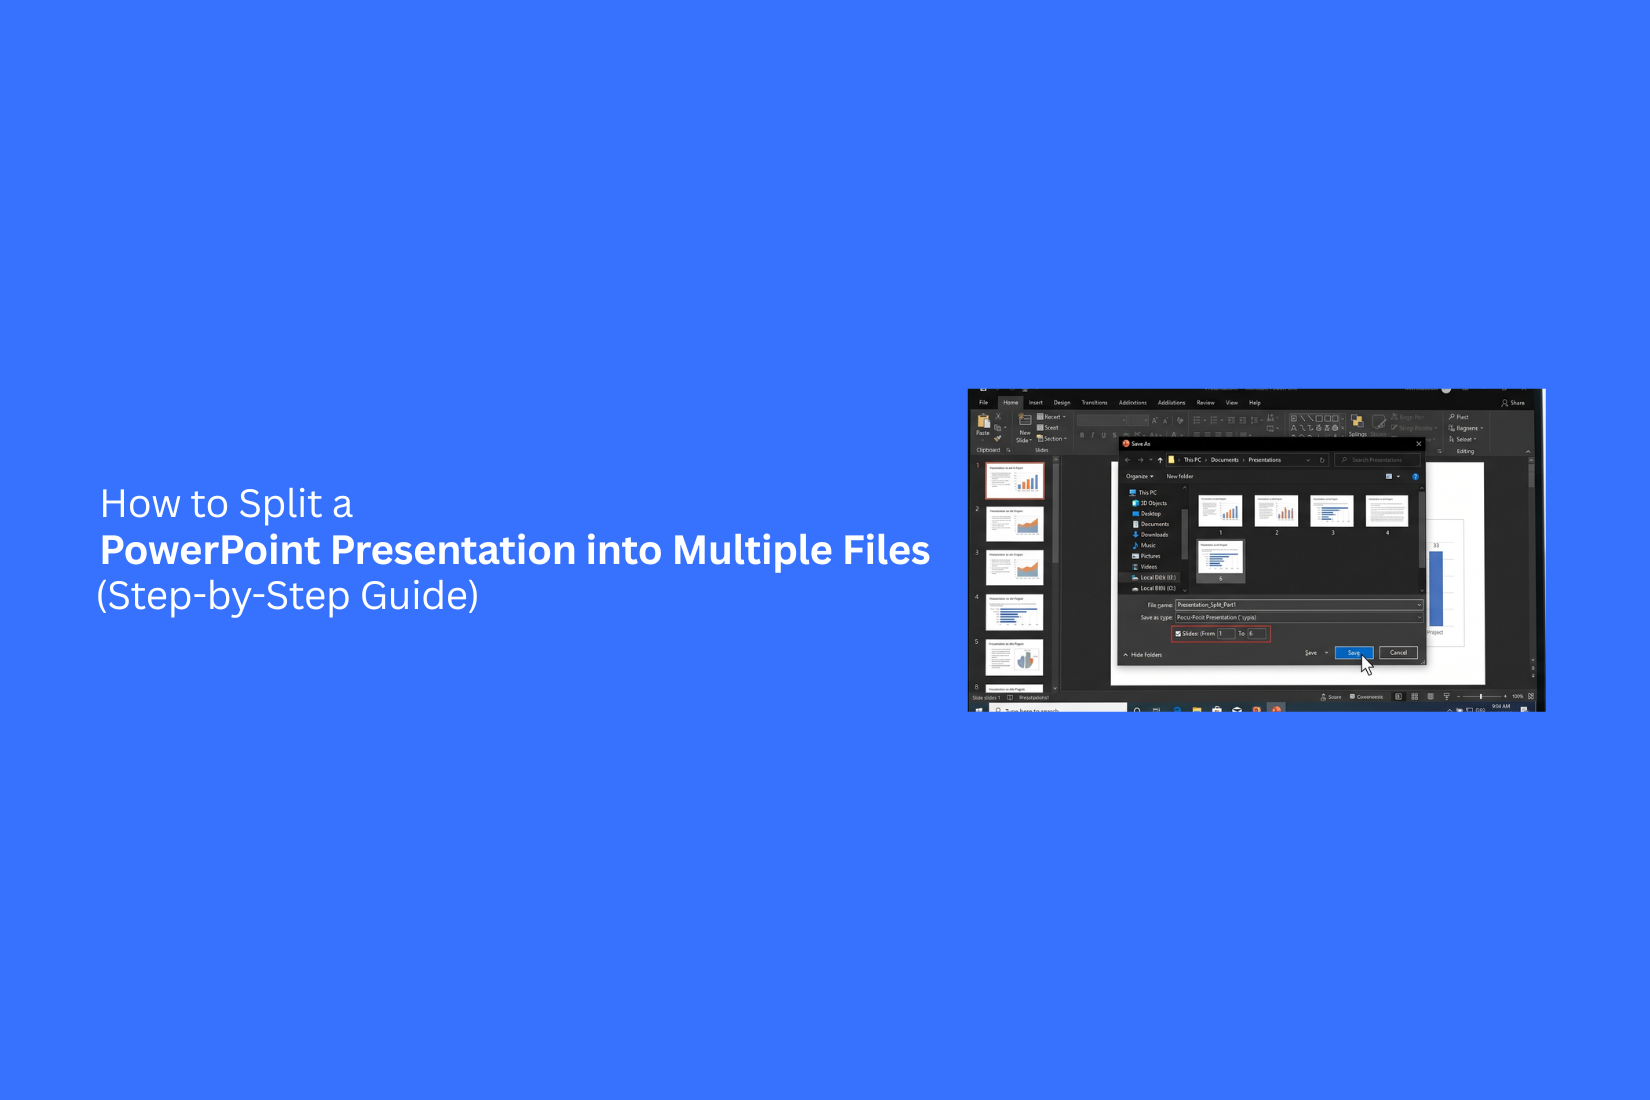
Large PowerPoint presentations can be hard to manage, share, and organize. A file with many slides may take more time to edit or send. Splitting the presentation into smaller files helps create separate versions for different needs. This issue can become frustrating as files grow. However, large files can cause problems with file size, missing content, or broken formatting after changes are made.
This guide explains simple ways to split a PowerPoint presentation into multiple files. It covers manual methods, section-based splitting, online options, and tips to keep your slides working properly. You will also learn how to fix common issues and keep each new file ready for future use.
What Does Splitting a PowerPoint Presentation Mean?
Splitting a PowerPoint presentation means dividing one large PPT file into smaller files. Each new file contains a selected group of slides from the original presentation. For example, a 50-slide presentation can be split into five separate files with 10 slides each. Each file works as an independent PowerPoint presentation. This process helps manage large presentations with many sections. It also makes sharing, editing, and organizing slides easier. A team member can work on one part without opening the full file.
People often split presentations for different needs. A teacher may separate lessons by topic. A business team may create different files for each meeting section. A presenter may save only the slides needed for a specific audience. PowerPoint does not have a direct “split presentation” button. However, you can create smaller files by copying selected slides into new presentations or using other built-in options. The right method depends on the number of slides and how you plan to use the files.
Why Split a PowerPoint Presentation into Multiple Files?
A large PowerPoint file can be hard to manage. It may contain many slides, images, videos, and other elements. Splitting the presentation into smaller files can make the content easier to organize and share. Many users split PowerPoint presentations to create separate sections for different topics. A long presentation can become several smaller files that focus on specific parts. This helps teams work on different sections without changing the full file.
Smaller PowerPoint files are also easier to send and store. They can load faster and reduce problems caused by large file sizes. This is useful for presentations with many high-quality images or media files. Splitting a presentation can also help during events or meetings. A speaker may only need a few slides for a specific session. Separate files make it easier to find and present the right content. This method works well for teachers, business teams, and anyone who works with large presentations. It keeps slides organized and makes file management simpler.
How to Split a PowerPoint Presentation into Multiple Files
A large PowerPoint presentation may contain slides for different topics, audiences, or sections. Keeping all slides in one file can make editing and sharing harder. Splitting the presentation into smaller files helps you create separate versions for different needs. PowerPoint does not have a direct button to split a presentation into multiple files. You can use different methods to separate slides. Some methods are simple and manual, while others help save time for larger presentations.
Method 1: Copy and Paste Slides into New PowerPoint Files
Copying and pasting slides is one of the easiest ways to split a PowerPoint presentation. This method gives you full control over which slides move to a new file. It works well for presentations with a small number of slides or sections that need to be separated. You can select specific slides and create a new presentation without changing the original file. The copied slides keep their text, images, charts, animations, and formatting.
Follow these steps:
- Open the PowerPoint presentation you want to split.
- Select the slides you want to move. You can use the thumbnail panel on the left side or switch to Slide Sorter view.
- Hold the Ctrl key and click multiple slides to select separate slides.
- Right-click the selected slides and choose Copy.
- Open a new PowerPoint presentation.
- Right-click in the slide area and select Paste.
- Choose the paste option that keeps the original formatting.
- Save the new presentation with a new file name.
This method is useful for creating separate files for different chapters, teams, or presentation sections. You can repeat the process until the original presentation is divided into smaller files.
Method 2: Use the Reuse Slides Feature in PowerPoint
The Reuse Slides feature lets you add slides from an existing presentation into a new PowerPoint file. It saves time because you do not need to copy slides manually. This option works well if you want to create a new presentation using selected parts of an older file. It also helps keep the original presentation safe because the source file remains unchanged.
Follow these steps:
- Open a new PowerPoint presentation.
- Select the Home tab.
- Click the arrow next to New Slide.
- Choose Reuse Slides from the menu.
- Click Browse and select the PowerPoint file you want to split.
- A list of slides from the file will appear.
- Click the slides you want to add to the new presentation.
- Save the new file with a different name.
You can also choose whether to keep the original slide formatting. This option helps match the design style of the source file or apply the theme of the new presentation. The Reuse Slides feature is helpful for creating custom presentations from a larger file. It works well for reports, lessons, sales decks, and project presentations that need different slide groups.
Method 3: Duplicate the Presentation and Remove Unwanted Slides
Duplicating the presentation is another simple way to split slides into multiple files. Instead of moving selected slides, you create copies of the original file and remove the slides you do not need. This method is useful for presentations that need several versions. Each copy can focus on a specific purpose while keeping the same overall design and layout.
Follow these steps:
- Open your PowerPoint presentation.
- Click File and select Save As.
- Create a copy of the original file with a new name.
- Open the copied presentation.
- Remove the slides you do not need.
- Repeat the process to create more versions.
- Save each file separately.
For example, a company presentation may include product details, pricing, team information, and company history. One file can be used for customers, another for internal meetings, and another for training. This method is also useful if you want to keep the original presentation as a master file. You can create new versions without affecting the main presentation.
Method 4: Split Slides Automatically Using VBA
VBA can help split a PowerPoint presentation into multiple files automatically. This method is useful for large presentations with many slides. It reduces the time needed for manual copying and saving. VBA uses small scripts to control PowerPoint tasks. A VBA script can create separate files based on slide groups, slide numbers, or other rules.
Follow these basic steps:
- Open the PowerPoint presentation.
- Press Alt + F11 to open the VBA editor.
- Click Insert and select Module.
- Add a VBA script that creates new presentations from selected slides.
- Run the script.
- Check the saved files in the selected folder.
Using VBA requires some knowledge of PowerPoint automation. You may need to adjust the script based on how you want the slides divided. This method is a good choice for users who split presentations often. It can save time for large projects, especially if the same process needs to be repeated many times. Each method offers a different way to separate slides. Copying slides works well for small tasks. Reuse Slides helps create new files from existing content. Duplicating and removing slides is useful for making different versions. VBA is better for repeated or large-scale splitting tasks.
How to Split a PowerPoint Presentation by Sections
PowerPoint sections help you group slides into smaller parts. They make large presentations easier to organize and manage. Instead of handling one long file, you can divide slides into clear groups. Sections work well for team projects, training materials, reports, and class presentations. You can create sections based on topics, chapters, speakers, or any other slide group.
Create Sections in PowerPoint
PowerPoint lets you add sections from the Slide Sorter view or the thumbnail panel.
Follow these steps:
- Open your PowerPoint presentation.
- Go to the Home tab.
- Click Section in the Slides group.
- Select Add Section.
- Enter a name for the section.
- Repeat the steps to create more sections.
Each section appears as a separate group in the slide panel. This makes it easier to find and manage specific parts of your presentation. You can rename sections, remove them, or collapse them to reduce screen clutter. These options help keep your slide workspace organized.
Move Slides into Separate Presentations
After creating sections, you can move slides from each group into new PowerPoint files.
Here is a simple way to do it:
- Open the Slide Sorter view.
- Select the slides from one section.
- Right-click and choose Copy.
- Create a new PowerPoint file.
- Paste the copied slides into the new file.
- Save the file with a new name.
Repeat this process for each section you want to separate. You can also duplicate the original presentation before splitting it. This keeps a backup file with all slides together.
Use Sections for Better Presentation Management
Sections do more than split slides. They help you control large presentations with less effort.
A section-based structure makes it easier to:
- Find specific slides quickly
- Share only certain parts with others
- Assign slide groups to different presenters
- Update content without affecting the whole file
- Keep related slides together
For example, a business report can have separate sections for goals, data, results, and action plans. Each section can become its own presentation file for different audiences. Using sections before splitting a PowerPoint file saves time and reduces confusion. It gives you a clear way to organize slides before creating smaller presentations.
How to Split a PowerPoint Presentation Online
Splitting a PowerPoint file online is a simple way to separate slides into smaller files. This method helps you create different versions of a presentation without editing each slide one by one. Online tools can handle the split process in a few steps.
Upload Your PowerPoint File to an Online Tool
Start by choosing an online PowerPoint splitting tool. Upload your PPT or PPTX file to the platform. Most tools have an upload button where you can add your presentation file from your device. After the file uploads, the tool will read your slides and prepare them for splitting. The upload time depends on the file size and the number of slides.
Select Slides or Ranges to Split
Choose the slides you want to separate from the original presentation. You can select single slides or create a range of slides for each new file. For example, a 30-slide presentation can be split into three files with 10 slides each. This makes it easier to organize content for different topics, teams, or uses. Check your slide selection before starting the split. This helps keep each new file organized and complete.
Download and Review New Files
After the split process finishes, download the new PowerPoint files. Open each file and check the slides, layouts, images, and text. Reviewing the files helps you find any missing slides or formatting issues. You can then make small edits if needed before sharing or presenting the files.
Tips for Splitting PowerPoint Presentations Without Losing Formatting
Splitting a PowerPoint presentation into smaller files is useful for sharing sections or organizing large projects. However, small changes can affect the slide design. Fonts may change, images may move, or animations may stop working. These tips help keep your slides looking the same after splitting.
Keep a Backup of the Original File
Always save a copy of the full presentation before splitting it. The original file works as a safety copy if something goes wrong during the process. Use a separate folder to store the backup file. This keeps the original version safe while you edit the new files.
Check Fonts, Images, and Media Files
Fonts, images, videos, and audio files can affect how your slides appear. Check each new presentation after splitting to make sure all elements are still in the right place. Use common fonts or include custom fonts with the presentation if needed. Also, confirm that images and media files load correctly in each file.
Review Animations and Transitions
Animations and slide transitions may change after moving slides into a new file. Open each split presentation and check the effects. Play the slides from start to finish. This helps you find missing effects or timing issues before sharing the file.
Use Clear File Names
Clear file names make it easier to manage multiple PowerPoint files. Use names that show the content or order of each section. For example, instead of saving files as “Presentation 1” or “New Slides,” use names like “Project Overview,” “Market Analysis,” or “Final Results.” This makes each file easier to find and organize.
Common Problems When Splitting PowerPoint Files
Splitting a PowerPoint presentation into smaller files can make content easier to manage. However, some issues may appear after the split. These problems can affect the design, media, and file size. Knowing the common issues helps you fix them quickly.
Formatting Changes After Splitting
The slide design may look different after splitting a PowerPoint file. Text boxes can move, fonts may change, or layouts may not stay the same. This often happens because some slide elements depend on the original file settings. Check each new file after splitting. Make sure the fonts, spacing, colors, and layouts match the original presentation. Saving the split files in the correct PowerPoint format can also help keep the design consistent.
Images or Videos Are Missing
Images and videos may not appear in the new files after splitting. This can happen if the media files were linked instead of added directly to the presentation. Open each split file and check all slides with media. Reinsert missing images or videos if needed. Keeping all media inside the presentation file before splitting can reduce this issue.
Animations Do Not Work Properly
Animations may stop working or appear differently after a PowerPoint file is split. Some effects depend on the order of slides or connected elements. Review each slide with animations after creating the new files. Test the effects in slideshow mode. Adjust the animation settings to make sure they work correctly.
Split Files Are Still Too Large
Splitting a presentation does not always reduce the file size. Large images, videos, and other media can still make each file heavy. Compress images and remove unused media before splitting the presentation. This can help create smaller files that are easier to share and store.
Can You Split a PowerPoint Presentation Without Microsoft PowerPoint?
Yes, you can split a PowerPoint presentation without using Microsoft PowerPoint. Several tools can help you separate slides into smaller files. These options are useful if you do not have access to PowerPoint or want a quicker way to manage your slides. Online tools and other presentation apps can open PPT or PPTX files. They let you edit, copy, and save selected slides as new presentations. The steps may look different in each tool, but the main process stays simple.
Use Online Presentation Tools
Online presentation tools allow you to work with PowerPoint files through a web browser. You can upload your file, select the slides you need, and save them as separate presentations. These tools are helpful for quick edits. You do not need to install software on your computer. They also make it easy to access your files from different devices.
Most online tools follow a similar process:
- Upload your PowerPoint file.
- Open the slide editor.
- Copy the slides you want to separate.
- Create a new presentation file.
- Paste the selected slides and save the file.
Check the export options before saving. Some tools may change the layout or formatting of your slides.
Use Other Presentation Software
Other presentation programs can also split PowerPoint files. Apps like Google Slides, LibreOffice Impress, and similar software can open PPT files and help you create smaller presentations. The basic method is simple. Open the original file, select the slides you want, and copy them into a new presentation. After that, save the new file in PPTX format or another supported format. These programs work well for users who need basic slide editing without Microsoft PowerPoint. They can help separate large presentations into smaller sections for sharing, editing, or organizing.
Final Notes
Splitting a PowerPoint presentation into multiple files makes large slide decks easier to handle. You can separate slides by topic, audience, project stage, or any other need. The best method depends on your presentation size and workflow. Copying slides works well for small tasks. Reuse Slides helps create new files from existing content. Sections help organize slides before splitting. VBA can save time for repeated tasks. Always keep a backup of the original presentation before making changes. Check each new file after splitting to make sure the text, images, videos, fonts, and effects work properly. With the right method, you can create smaller PowerPoint files without losing control of your content. This makes sharing, editing, and organizing presentations much easier.
FAQs
Can I split a PowerPoint presentation without losing formatting?
Yes, you can split a PowerPoint presentation while keeping the original design. Copy slides with their original formatting and check each new file after saving. Review fonts, images, videos, and animations to make sure everything works properly.
Does PowerPoint have a built-in tool to split presentations?
PowerPoint does not have a direct button to split one presentation into multiple files. You can separate slides by copying them into new files, using the Reuse Slides feature, creating sections, or using VBA for automation.
How do I split a PowerPoint presentation into separate sections?
Create sections from the Home tab by selecting Section and choosing Add Section. Add names to each group of slides. After creating sections, copy each group into a new PowerPoint file.
Can I split a large PowerPoint file online?
Yes, online tools can help separate slides from a PowerPoint file. Upload your presentation, select the slides you need, and save the new files. Check the exported files to make sure the content looks correct.
What is the easiest way to split a PowerPoint presentation?
Copying and pasting slides into new PowerPoint files is the easiest method. It gives you control over which slides you want to separate and works well for small presentations.
Will splitting a PowerPoint file reduce its size?
Splitting a presentation can reduce the size of each file, but the result depends on the content. Large images, videos, and other media can still make the new files large. Compressing media can help reduce file size.
Can I split a PowerPoint presentation using Google Slides?
Yes, Google Slides can help separate slides from a PowerPoint file. Upload the PPT or PPTX file, open it in Google Slides, copy the slides you need, and create a new presentation.
Why do my slides look different after splitting a PowerPoint file?
Slides may change because of font issues, missing media files, or formatting settings. Open each new file and check the design, layouts, images, and effects. Fix any changes before sharing the presentation.


You may also be interested in ...

Tips To Create A Great Infographic
Infographics Have been around for a while, but not many people know about them or are their preferred presentation choice. If...
08 Jun, 2024

3 Steps To Create The Best Presentation...
Presentations are something wonderful when well done, you can captivate an audience or be super interested in what another pe...
23 Jun, 2024

3 Tips For Your Next Presentation You MU...
PowerPoint presentations are perfect for explaining a topic and communicating your ideas with a visual aid. But most people s...
08 Jun, 2024