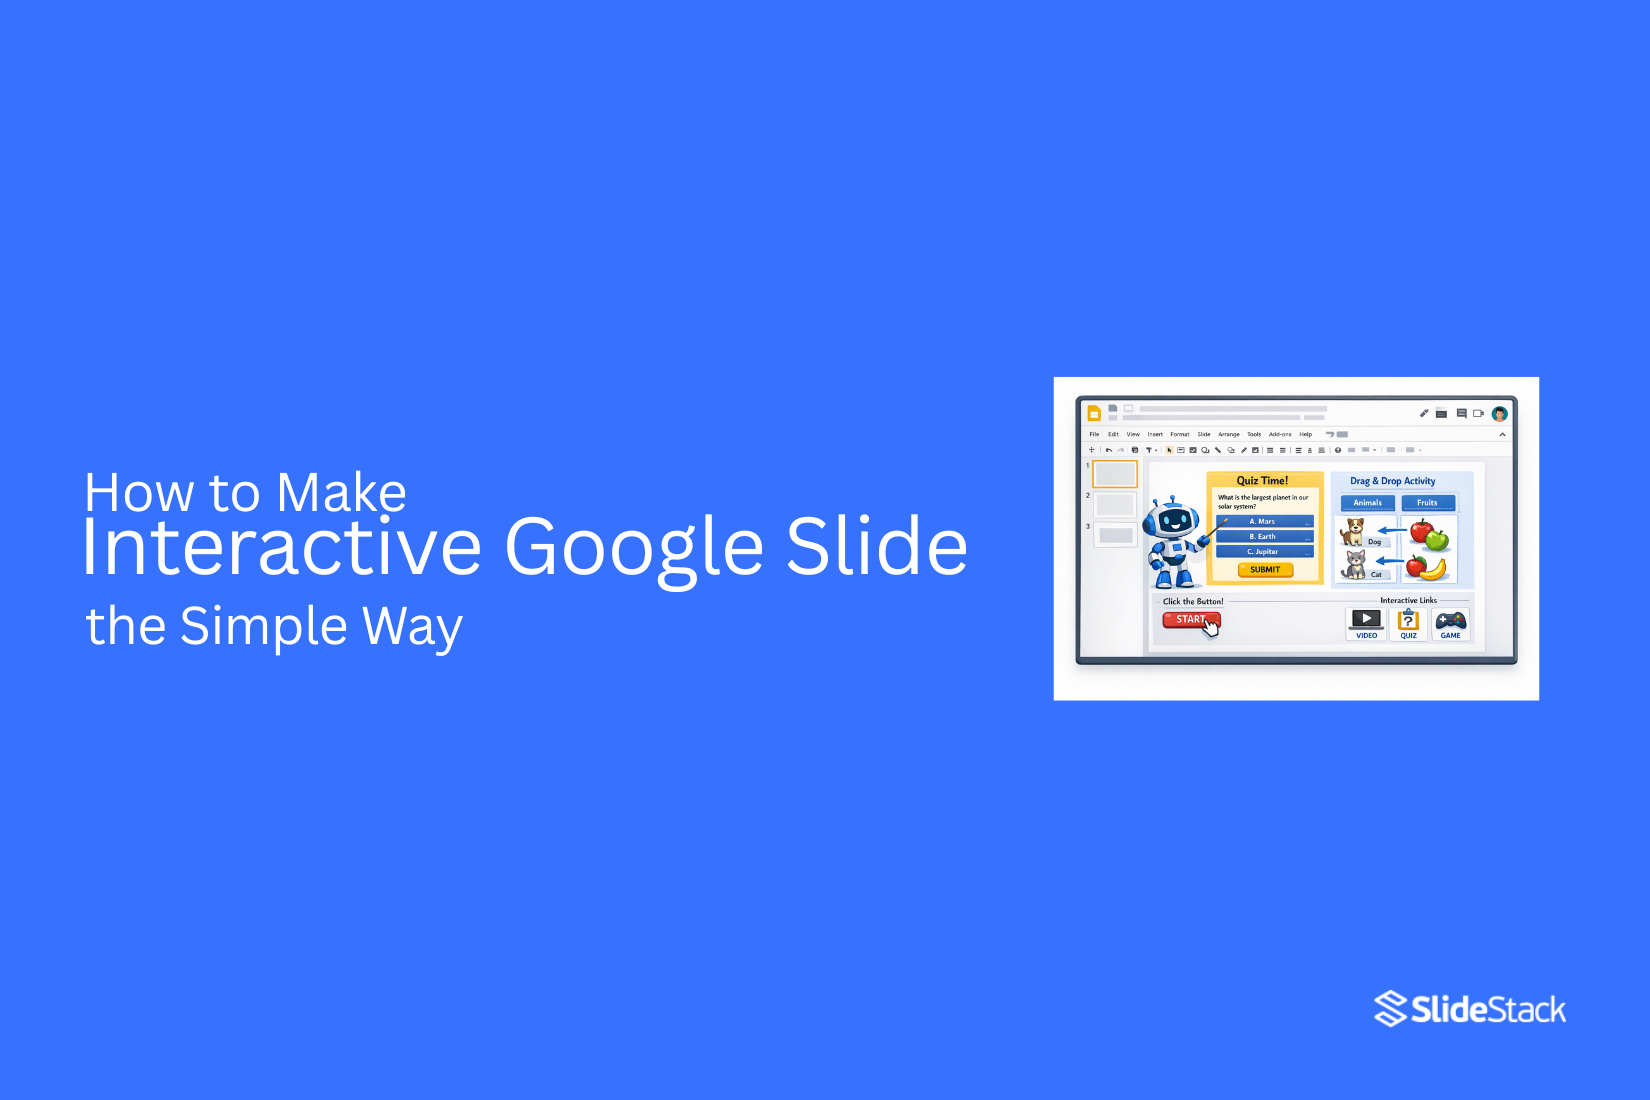
How to Make Interactive Google Slides the Simple Way
Most presentations fail for a simple reason: people stop paying attention within minutes. Slides filled with static text and images quickly become background noise, and the message gets lost before it ever lands.
Interactive Google Slides changes that dynamic. Instead of passively watching, your audience can click, explore, respond, and move through content in a way that feels active and intentional. Even small interactive elements, like buttons, links, videos, or quizzes, can significantly improve how information is understood and remembered.
When used correctly, interaction doesn’t just make slides look better; it changes how people experience your ideas. You gain control over attention, pacing, and engagement without overwhelming your content.
This guide breaks down practical, easy-to-apply methods to turn ordinary Google Slides into interactive presentations that actually hold attention and drive understanding.
Why Use Interactive Google Slides?
Interactive Google Slides let users click, move, and interact with content inside a presentation. The slides are built to respond to actions instead of only showing fixed text and images. This gives the audience a more active role while viewing the material.
This approach helps improve attention and understanding. People stay focused longer because they are not only reading or watching. They take part in the flow of information, which supports better recall.
A lesson slide can include buttons that move to different sections or reveal answers after a click. Students can choose paths based on the topics they want to review. This keeps the experience clear and organized while giving control to the viewer.
Static slides show information in a fixed order with no interaction. Interactive slides allow movement between ideas and create more flexibility in how content is used and shared.
Getting Started with Google Slides Tools
Google Slides has simple tools for building presentations. The main menu holds key features. The toolbar gives quick access to common actions. Templates help start your slide deck. A template gives a ready design. Pick one that fits your topic.
Text boxes hold your message. Click a slide and type your words. Keep text short and clear. Shapes help organize ideas. Boxes and lines make slides easier to read. Images add strong visual support. Insert files from your device or upload pictures.
Slide layouts control where content sits. Each layout changes the structure of a slide. Themes set the style of your presentation. Colors and fonts stay consistent across slides. Arrange tools help place items neatly. Align elements for a clean and balanced look. Presenter view supports live delivery. Notes appear on your screen while the audience sees only slides.
Planning Your Interactive Slide Structure
Planning sets the base for clear and easy slides. A good structure helps your audience follow each idea without confusion. It also keeps your content organized from start to end.
Start with the main goal of your slides. Decide on the single message you want people to remember. Keep that message clear in every part of your presentation.
Next, arrange your slides in order. Begin with an opening slide that sets the topic. Then move into the main content slides. Place interaction points in spots where attention may drop, such as after key ideas.
Add structure for interaction early. Decide where clicks, buttons, or small activities will appear. These points should support the message, not distract from it.
A clear flow makes everything easier to follow. Each slide should lead into the next without confusion. A simple structure keeps the audience focused from start to finish.
How to Make Interactive Google Slides using 12 Easy Methods
Ready to turn simple slides into something more engaging? This section walks through clear and easy ways to add interaction. Read the points below to see each method step by step.
1. Insert Clickable Links and Buttons
Clickable links and buttons are one of the simplest ways to turn a standard slideshow into an interactive experience. Instead of forcing the audience to follow slides in a fixed order, this method allows non-linear navigation, meaning users can jump between sections based on interest or presenter control.
This approach works well because it improves control and flexibility during presentations. Presenters can respond to audience questions without losing flow, while viewers can revisit key sections instantly. It also helps break complex content into structured pathways, making information easier to absorb.
To create interactive navigation in Google Slides, follow these steps:
• Select a shape, icon, or text box to act as a button
• Label it clearly, such as “Next,” “Back,” “Home,” or “Menu.”
• Highlight the element and go to Insert → Link → Slides in this presentation
• Choose the slide you want to connect to and apply the link
• Repeat the process to build a full navigation system across your deck
A well-designed setup usually includes a home menu slide that connects to all main sections, creating a dashboard-style presentation. This improves usability and reduces confusion during live delivery.
For better results, keep navigation consistent across all slides, use recognizable icons, and avoid overcrowding the screen with too many buttons. Poorly placed links or inconsistent layouts can reduce clarity instead of improving it.
2. Embed YouTube Videos
Embedding YouTube videos directly into Google Slides helps maintain audience focus by removing the need to switch between tabs or external media players. This creates a smoother presentation flow and reduces distractions, which improves message retention and keeps attention centered on the content.
This method is especially effective when explaining complex ideas, showcasing product demos, or reinforcing key points with visual storytelling. However, it depends on a stable internet connection, so it should be used strategically rather than heavily throughout a presentation.
To embed a YouTube video in Google Slides, follow these steps:
• Go to Insert → Video → YouTube
• Paste the video URL or search directly within the panel
• Alternatively, select a video from Google Drive
• Click to insert it into the selected slide
Once inserted, you can adjust the video by dragging its corners to resize or reposition it for better layout balance. For more control, open the Format Options panel, which allows you to:
• Set playback to start on click or automatically during presentation
• Define specific start and end timestamps to show only relevant segments
• Mute audio if narration is being provided separately
• Adjust size, position, and rotation
• Apply visual styling such as drop shadows for better slide integration
For a stronger presentation impact, place videos at natural transition points, such as after introducing a concept or before a key explanation, so they reinforce learning rather than interrupt it. Short, targeted clips usually perform better than long videos, especially in time-limited presentations.
3. Add Audio Narration or Sound Effects
Adding audio to Google Slides introduces a new layer of interaction by combining visual and auditory elements. This is particularly useful for self-guided presentations, where the audience views slides without a live presenter, or when reinforcing key points through narration and sound cues.
Google Slides supports audio files in MP3 and WAV formats, which must be uploaded to Google Drive before inserting. To add audio:
• Go to Insert → Audio
• Select your file from Google Drive
• Place the audio icon on your slide
Using the Format Options panel, you can control playback behavior, including:
• Playing automatically when the slide opens
• Triggering playback on click
• Adjusting volume levels
• Hiding the audio icon during presentation for a cleaner look
Audio can be used in several ways:
• Narration: Guide viewers through content in self-paced presentations
• Sound effects: Highlight interactions, transitions, or key moments
• Background audio: Set tone for storytelling or thematic sections
However, this method requires restraint. Overusing sound can distract rather than enhance. Keep audio purposeful, short, and aligned with the slide’s objective. For best results, use narration for clarity, sound effects for emphasis, and avoid continuous background music unless it directly supports the presentation context.
4. Include Gamification and Quizzes in Google Slides
Adding quizzes and gamified elements transforms a presentation from passive content into an interactive experience where the audience actively participates. This works because it introduces challenge, feedback, and progression; three core elements that increase attention and improve information retention.
In Google Slides, quizzes are typically built by linking slides to create a decision-based flow. Each question slide connects to multiple answer slides, allowing users to select responses and receive immediate feedback. This creates a simple but effective interaction loop.
To build a basic quiz structure:
• Create a slide with a question and multiple answer options
• Turn each answer into a clickable button using shapes or text
• Link each button to a different slide (correct answer / incorrect answer)
• Add feedback on each destination slide (e.g., explanation or next step)
• Optionally, link back to the next question or the main menu
Gamification can go further by adding elements like:
• Score tracking (manual or visual indicators)
• Progression paths (levels or sections unlocked step-by-step)
• Timed challenges or competitive group participation
QR codes can also be included to connect slides with external tools such as live quizzes or apps, extending interaction beyond the presentation itself.
While templates can speed up setup, the real value comes from designing a clear interaction flow. Keep questions simple, provide immediate feedback, and avoid overly complex navigation that could confuse users.
5. Embed Google Forms
Google Forms adds real-time interaction to your presentation by allowing audiences to submit responses, feedback, or answers during the session. While Forms cannot be directly embedded inside a slide, they can be linked through clickable elements, enabling users to access them instantly.
This method works because it creates a feedback loop. Instead of passively viewing content, participants contribute input, which increases engagement and provides valuable data for the presenter.
To add a Google Form to your slides:
• Create your form using Google Forms
• Copy the form’s shareable link (preferably the shortened version)
• Insert a shape, button, or text in your slide
• Highlight it and go to Insert → Link
• Paste the form URL and apply
When presenting, users can click the link to open the form in a new tab and submit their responses.
You can use this method in different ways:
• Live polls: Collect audience opinions during the presentation
• Quizzes: Pair with Slides navigation for interactive assessments
• Feedback forms: Gather insights after training sessions or demos
For stronger results, keep forms short and mobile-friendly, since most users will access them on their phones. If you want to display results live, connect the form to a response sheet and present summary charts in a separate slide or tab.
Used strategically, Google Forms turns a one-way presentation into a two-way interaction, making sessions more dynamic and data-driven.
6. Incorporate Slide Transitions with Purpose
Slide transitions can improve the flow of a presentation when used intentionally, helping guide the audience from one idea to the next without abrupt visual breaks. Rather than acting as decoration, transitions should support the structure of your content and reinforce how information is organized.
This works because smooth visual movement helps the brain process changes more naturally. When transitions align with content shifts, such as moving from one section to another, they create a sense of continuity and reduce cognitive friction.
To apply transitions in Google Slides:
• Select the slide you want to modify
• Go to Slide → Transition
• Choose an effect such as Fade, Push, or Slide
• Adjust speed and apply to individual slides or the entire deck
For effective use:
• Use Fade for most transitions to maintain a clean, professional feel
• Apply Push or Slide when indicating directional movement or progression
• Keep transitions consistent within sections to avoid visual confusion
Avoid excessive or flashy effects, as they can distract from the message and slow down the presentation. The goal is not to impress with motion, but to guide attention and maintain a smooth narrative flow.
7. Use Animated Slide Objects
Animations allow you to control how individual elements appear and behave within a slide, making them a powerful tool for guiding attention and structuring information. Unlike transitions, which move between slides, animations work within a slide to reveal content step by step.
This method improves clarity because it prevents information overload. Instead of displaying everything at once, you can introduce elements in sequence, helping the audience focus on one idea at a time.
To animate objects in Google Slides:
Select the object (text, shape, image, or chart)
• Go to Insert → Animation
• Choose an animation type (e.g., Fade in, Appear, Fly in)
• Set the trigger (on click, after previous, or with previous)
• Adjust timing and order using the animation panel
Common use cases include:
• Revealing bullet points one at a time during explanation
• Highlighting key data points in charts
• Creating step-by-step diagrams or processes
For best results:
• Use simple animations like Fade or Appear for most content
• Keep timing consistent to avoid confusion
• Limit the number of animated elements per slide
Overusing animations or applying complex effects can reduce clarity and distract from your message. The goal is to guide attention, not compete with the content.
8. Interactive Timelines and Infographics
Interactive timelines and infographics help organize complex information into structured, visual flows that are easier to follow and interact with. Instead of presenting all data at once, these elements allow users to explore content step by step through clickable icons, progress markers, or animated sequences.
This approach works because it aligns with how people process information: visually and sequentially. Timelines create a clear sense of progression, while infographics simplify dense data into digestible segments, improving both comprehension and retention.
To create interactive timelines or infographics in Google Slides:
• Use shapes, icons, and connectors to design a structured layout (linear or segmented)
• Turn each step or element into a clickable object using Insert → Link
• Link elements to detailed slides or sections for deeper exploration
• Add animations to reveal steps progressively or highlight key milestones
You can structure timelines in different ways:
• Linear timelines: Ideal for historical events or step-by-step processes
• Milestone-based: Focus on key achievements or phases
• Non-linear navigation: Allow users to explore sections in any order
These are particularly effective for:
• Strategy presentations and roadmaps
• Change management plans
• Product journeys or storytelling sequences
For better results, keep visuals clean, label each step clearly, and avoid overcrowding the slide. While templates can speed up design, understanding how to structure information visually ensures your timeline remains clear, interactive, and aligned with your presentation goal.
9. Insert Websites or Social Media Frames
Google Slides does not support full website embedding (such as iFrames), but you can simulate this interaction by linking visual elements like screenshots, icons, or GIF previews to external pages. This allows you to guide users to live content while keeping the presentation visually cohesive.
This method works because it combines visual context with interaction. Instead of showing a plain link, you present a recognizable preview (such as a website homepage or social media post), which increases the likelihood of engagement.
To add a website or social media link:
• Capture a screenshot or use an icon representing the website or platform
• Insert it into your slide
• Select the element and go to Insert → Link
• Paste the destination URL and apply
When clicked during presentation mode, the link will open in a new browser tab.
Common use cases include:
• Showcasing live websites, dashboards, or campaign pages
• Linking to social media profiles or posts
• Directing users to reports, landing pages, or external tools
For better results, design the visual element to look clickable (e.g., buttons, hover-style icons, or labeled frames). However, use this method selectively; frequent external jumps can disrupt flow and reduce audience focus. When possible, combine this with a brief explanation before clicking, so users understand why they are being redirected.
10. Use Image Hotspots, Gauges, and Dashboards
Image hotspots and dashboard-style layouts turn static visuals into interactive exploration tools. By placing clickable areas over specific parts of an image, you allow users to navigate deeper into content based on what they choose to explore.
This method is effective because it mirrors how people naturally interact with visual information by focusing on specific areas of interest. Instead of presenting everything at once, you provide an overview first, then let users drill down into details.
To create interactive hotspots in Google Slides:
Insert an image (e.g., product diagram, map, or interface mockup)
• Add transparent shapes over key areas you want to make clickable
• Select each shape and go to Insert → Link
• Link to slides containing detailed information about that section
• Keep shapes grouped and aligned to maintain layout consistency
For dashboards or gauges:
• Create a main overview slide with key metrics or sections
• Link each section to deeper slides for detailed breakdowns
• Optionally add navigation buttons to return to the main dashboard
Common use cases include:
• Product demos with clickable feature highlights
• Facility or location tours using map-based navigation
• Technical diagrams where each component links to an explanation
For better usability, ensure clickable areas are clearly indicated (through icons, hover-style cues, or labels) and large enough to tap on mobile devices. Avoid overcrowding the image with too many hotspots, as this can reduce clarity and overwhelm users.
11. Integrate Live Polls for Audience Feedback
Live polls add real-time interaction to presentations by allowing audiences to respond instantly to questions, making sessions more engaging and participatory. Instead of passively receiving information, participants actively contribute, which increases attention and improves message retention.
This works because polling introduces a feedback loop that resets attention and creates a sense of involvement. It is especially effective at key moments in a presentation, such as opening sections (to gauge expectations), transitions (to maintain engagement), or closing segments (to collect insights or validate outcomes).
To use live polls effectively in Google Slides:
• Prepare your poll questions in advance
• Use a supported polling tool and generate a shareable link or code
• Insert the link into a clickable button, text, or QR code within your slide
• Display the poll at the appropriate moment during the presentation
• Show results live when available to create immediate feedback visibility
Common poll types include:
• Opinion polls: Gather audience preferences or viewpoints
• Knowledge checks: Test understanding of key concepts
• Decision polls: Help guide choices or directions during discussions
Tools such as MeetMoji, MeetingPulse, and Live Polls Maker can integrate with presentation workflows to streamline audience participation.
For best results, keep poll questions simple and focused. Avoid overusing polls in a single session, as this can interrupt flow. When possible, always explain why the audience is being asked to vote so the interaction feels purposeful rather than optional.
12. Integrate AI-Powered Tools in Google Slides
AI-powered tools can significantly improve how presentations are created by speeding up design tasks, generating content, and enhancing visual storytelling. Instead of manually building every slide element, AI can assist with structuring ideas, producing visuals, and optimizing layout consistency.
This approach works because it reduces time spent on repetitive design work and helps presenters focus more on message clarity and storytelling. AI also supports ideation by suggesting layouts, summarizing content, and generating supporting visuals such as charts, diagrams, and images.
To integrate AI into Google Slides, you can use add-ons and extensions that support different parts of the workflow:
• Content generation tools: AI for Google Slides, Docsium (GPT AI Writer)
• Visual and design tools: AI Image generators, AI Chart Maker
• Structure and thinking tools: AI Mind Maps Maker
• Utility tools: AI Form Builder, Image Translator, WorkGPT
These tools can be used for:
• Drafting slide content and outlines faster
• Generating images, diagrams, or supporting visuals
• Converting raw data into charts and structured visuals
• Building mind maps for presentation planning
For best results, AI should be used as a support system rather than a final output source. Always review and refine generated content to ensure accuracy, consistency, and alignment with your presentation goal. Over-reliance on AI without editing can lead to generic or unclear messaging, so human refinement remains essential for strong presentation quality.
Common Mistakes to Avoid
Creating interactive Google Slides can significantly improve engagement, but poor implementation often reduces clarity instead of enhancing it. Most issues come from overuse of features, lack of structure, or weak interaction design rather than the tools themselves.
One common mistake is overloading slides with too many interactive elements. Excessive animations, links, and buttons can distract the audience and make navigation confusing instead of intuitive. Interaction should guide attention, not compete with the message.
Another issue is inconsistent navigation design. When buttons, links, or transitions behave differently across slides, users lose orientation and struggle to follow the presentation flow. A consistent structure, such as a central menu or repeated navigation pattern, helps maintain clarity.
Poor timing of interactive elements is also a frequent problem. For example, inserting polls, videos, or quizzes without considering presentation flow can interrupt the narrative instead of supporting it. Each interactive feature should have a clear purpose within the storyline.
A further mistake is relying too heavily on visual effects like animations and transitions without considering content value. Motion alone does not improve communication; it must reinforce understanding or structure.
Finally, many presentations fail due to a lack of testing. Broken links, slow-loading media, or inaccessible elements can disrupt delivery, especially in live settings. Testing across devices and presentation modes ensures reliability.
A well-designed interactive slide deck prioritizes clarity, controlled interaction, and consistent structure over feature quantity.
Exporting and Sharing Your Interactive Presentation
Exporting and sharing interactive Google Slides requires more care than static presentations because links, navigation buttons, embedded media, and external tools all depend on correct file handling and permissions. If these are not set properly, interactive elements may break or become inaccessible to the audience.
A common approach is to share directly through Google Slides. By adjusting sharing settings, you can control whether viewers can only view, comment, or edit the presentation. For interactive decks, “Viewer” access is usually preferred to preserve structure and prevent accidental changes to linked navigation or embedded elements.
For wider distribution, you can also export your presentation in different formats. Downloading as a PDF preserves visual structure but removes most interactivity, such as clickable links and animations. Exporting as PowerPoint (.pptx) retains some interactive elements but may cause compatibility issues depending on the features used in Google Slides.
If your presentation includes external links, quizzes, forms, or live polls, it is important to ensure internet access is available for your audience. Without connectivity, features like YouTube embeds, Google Forms, or live polling tools will not function as intended.
A key best practice is testing the shared version before distribution. Open the presentation using the same access level your audience will have and verify that navigation buttons, links, and embedded content work correctly across devices.
For professional use cases such as sales decks, training materials, or workshops, sharing a “final viewer link” version is often the most reliable option, as it preserves interactivity while maintaining control over the original file.
Final Notes
Interactive Google Slides only create impact when every design choice serves a clear purpose. Adding features for the sake of variety leads to distraction, not engagement. The strongest presentations are built on controlled interaction, where each click, transition, or media element supports how the audience thinks through the content.
A high-performing slide deck usually follows three principles: clarity of structure, intentional pacing, and minimal but meaningful interaction. When navigation is predictable, content unfolds logically, and interactions appear only at key decision points, the presentation feels effortless to follow and easier to retain.
Interactivity should enhance storytelling, not replace it. The narrative still drives understanding; interactive elements simply guide attention, reveal information at the right moment, and create space for participation. When this balance is off, even advanced features can weaken communication instead of improving it.
Before any presentation goes live, every interactive layer must be tested under real conditions. Links, embeds, navigation paths, and external tools should all function smoothly across devices and viewing modes. Reliability is part of the design, not an afterthought.
Ultimately, effective interactive slides are not defined by how much they do, but by how precisely they direct attention. The best decks feel simple to the audience because complexity has already been resolved in the design phase.
FAQs
Can I create a clickable table of contents in Google Slides?
Yes. You can build a clickable navigation menu by creating a contents slide with section titles and linking each item to its corresponding slide using Insert → Link → Slides in this presentation. This creates a structured, non-linear navigation system that lets viewers jump directly to specific sections.
How do I use the Q&A feature in Google Slides?
During presentation mode, open the presenter toolbar and select the Q&A icon (speech bubble). Once enabled, the audience receives a link where they can submit questions. These questions appear in real time for the presenter to review and address during the session.
Is it possible to add live polls in Google Slides?
Google Slides does not include native polling features. However, you can integrate third-party tools such as Slido, Mentimeter, or Poll Everywhere. These platforms generate shareable links or interactive slides that can be inserted into your deck to collect live audience responses.
Can I create branching scenarios in Google Slides?
Yes. Branching scenarios can be created using hyperlinks on shapes, images, or text. Each choice can lead to a different slide, allowing users to follow different paths based on their selections. This method is commonly used for training modules, quizzes, and interactive storytelling.
Can I embed Google Forms or Docs into Slides?
Direct embedding is not supported. Instead, you can insert clickable buttons, images, or text links that open Google Forms or Docs in a new tab. This maintains functionality while keeping the slide layout clean and controlled.
How do I let students or participants comment on specific parts of a slide?
Share the presentation with Commenter access. Users can highlight text, select objects, and leave contextual comments directly on slides. These comments can be reviewed, replied to, or resolved, making it useful for collaborative feedback and review sessions.


You may also be interested in ...

How To Create An Eye-Catching Portfolio
If you’re looking to create an eye-catching portfolio, this post will come in handy. In this article, you can find the easies...
23 Jun, 2024

How To Easily Create An Infographic
Infographics are the perfect way to make a presentation that will impact an audience, but their design and composition might...
08 Jun, 2024

PowerPoint Template Tips & Tricks You Ne...
PowerPoint seems to be an unknown world for many people, especially those who have been assigned to create a presentation out...
08 Jun, 2024