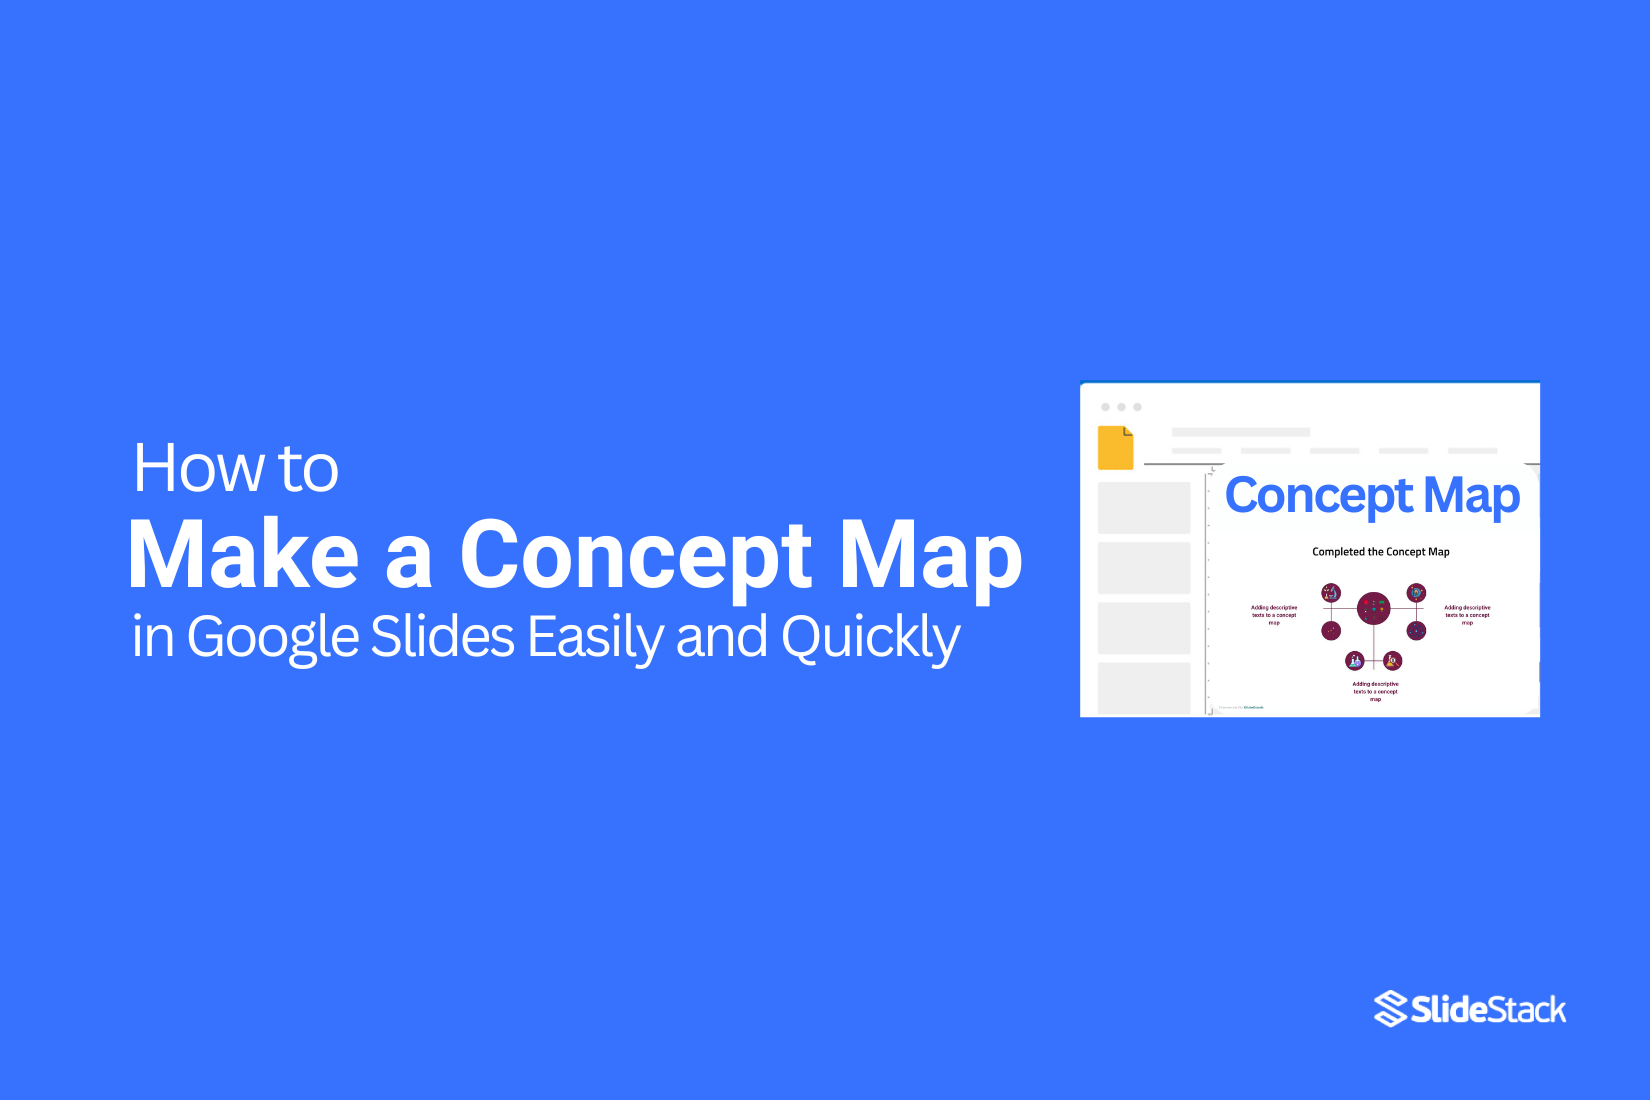
How to Make a Concept Map in Google Slides Easily and Quickly
Our minds are busy. Between work, school, and social media, it’s easy for ideas to get messy. This can make learning or explaining things harder. Concept maps help solve this problem. They turn scattered thoughts into clear visual diagrams that are easy to understand.
A concept map starts with one main idea. Then it connects to smaller ideas that relate to it. You can see how everything links together at a glance. The great part is you don’t need fancy tools. Using just basic shapes, circles, squares, and lines, you can create a concept map quickly in Google Slides.
Creating the Main Concept or Idea
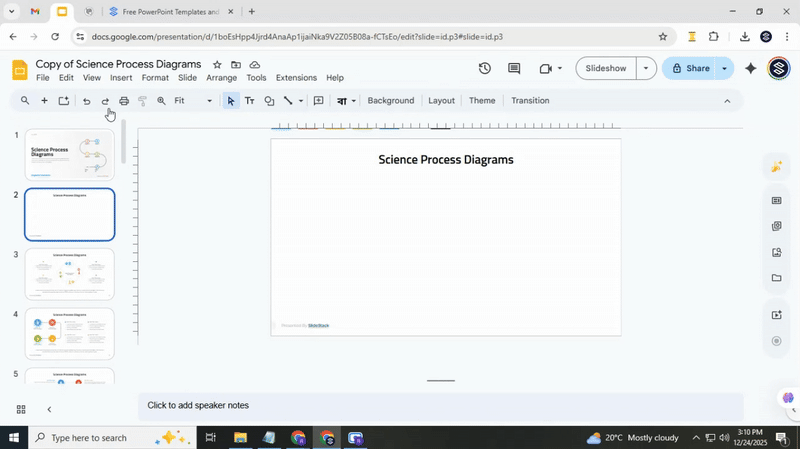
Start by opening your Google Slides presentation. Go to the slide where you want to place your main concept. This will usually be near the top of your slide deck, where the central idea should stand out.
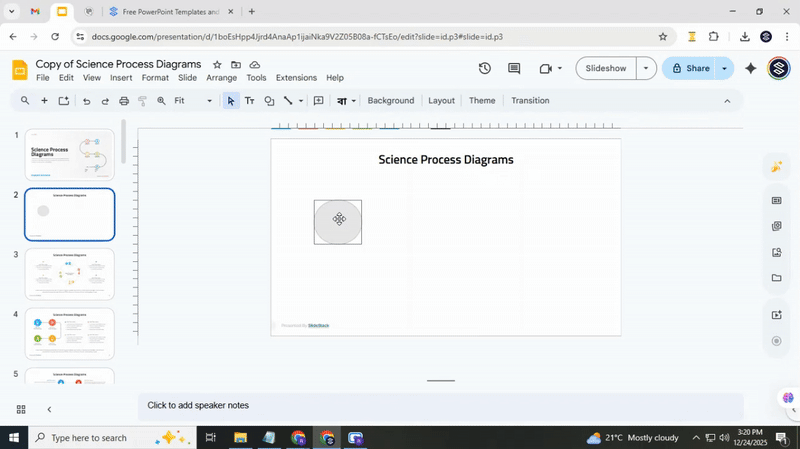
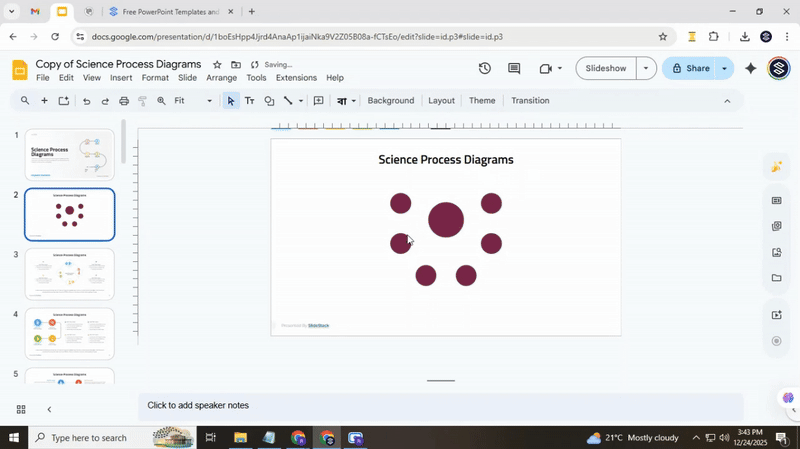
Step 1: Insert a shape
Click on the “Insert” menu at the top. Choose “Shape,” then select “Shapes” and pick the circle. Click and drag on your slide to draw the circle. This will serve as the main concept for your map.
Pro tip: Hold the Shift key while dragging to make a perfect circle. This keeps your design neat and balanced.
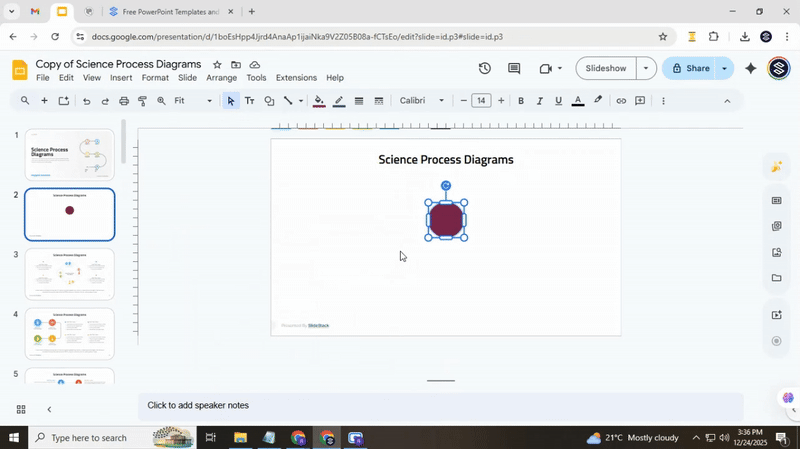
Step 2: Style the shape
Click on the circle to select it. Use the toolbar to change the fill color. Pick a color that stands out but doesn’t clash with the slide background. Next, click the border color icon and choose a complementary color for the outline.
Pro tip: Stick to one or two colors to keep your slide visually clean. Too many colors can distract from the main idea.

Step 3: Adjust position and size
Click and drag the circle to center it on the slide. Make sure there is enough space around it for any connected ideas you will add later. Resize the circle if needed by dragging the corners while holding Shift.
Creating Related Concepts (Also Known as Nodes)
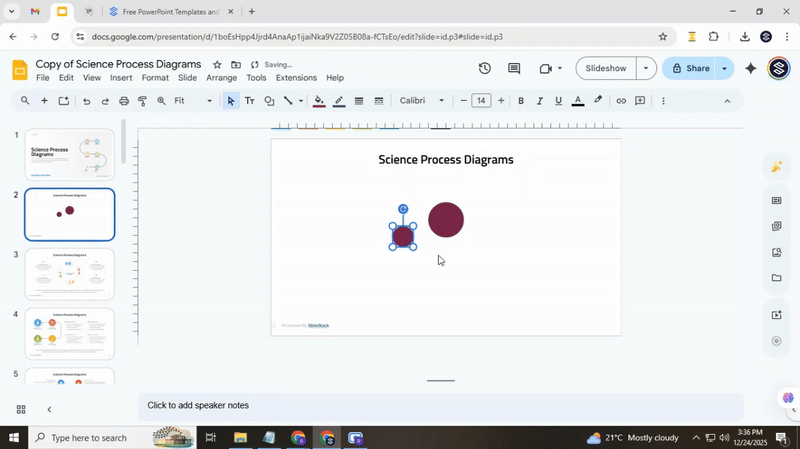
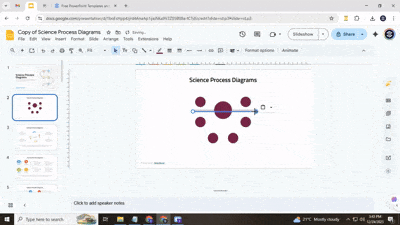
Start by copying the main circle using Ctrl + C and Ctrl + V. Resize it by dragging any corner inward. When your cursor changes to a double-headed arrow, it means you can resize. Hold Shift while resizing to keep the circle proportional. The main circle represents the primary idea, so smaller circles will represent secondary concepts.
Place the first secondary circle slightly below the main circle. This is your first related concept, or node. Replicate this circle to create additional related nodes.
Pro tip: To save time, group nodes together. Select two or more nodes, then click the Right Button, and you can see→ the Group option. Now, you can copy and paste the group, moving both nodes at once. The new nodes will match the originals in size, color, and spacing.
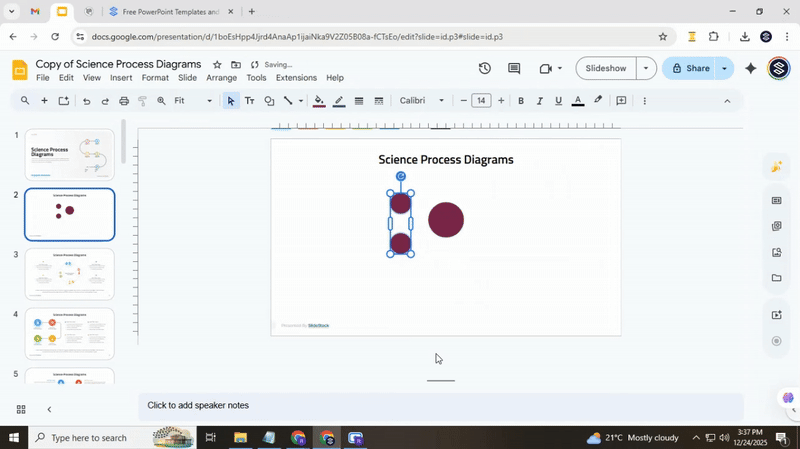
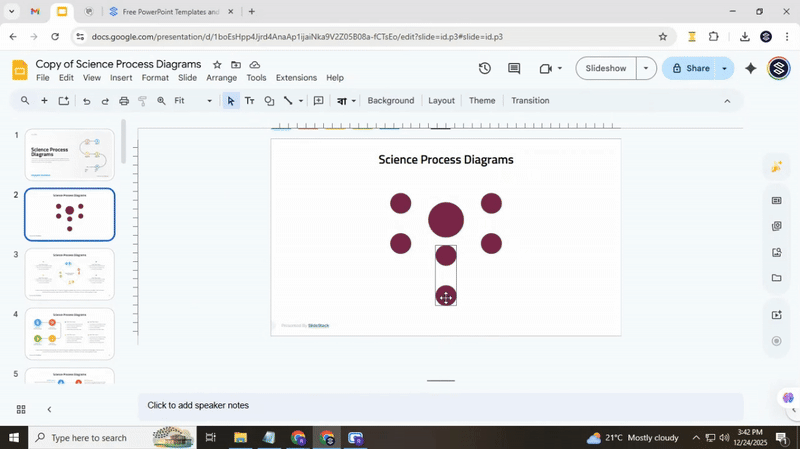
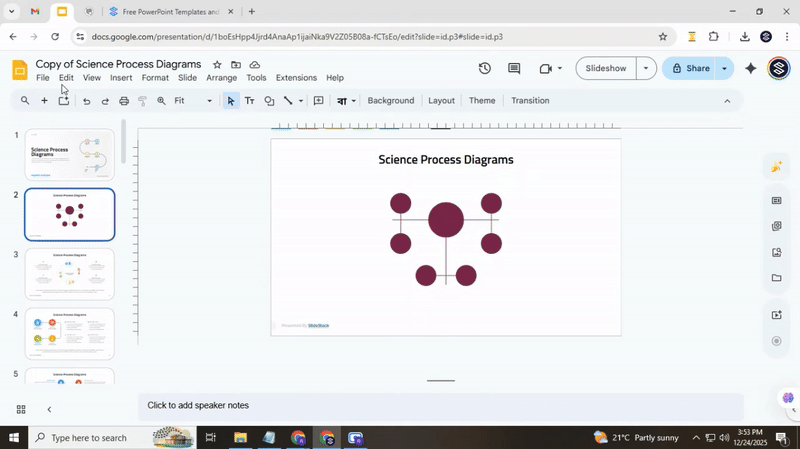
Place the next node slightly above the main circle. Use the visual guides (deep magenda lines) in Google Slides to make sure your nodes are aligned. Position the new nodes as needed. For balance, place them on the opposite side of the main circle. Copy and paste them again to create the last pair of nodes.
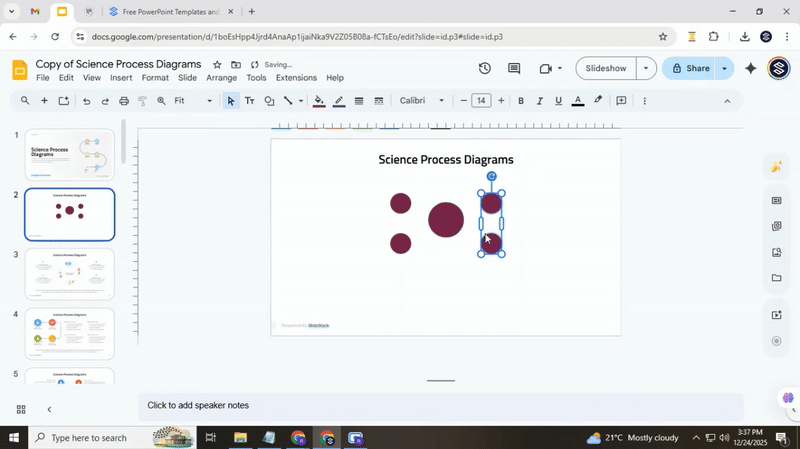
To place them horizontally while keeping even spacing, you may need to rotate the group. Click Arrange → Rotate → Rotate clockwise 90º. Pro tip:
You can also rotate without using the menu. Select the object, then drag the blue dot farthest from the center. Hold Shift to rotate in 15-degree increments for precision.
Connecting related concepts
Linking ideas clearly shows how concepts relate to each other. In Google Slides, lines help make these connections easy to follow. Follow these steps to connect your ideas neatly.
Step 1: Draw the main connection line
- Click on Select line in the toolbar, then choose Line from the dropdown menu. This tool lets you draw straight lines between concepts.
- Click in the center of your main concept box and drag the line across it so it appears like a small strikethrough. This placement makes it obvious that this concept is the starting point for other ideas.
- Use Google Slides’ visual guidelines to check that the line is exactly in the middle of the box. Proper alignment ensures the diagram looks balanced and professional.
Step 2: Style the line
- With the line selected, go to the toolbar and choose Line color. Pick the same color as your concept circles so your diagram looks consistent and neat.
- Next, adjust the Line weight to make the line thicker. A slightly thicker line stands out and clearly shows the connection from the main idea to other concepts.
- Consistent styling across all main connection lines helps your diagram appear organized and easy to read.
Step 3: Connect the main concept to nodes
- Create additional lines from the main concept to each node. These lines represent secondary ideas branching from your main idea.
- Align each line carefully so it connects the center of the main concept to the center of the node. This keeps the layout tidy and avoids overlapping shapes or text.
- Use Snap guides to help maintain even spacing and straight lines between boxes. Proper alignment makes the connections easier to follow.
Step 4: Link interrelated secondary ideas
- If two or more secondary ideas are related, draw lines connecting them directly. This shows the relationships between supporting ideas.
- Make sure these lines do not cross other main or secondary lines. Check that each line clearly indicates which nodes are connected.
- Adjust the placement if needed so that all connections are visible and the diagram remains clear. In this example, related nodes are connected in pairs to show their relationship.
Pro tip: Step back and look at the slide. Make sure all lines are straight, centered, and easy to follow. Adjust any lines that appear uneven or confusing.
Adding titles to the nodes
Start by double-clicking the node you want to label. Type the text directly into the box. Keep the title short and clear so it is easy to read at a glance.
Next, adjust the style. Choose a font that matches the rest of your concept map. Set the size so the text fits neatly inside the node. Pick a color that contrasts with the node background to make it readable. Align the text in the center of the node to maintain balance and a clean appearance.
Check that the font and color match your overall theme. Consistent styling makes the concept map look organized and professional. Keep the text centered and uniform across all nodes for a polished finish.
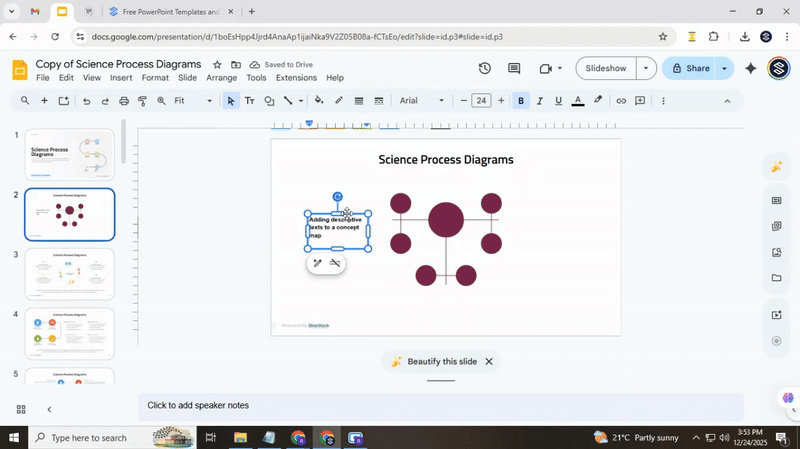
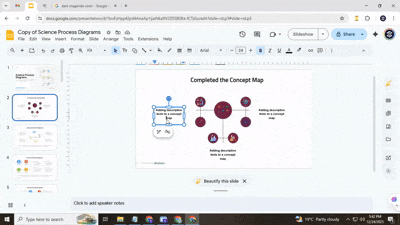
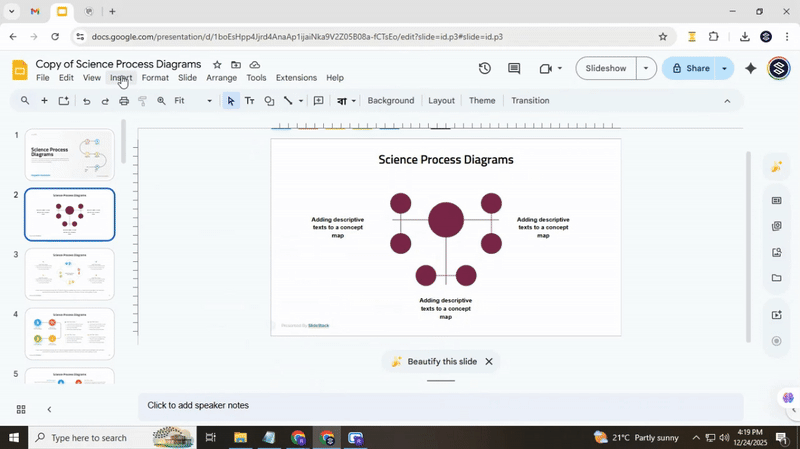
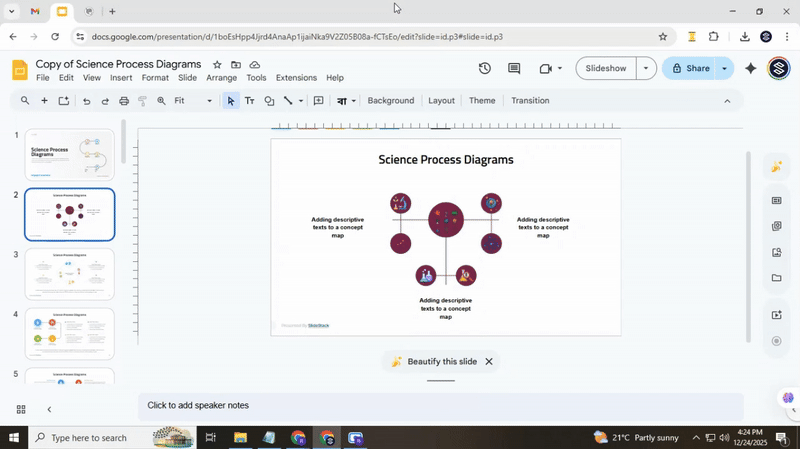
Adding descriptive texts to a concept map
Adding text to a concept map helps explain ideas and show relationships clearly. Google Slides makes this simple. Follow these steps to add descriptive text while keeping your map clean and easy to read.
Step 1: Insert a text box
Click Insert in the top menu, then select Text box. Click anywhere on your slide to place it. Type your text to describe a concept or connection. Keep sentences short. Each text box should explain only one idea or link. This keeps your map easy to scan.
Step 2: Replicate text boxes efficiently
Instead of creating a new text box every time, copy an existing one. Select the text box, press Ctrl + D (or Cmd + D on Mac) to duplicate it. This keeps font style, size, and color consistent. Then, move the copy to a new location and update the text.
Step 3: Align and place text boxes
Select multiple text boxes by holding Shift and clicking each one. Use the Arrange menu to choose Align or Distribute options. This ensures spacing is even and your map looks balanced. Avoid placing text too close to shapes or connectors, so everything stays readable.

Step 4: Keep theme consistency
Use the same font style and size across all text boxes. Pick colors that match your concept map theme but stay easy to read. Consistent styling helps viewers focus on the information instead of being distracted by differences in appearance.
Pro tip: Group text boxes and their connected shapes by selecting both, right-clicking, and choosing Group. This keeps connections intact when moving items around.
Following these steps makes your concept map clearer and easier to follow. Each idea is explained without crowding the slide, and alignment keeps the map visually balanced.
Adding visual details to a concept map
Adding visual elements to a concept map can make your ideas clearer and more engaging. Icons, shapes, and colors help your audience understand connections at a glance. Here is a step-by-step guide to adding visuals in Google Slides.
Step 1: Source your icons
Start by choosing icons that match your topics. Websites like Flaticon offer free icons you can download in PNG format.
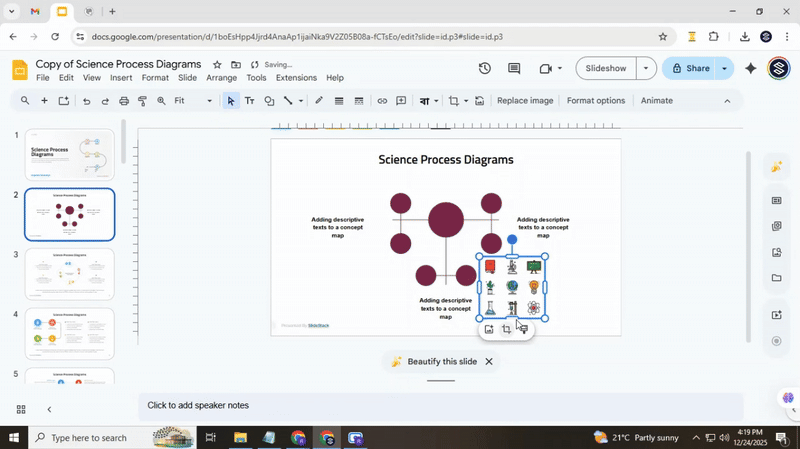
Step 2: Insert icons into your slide
Go to Insert > Image > Upload from computer. Find the icon you downloaded and click Open. The icon will appear on your slide. You can also drag and drop icons directly onto the slide from your computer.
Step 3: Resize and position icons
Click an icon and drag a corner handle to resize it without distorting its shape. Move the icon by clicking and dragging it to the desired location on the map. Place icons near the text or concepts they represent to make connections clear.
Step 4: Customize icon colors
Some icons allow color changes in Google Slides. Select the icon, click Format options > Recolor, and choose a color that fits your concept map. Keeping a consistent color scheme makes the map visually organized and easier to follow.
Pro tips for efficiency
- Use Ctrl + D (or Cmd + D on Mac) to duplicate icons quickly.
- Group icons with related text using Right-click > Group to move them together.
- Align multiple icons using the Arrange > Align menu to keep your layout tidy
Conclusion:
Creating a concept map in Google Slides can make complex ideas easy to see and understand. By following these steps, you can organize your main concept, related ideas, and connections in a clear way. Adding text, icons, and visuals keeps your map easy to read and visually balanced. With careful placement and consistent styling, your concept map will help you or your audience understand information faster and more clearly.
FAQs:
1. What is a concept map?
A concept map is a visual tool that shows how ideas are connected. It starts with a main idea and branches out to related ideas, helping make information easier to understand.
2. Can I make a concept map in Google Slides?
Yes. Google Slides has all the basic tools you need, like shapes, lines, text boxes, and images, to create a clear concept map.
3. How do I start a concept map?
Begin with one main idea. Insert a shape, like a circle, at the top of your slide. Then add the text for your main concept inside the shape.
4. How do I add supporting ideas?
Use shapes for secondary ideas or nodes. Add text, resize shapes as needed, and position them logically around the main concept. Duplicate nodes to keep them uniform.
5. How do I connect ideas?
Use lines to link the main concept to nodes. Make sure lines are straight and clearly show which ideas are connected. You can also connect related secondary ideas with lines.
6. Can I add text to explain ideas?
Yes. Use text boxes to add descriptions. Keep each text box short and focused on one idea. Align text boxes with shapes for clarity.
7. How do I make my concept map look organized?
Align and distribute shapes evenly. Use consistent colors, fonts, and sizes. Group related nodes and text so you can move them together.
8. Can I add icons or visuals?
Yes. Icons help make concepts clearer. Insert and position icons near the text or shapes. Use consistent colors and sizes for a clean look.
9. Are there shortcuts to save time?
Duplicate shapes, text boxes, and icons using Ctrl + D (or Cmd + D on Mac). Group items to move them together and align elements with the Arrange menu.
10. Is there an easier way to start a concept map?
You can use ready-made templates from sources like Slidesgo. These templates already have shapes, lines, and icons in place, so you can edit them quickly.


You may also be interested in ...

How To Create An Eye-Catching Portfolio
If you’re looking to create an eye-catching portfolio, this post will come in handy. In this article, you can find the easies...
23 Jun, 2024

How To Easily Create An Infographic
Infographics are the perfect way to make a presentation that will impact an audience, but their design and composition might...
08 Jun, 2024

PowerPoint Template Tips & Tricks You Ne...
PowerPoint seems to be an unknown world for many people, especially those who have been assigned to create a presentation out...
08 Jun, 2024