How to Easily Make a Word Cloud in Google Slides
Long blocks of text in slides often feel dull, and your audience may lose interest quickly. A simple way to make your slides more engaging is by using word clouds. Word clouds turn ordinary text into visual patterns that are easy to read and fun to look at. They highlight the most important words and ideas, making your message clear at a glance. By adding a word cloud in Google Slides, you save time while giving your presentation a polished, professional look. Your audience will stay focused, and your key points will stand out.
What is a word cloud?
A group of students sat around a table, each sharing their favorite hobbies. Some mentioned reading, others talked about sports, and a few said they liked cooking. To quickly see which hobbies came up the most, their teacher wrote all the words on a screen. The bigger the word, the more students mentioned it. That simple display is called a word cloud.
A word cloud is a visual representation of text. It highlights the most common words in a set of data by making them larger and more noticeable. Less frequent words appear smaller.
Word clouds work by counting how often each word appears in a text. The software then arranges the words on a page, usually in different sizes and orientations, to show the frequency at a glance. This makes it easy to spot trends and key ideas without reading every single line of text.

Some benefits of using word clouds in your presentation
As we already mentioned, word clouds can show the essence of a large text at a quick glance. But using this tool the right way brings even more advantages:
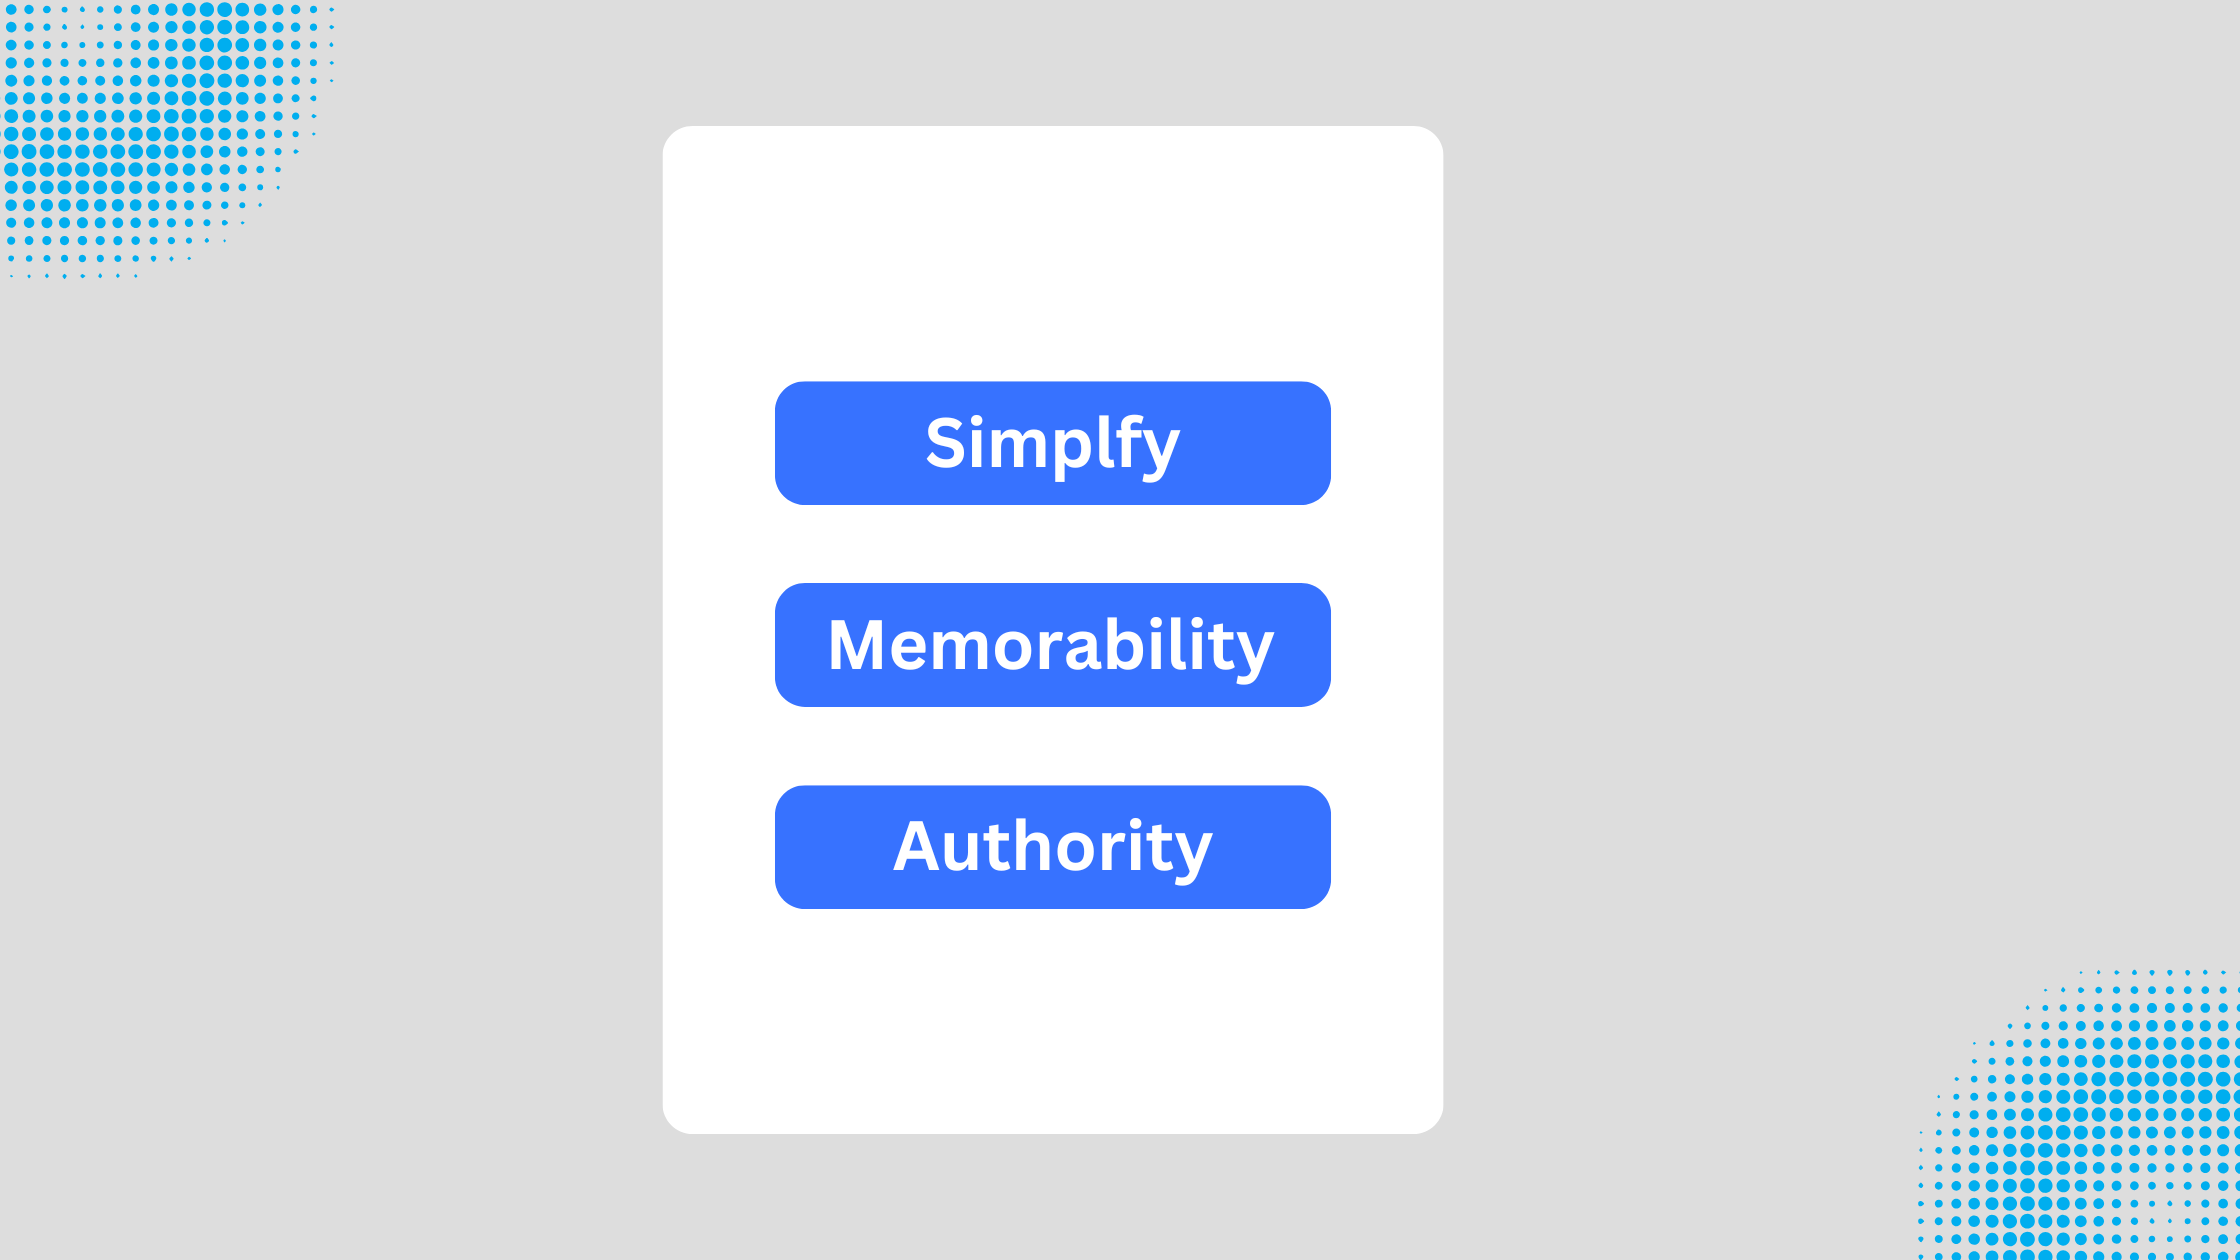
• Simplify: Word clouds turn complex information into a simple, easy-to-read image.
• Memorability: Visual slides make ideas stick. People remember content better when it looks engaging.
• Authority: Highlighting key points visually makes your arguments stronger and more convincing.
The best part? You can adjust your word cloud to emphasize the ideas you want your audience to focus on, making your message clear and effective.
What types of words can you use to create your word cloud?
When choosing words for a word cloud, avoid including irrelevant or filler words. Words that do not add meaning can make the cloud look cluttered and confuse the audience. Editing your list before creating the cloud ensures that only meaningful terms appear.
Focus on words that reflect the main topic or key ideas. For example, if the word cloud is for a classroom lesson on animals, include terms like “lion,” “habitat,” “predator,” or “endangered.” If the cloud highlights a marketing campaign, consider using words such as “engagement,” “brand,” or “strategy.” Choosing words that connect directly with your audience keeps the cloud clear and impactful.
Keep the number of words manageable. A list of 15 to 30 well-selected words is usually enough. This balance allows the audience to quickly grasp the main ideas without feeling overwhelmed.

How to Make a Word Cloud in Google Slides
First things first: Google Slides does not have a built-in word cloud feature. You can still add one easily by using an online word cloud generator. Just follow these simple steps.
Step 1: Generate a Word Cloud with Word Art
Word Art is a simple and flexible tool for making word clouds.
1. Go to WordArt.com and click the Create button.
2. Enter a title for your word cloud in the top left section.
3. Click Import to copy and paste your text. You can also import words from a text file or a website.
4. Keep the options: remove common words, remove numbers, and stem selected. This ensures only the most relevant words appear.
5. After entering your text, click Import Words, then Visualize. Your word cloud will appear. You can now adjust its shape, font, layout, and style.
6. Delete any words you do not want in your cloud to keep it clear.
7. Click Download to save your word cloud. We recommend using Standard PNG so it works easily in Google Slides.
Step 2: Insert Your Word Cloud into Google Slides
After downloading your word cloud, you can add it like any other image.
1. Open your Google Slides presentation and go to the slide where you want the word cloud.
2. Click Insert in the top menu, then hover over Image.
3. Choose Upload from Computer and locate your word cloud file.
4. Click Open to insert it. Resize or move it as needed.
5. Your Google Slides presentation now features a clear and visually engaging word cloud.
Tips to consider when creating a word cloud
Automatically generated word clouds can help visualize ideas quickly. To get the best results, keep these points in mind:
• Relevance: Include words that reflect the main topic. Avoid adding unrelated terms that may distract from the message.
• Amount: Limit the number of words to keep the cloud clear. Too many words can make it hard to read and reduce impact.
• Personalization: Adjust colors, fonts, and sizes to match the intended style. A simple touch can make the word cloud more engaging and easier to understand.
Read also: How to Easily Add or Change Fonts in Google Slides for a Professional Look
Conclusion:
Adding a word cloud to your slides makes your presentation more engaging and easier to follow. It turns long text into a visual summary and highlights the words that matter most. By choosing meaningful terms and keeping your cloud clear, you help your audience focus on your main points. With just a few steps, you can create a word cloud and place it in Google Slides. Your slides will look polished, and your message will stick with your audience.
FAQs:
1. What file format should I use to insert a word cloud into Google Slides?
Use image formats like PNG or JPEG. PNG is best if your word cloud has a transparent background. Once saved, you can insert it into your slide like any other image.
2. Can I use a word cloud as a background for my Google Slides presentation?
Yes, you can. Insert the word cloud image, then resize it to cover the whole slide. Make sure the words are readable and not too cluttered.
3. Can I change the font style of the words in my word cloud for Google Slides?
You can change the font only when creating the word cloud in a tool that lets you pick fonts. Google Slides won’t let you edit the font inside the image itself.
4. What are some popular online tools for creating word clouds?
Some easy-to-use options are WordArt.com, WordClouds.com, and Tagxedo. They let you customize shapes, colors, and fonts before downloading the image.
5. Are there any limitations to using word clouds in Google Slides?
Yes. Word clouds are static images, so you can’t animate individual words. Also, editing the words or fonts later requires returning to the original tool.


You may also be interested in ...

How To Create An Eye-Catching Portfolio
If you’re looking to create an eye-catching portfolio, this post will come in handy. In this article, you can find the easies...
23 Jun, 2024

How To Easily Create An Infographic
Infographics are the perfect way to make a presentation that will impact an audience, but their design and composition might...
08 Jun, 2024

PowerPoint Template Tips & Tricks You Ne...
PowerPoint seems to be an unknown world for many people, especially those who have been assigned to create a presentation out...
08 Jun, 2024