How to Draw on Google Slides for Professional Presentations

Creating professional presentations can be tricky, especially when slides feel plain or lack visual appeal. Many users struggle to add drawings or custom shapes, which makes slides look generic and less engaging. This can leave your audience unfocused and reduce the impact of your message.
Fortunately, Google Slides offers simple tools to draw directly on your slides. With just a few clicks, you can insert shapes, lines, and sketches that match your content. Adjusting colors, sizes, and placement is easy, giving your slides a polished look.
By learning these techniques, your presentations will stand out, appear more professional, and communicate ideas clearly and effectively to any audience.
How will a Drawing Help in enhancing the Presentation?
Adding a drawing to your presentation can make your ideas clearer and more engaging. It gives your audience a visual reference, which makes information easier to follow. Drawings can also break up text and make slides look more inviting. They help your points stick in the viewer’s mind and give your talk a personal touch.
Drawings can be useful in many ways:
• They explain complex ideas in a simple way
• They highlight key points without extra words.
• They keep the audience focused and interested.
• They make slides more visually appealing.
• They can show processes, steps, or comparisons clearly.
Using drawings in presentations adds clarity and interest. They are helpful for school projects and professional talks alike. A well-placed drawing can make your message easier to understand and remember.
Methods to Draw on Google Slides
Google Slides does not have a built-in drawing canvas. Users cannot draw freely like in a paint program. To include drawings, other tools or features need to be used.
There are several ways to add drawings to slides. Each option works in a slightly different way and can be chosen depending on the needs of the presentation.
• Using the Scribble Tool in Google Slides
• Using Google Drawing Tools
• Using the Annotate Extension Add-on
These methods let users add lines, shapes, or freehand sketches. They provide ways to include drawings even without a dedicated drawing space inside Slides.
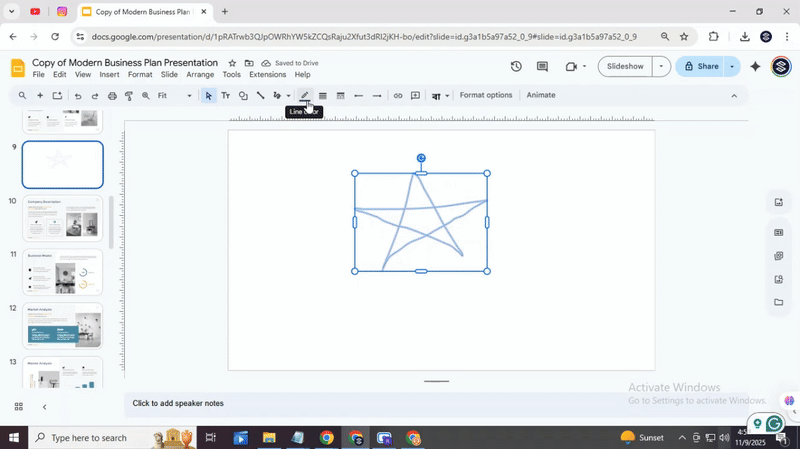
Method 1: Using the Scribble Tool in Google Slides
Adding your own drawings to slides can make your presentation more personal and creative. The scribble tool in Google Slides lets you draw freely, giving you control over shapes, lines, and fun details. Follow these steps to get started.

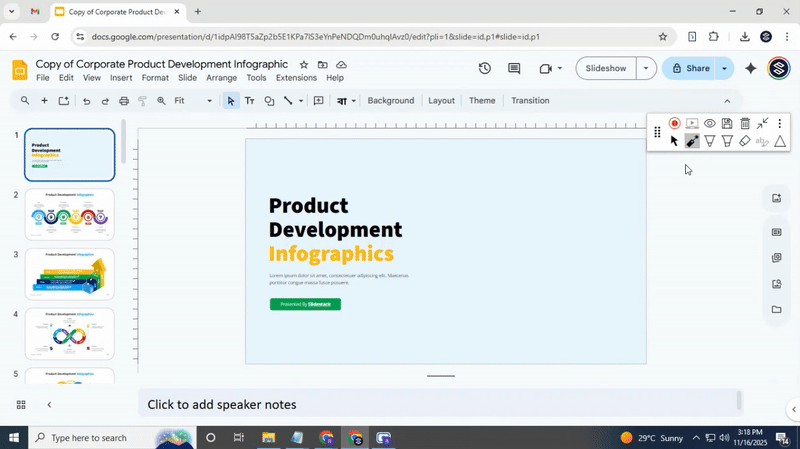
1. Open your desired slide
Start by opening the slide where you want to add your drawing. Make sure it’s the right slide so you can see your work clearly.
2. Access the scribble tool
Click on Insert in the top menu, then select Line and choose Scribble from the drop-down. Your cursor will change, showing you are ready to draw.
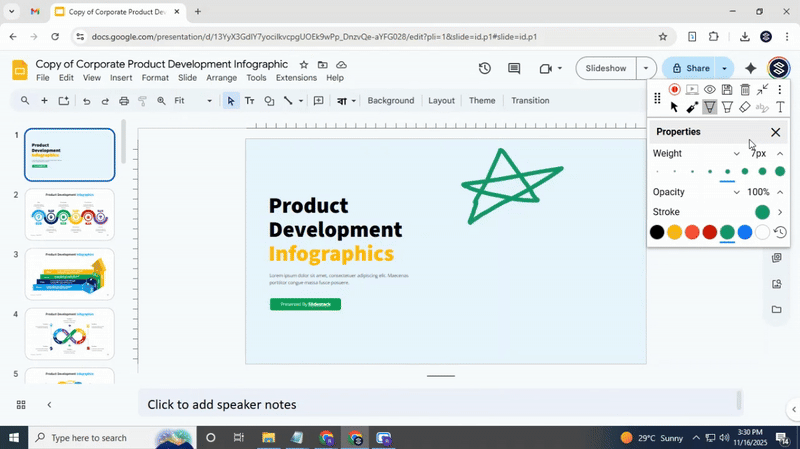
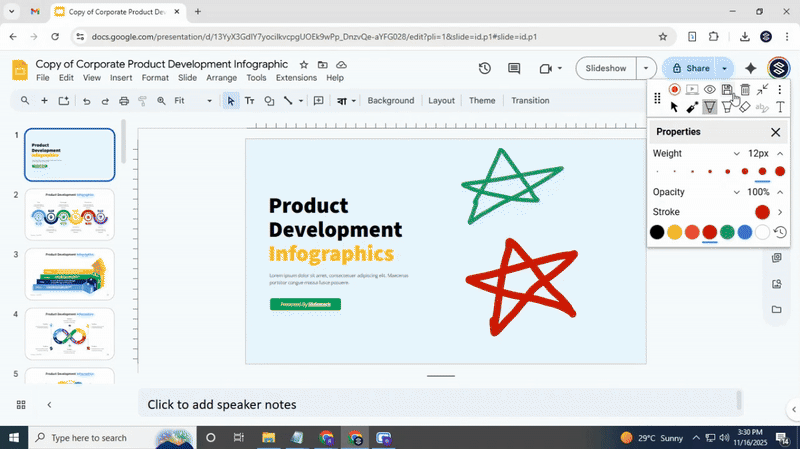
3. Start drawing
Click and drag your mouse to draw on the slide. Move slowly for precise lines or faster for a looser look. Don’t worry about mistakes; you can adjust them later.
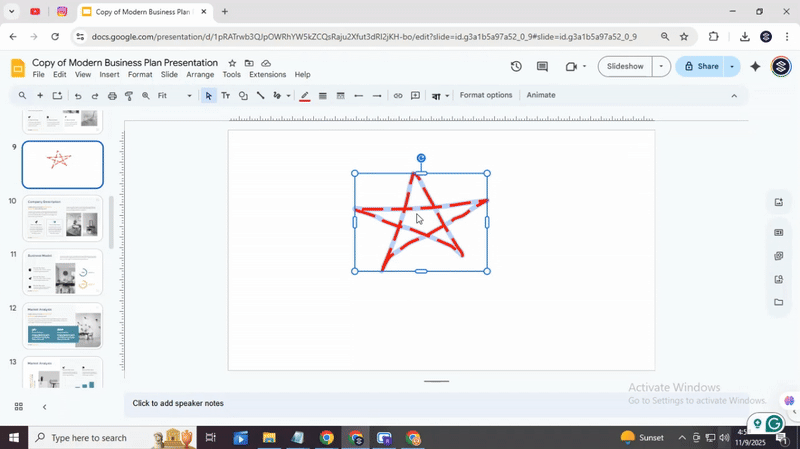
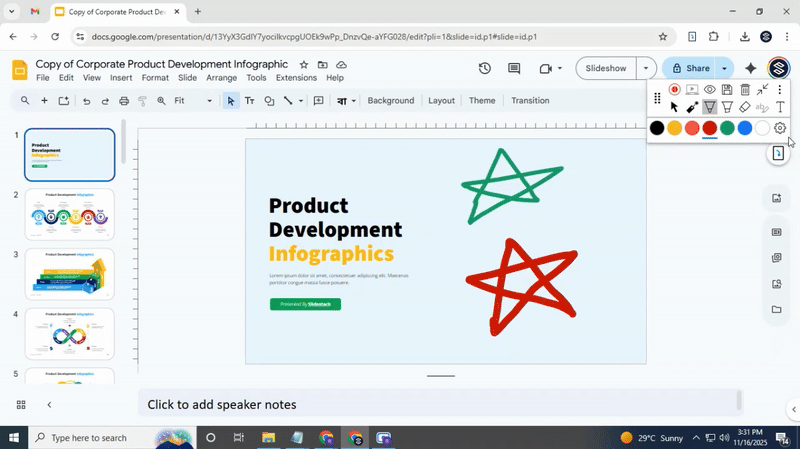
4. Customize your drawing (optional)
You can change the color, line thickness, or style by selecting the drawing and using the options in the toolbar. This makes your doodle stand out and match your slide design.
5. Finalize your drawing
When you finish, click outside the drawing to set it in place. You can still move, resize, or rotate it as needed.
Extra tips:
• Hold Shift while drawing to keep lines straight.
• Use the Undo button if you make a mistake.
• Combine multiple scribbles to create more complex shapes or designs.
Read also: How to Select Multiple Slides in Google Slides for Faster Editing
Method 2: Using Google Drawing Tools
Google Drawings allows for precise and detailed designs that go beyond the basic scribble tool in Google Slides. It is useful for creating shapes, diagrams, and custom visuals that can be easily edited
Open Google Drive:
Go to your Google Drive account and click the “New” button. Select “More” and then choose “Google Drawings.”
Create Your Drawing:
Use the toolbar to add shapes, lines, text boxes, and images. Adjust colors, sizes, and positions as needed.
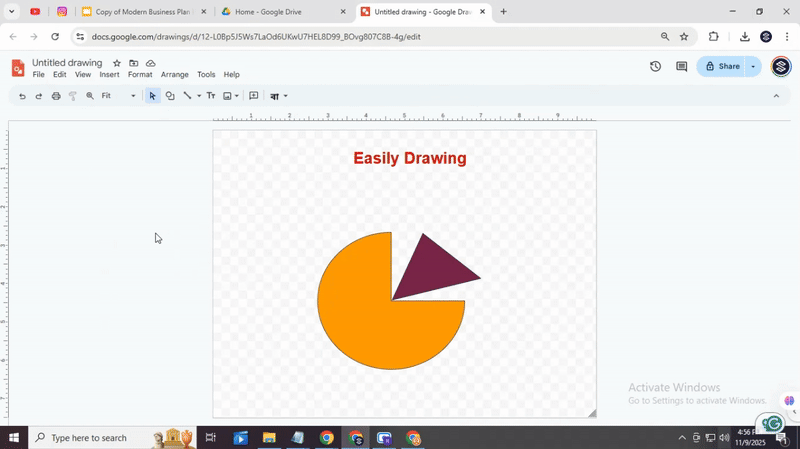
Name the Drawing: Click the title area in the top-left corner and type a descriptive name for your drawing.
Save Automatically: Google Drawings saves changes automatically, so there is no need to manually save your work.
Copy the Drawing: Click “File,” then select “Copy” to copy your drawing to the clipboard.
Open Google Slides: Navigate to the slide where you want to insert the drawing.
Paste the Drawing: Press Ctrl+V (Cmd+V on Mac) to paste the drawing. Resize or reposition it on the slide as needed.
Edit Later: Double-click the drawing to open it in Google Drawings for further edits without losing formatting.
Using Google Drawings provides more control and flexibility. Drawings can be updated even after they are added to your slides, making them a reliable option for precise visuals.
Read also: How to Add, Copy, and Delete Text Boxes in Google Slides Easily
Method 3: Using the Annotate Extension Add-on
Before You Begin
• To use the Annotate extension, you need a few things ready:
• Google Chrome: Ensure it is installed on your computer.
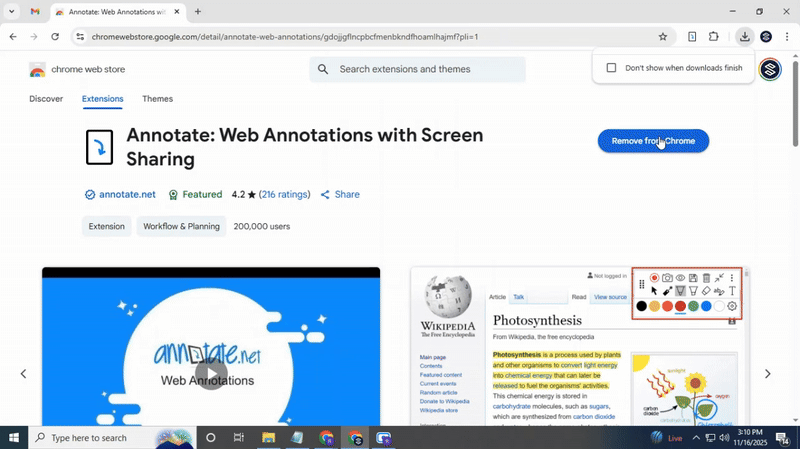
• Annotate Extension: Install it from the Chrome Web Store.
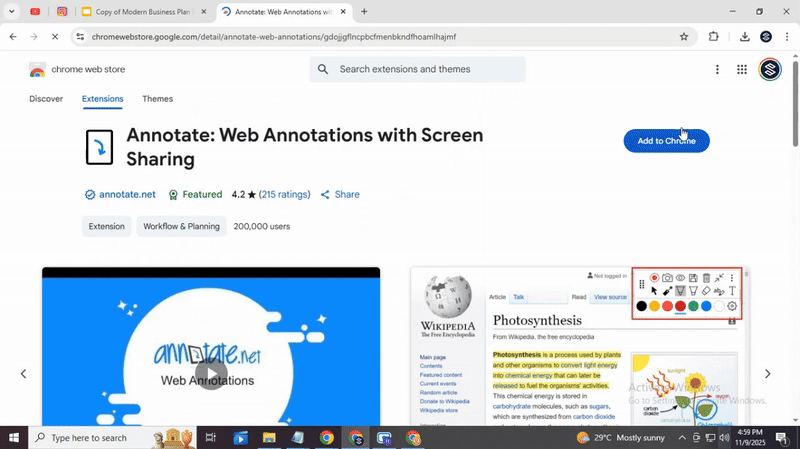
Account: Create a free Annotate.net account for basic features.
Once these prerequisites are in place, you’re ready to start drawing on your slides.
Step-by-Step Instructions
Open Your Presentation: Launch Google Slides and open the presentation where you want to draw.
Activate Annotate: Click the Annotate extension icon in the Chrome toolbar. Select Turn Annotations On. A drawing toolbar will appear on your screen.
Choose Your Tool: Pick the tool you want. Options include pen, highlighter, shapes, or text boxes.
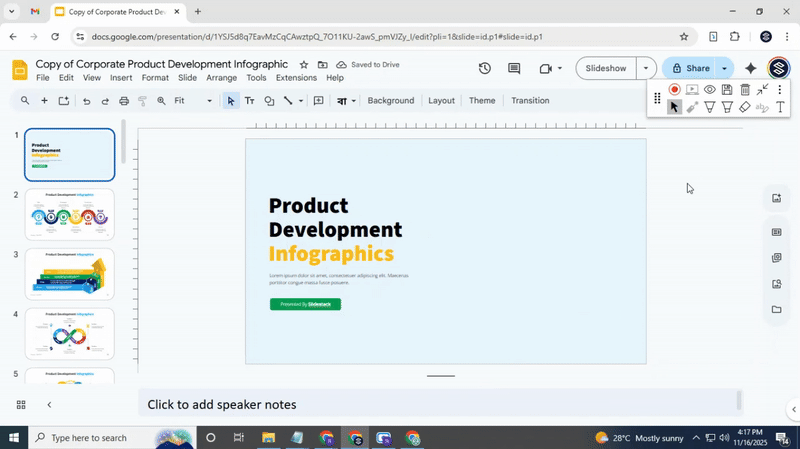
Start Drawing: Click and drag on the slide to draw. You can highlight sections, underline text, or add shapes.
Customize Your Drawing: Adjust color and line thickness. Use the undo/redo buttons if you make a mistake. Move or erase drawings as needed.
Save Your Work: When finished, click Save or export your annotated slides.
Exit Annotation Mode: Click Turn Annotations Off to return to standard slide editing.
Customization Tips
• Colors: Choose colors that stand out against your slide background.
• Line Thickness: Thicker lines emphasize points; thin lines are good for details.
• Undo/Redo: Use these frequently to correct mistakes quickly.
• Erasing: Remove specific elements without affecting the whole drawing.
• Moving Slides: You can switch slides without losing your annotations.
Pro Tips
• Use the laser pointer feature for live presentations.
• Try overlays to mark multiple points without cluttering the slide.
• Free accounts offer basic features, but paid versions unlock additional tools.
• Plan your annotations before starting to keep slides clean and clear.
Happy annotating! With the Annotate extension, you can make your slides more interactive and visually engaging with ease.
Read also: How to Arrange and Align Objects in Google Slides: Tips and Tricks
Method 4: Drawing During a Presentation
Adding drawings while presenting can help your audience focus and understand your points better. It allows you to highlight important details, sketch ideas on the spot, and make your talk more interactive. Using a pen tool in slideshow mode makes this simple and effective.
Step-by-Step Instructions
Start your presentation: Open your Google Slides file and click the “Slideshow” button.
Access the pen tool: Move your cursor to the bottom-left corner and click the pen icon.
Choose your style: Select between the pen and the highlighter to draw your lines or shapes.
Draw on your slides: Click and drag to mark, underline, or sketch on your slides.

Erase if needed: Use the eraser tool to remove any marks you don’t want to keep.
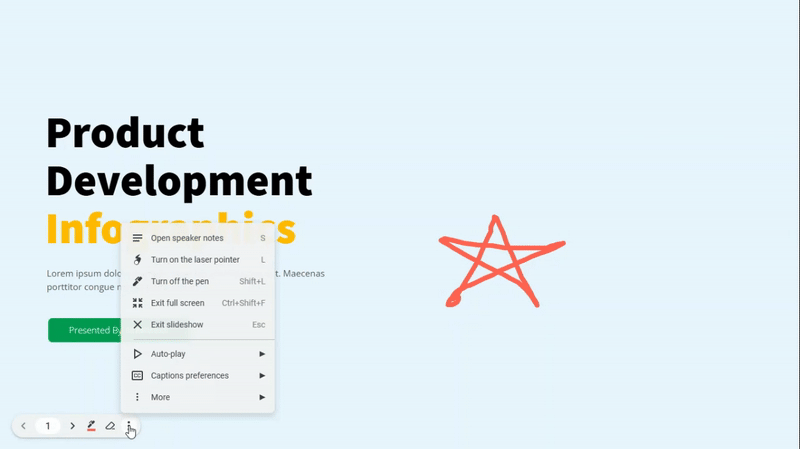
End drawing mode: Click the pen icon again to exit drawing mode before moving to the next slide.
Pro Tip
Use simple sketches or circles to guide attention. Ask a quick question while drawing to keep the audience engaged. This makes your points more memorable without slowing down your presentation.
Read also: How to Wrap Text in Google Slides Easily
Tips for Effective Drawing in Google Slides
Adding drawings to your slides can make your presentation stand out. Clean and simple visuals help your audience understand your ideas better. You don’t need special tools or skills to create drawings that look professional. With a few techniques, your slides can be more engaging and impactful.
1. Group Objects
If your drawing has multiple shapes or lines, group them together. Select all the pieces, then click Arrange > Group. This keeps everything in place and makes moving or resizing easier. Grouping saves time and keeps your design neat.
2. Adjust Layering Order
Sometimes shapes overlap in ways that hide important parts. Right-click an object and use Order > Bring to Front or Send to Back to fix this. Adjusting layers makes your drawing clear and ensures every element is visible.
3. Use Transparency
Transparency can add depth and make your drawing look more polished. Select a shape, click the Fill color, and adjust the transparency slider. This works well for backgrounds or overlapping shapes.
4. Practice Regularly
The more you draw, the better you get. Spend a few minutes each day experimenting with different shapes, colors, and layouts. You’ll notice your drawings becoming smoother and more precise over time.
Keep Going
Drawing in slides is a skill you can improve. Don’t worry about mistakes; each one teaches you something. Try the tips above and see how your slides transform.
Start Today
Open a slide and start drawing. Experiment with shapes, layering, and transparency. Your slides can become more visual, engaging, and professional with each attempt.
Real also: How to Make Any Background Transparent in Google Slides Quickly
Final Thoughts
Drawing on Google Slides makes your presentations clearer and engaging. Simple sketches and shapes can help your audience understand ideas faster. Each method has its own benefits, so you can choose the one that fits your needs. The more you practice, the more confident you will become. Start adding drawings today and watch your slides become easier to follow and more visually appealing.
FAQs:
1. Can I draw freehand in Google Slides?
Yes, you can. Use the Scribble tool under the “Line” menu to draw freehand on any slide. You can create shapes, lines, or doodles just like on paper.
2. Does Google have a drawing app?
Google doesn’t have a standalone drawing app, but you can use Google Drawings. It’s part of Google Workspace and lets you create drawings that can be inserted into Slides.
3. How do you draw on Google Slides on iPhone/iPad?
Open the Slides app, select a slide, then tap the “+” icon and choose “Drawing.” You can use your finger or a stylus to draw directly on the slide.
4. How do I delete a drawing in Google Slides?
Click the drawing to select it, then press the Delete key. You can also right-click the drawing and choose “Delete” from the menu.
5. Can I edit the drawing after I’ve inserted it into the slide?
Yes, you can. Click the drawing to open it in the editor, then make your changes. Some changes may require reopening Google Drawings if you used that tool.
6. Can multiple people work on Google Slides at the same time?
Yes. Google Slides allows real-time collaboration. You’ll see each person’s cursor and changes as they happen.
7. Where is the pen tool in Google Slides?
Google Slides doesn’t have a traditional pen tool, but the Scribble tool works like a pen. Find it under Insert > Line > Scribble.
8. How to draw on Google Slides while presenting
Use the built-in Laser Pointer or Annotate feature in Present mode. On some devices, you can draw directly on the slides while presenting using a stylus or touch screen.
9. Is there a paintbrush tool in Google Slides?
No, there isn’t a paintbrush tool. The closest option is the Scribble tool for freehand drawing.
10. Can I change the color of a scribble or drawing in Google Slides?
Yes. Select the drawing, then click the line color icon to choose a new color. You can also adjust thickness and line style.
11. How do I rotate or resize a drawing?
Click the drawing to select it. Use the corner handles to resize and the circular handle at the top to rotate.
12. Can I layer multiple drawings or images?
Yes. Use Arrange > Order to move objects forward or backward. This lets you stack images and drawings in any order.
13. How can I trace over an image in Google Slides?
Insert the image first. Then use the Scribble tool to draw over it. You can adjust the opacity to see the image beneath clearly.
14. Are there any keyboard shortcuts for drawing tools?
Google Slides doesn’t have specific shortcuts for drawing tools. Most drawing actions are done using the menus or the toolbar.
15. Can I lock a drawing so it doesn’t move?
Slides doesn’t have a lock feature. A workaround is to put your drawing on the background or group it with other objects to reduce accidental movement.
16. What’s the best way to draw shapes like arrows or flowcharts?
Use the Shapes menu for arrows, boxes, and flowchart symbols. They snap to the grid for cleaner alignment.
17. Can I draw collaboratively in Google Slides?
Yes. Multiple users can draw at the same time. Everyone’s changes appear in real time, just like with text or images.


You may also be interested in ...

How To Create An Eye-Catching Portfolio
If you’re looking to create an eye-catching portfolio, this post will come in handy. In this article, you can find the easies...
23 Jun, 2024

How To Easily Create An Infographic
Infographics are the perfect way to make a presentation that will impact an audience, but their design and composition might...
08 Jun, 2024

PowerPoint Template Tips & Tricks You Ne...
PowerPoint seems to be an unknown world for many people, especially those who have been assigned to create a presentation out...
08 Jun, 2024