How to Make a Poster in Google Slides (Step-by-Step + Design Tips)
Creating a poster can feel overwhelming if you don’t have access to design software or expensive tools. You might have ideas in your head, but struggle to put them on a page. Spending hours trying to format everything can leave you frustrated and stuck.
That’s where Google Slides comes in. It is free, easy to use, and perfect for creating posters without prior design experience. You can drag, drop, and arrange images, text, and colors quickly.
Start by opening Google Slides and choosing a blank slide. From there, you can follow simple steps to bring your poster to life in no time.
What You Need Before You Start
Before you begin, gather all the items and information you will need. Start with a clear goal. Know the size and purpose of your project. Next, collect your text and images. Make sure images are high quality and easy to read. Keep any logos or graphics ready. Choose your tools. Have your software open and set up. This will save time later. Finally, plan your layout. Sketch a rough design or outline. This helps keep your work organized and focused.
Why Use Google Slides for Poster Design
Google Slides is easy to use and free. You do not need special software or skills. It works on any computer with internet access. It allows you to move text and images quickly. You can resize, rotate, and arrange items with simple clicks. Sharing and collaboration are simple. Multiple people can work on the same poster at the same time. Changes save automatically, so nothing is lost. It also has built-in tools for colors, fonts, and shapes. These make your poster look clean and professional without extra effort.
How to Make a Poster in Google Slides Step by Step
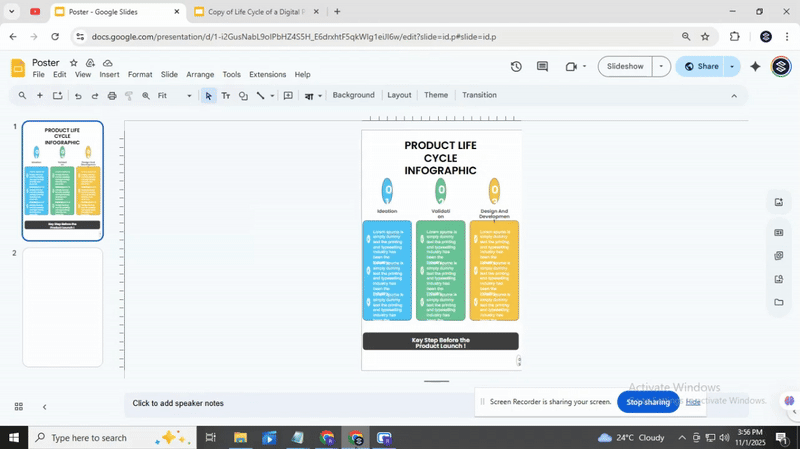
Creating a poster in Google Slides is simple and fun. You don’t need extra software, and you can make a design that looks professional. Here’s how to do it step by step.
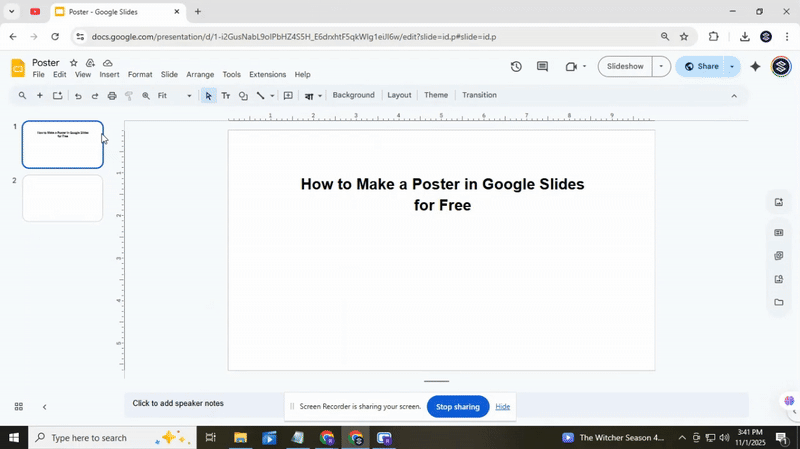
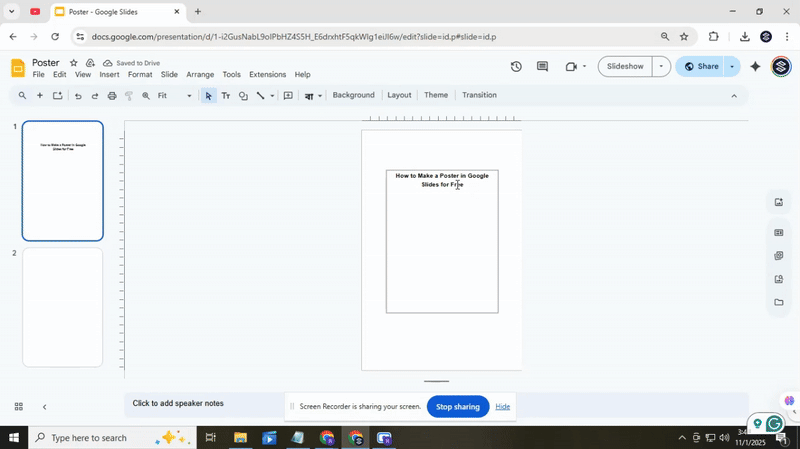
Step 1: Open Google Slides and Set Up Your Page
Start by opening Google Slides. Create a new blank presentation. Go to the File menu, select Page setup, and choose Custom. Enter the dimensions for your poster. A common size is 24 by 36 inches, but you can adjust it to fit your needs. Click Apply to set the size.
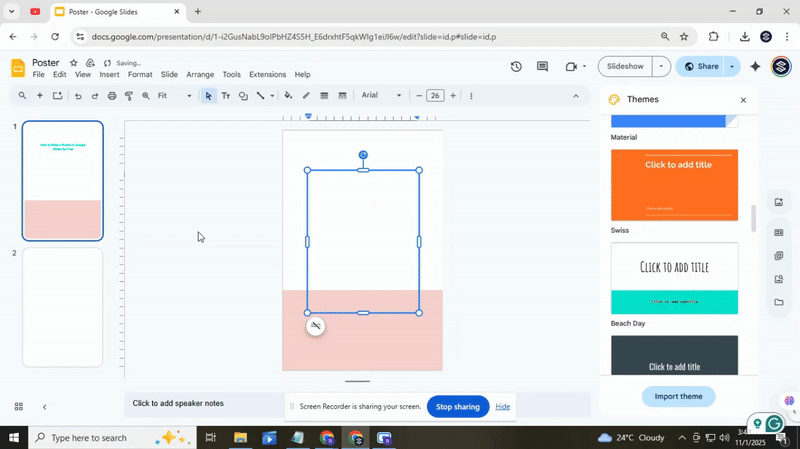
Step 2: Choose a Background and Theme
Pick a background color or pattern. Go to Background and select a color, gradient, or image. You can also choose a ready-made theme from the Theme panel. Themes give your poster a consistent look and can save time.
Read Also: How to Make Any Background Transparent in Google Slides Quickly
Step 3: Add and Arrange Text
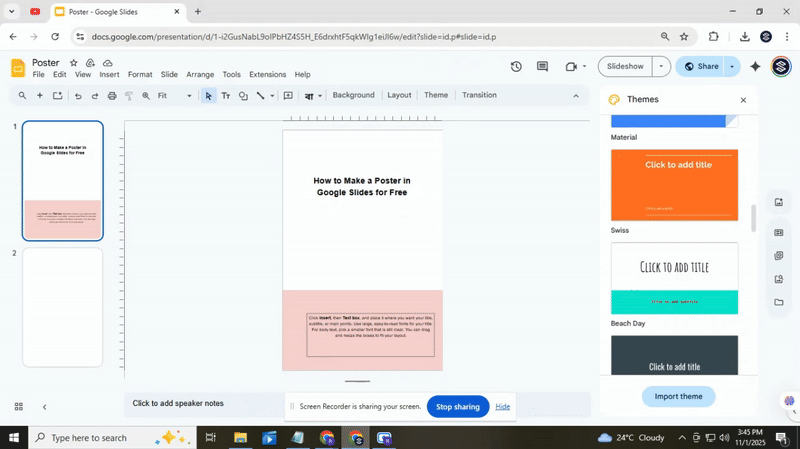
Click Insert, then Text box, and place it where you want your title, subtitle, or main points. Use large, easy-to-read fonts for your title. For body text, pick a smaller font that is still clear. You can drag and resize the boxes to fit your layout.
Read Also: How to Add, Copy, and Delete Text Boxes in Google Slides Easily
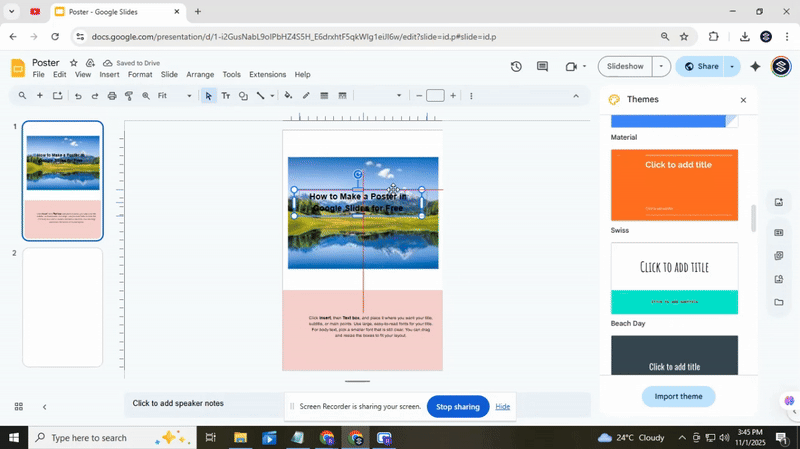
Step 4: Add Images and Shapes
To make your poster more engaging, insert images or icons. Go to Insert > Image and choose from your computer, Google Drive, or the web.
You can also use Shapes to highlight sections or create frames. Resize and move them until your design feels balanced.
Step 5: Customize and Arrange Elements
Adjust colors, fonts, and positions. Make sure text is readable against the background. Align elements neatly using the guides or the Arrange menu. Try different layouts until the poster looks organized and visually appealing.
Read Also: How to Arrange and Align Objects in Google Slides: Tips and Tricks
Step 6: Use Existing Slides or Templates
If you have slides from a previous presentation, you can copy them into your poster. This can save time and maintain a consistent design. Templates from SlidesStack can also give you a head start with pre-designed layouts.
Read Also: How to Import Google Slides Themes Step by Step
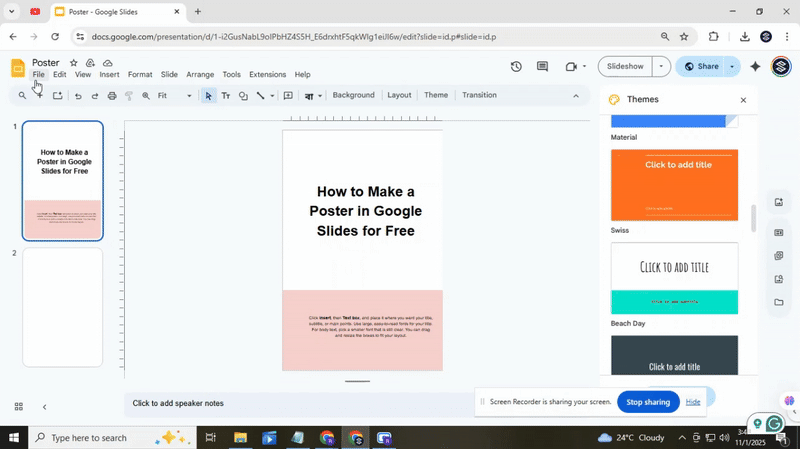
Step 7: Save, Download, or Print
Once your poster is ready, save it in Google Slides. To share or print, go to File > Download and choose PDF for high-quality printing. You can also export it as an image if needed. Print using your preferred printer or take the PDF to a local print shop. You’ve made it! With these steps, your poster is ready to grab attention. Adjust colors, fonts, and images until you love the final design. We’re sure it’s an amazing poster that stands out.
Read also: How to Save Google Slides as PDF in Simple Steps
Enhance Design with Built-In Tools
Google Slides offers tools that make your poster look polished without extra software. You can use shapes, lines, and icons to add structure. Charts and tables help present data clearly.
The drawing tools let you create custom graphics. You can change colors, borders, and styles to match your theme. Text boxes make it easy to position titles, headings, and captions exactly where you want.
Slides also include alignment guides and snap-to-grid features. These help keep everything neat and balanced. You can group elements to move them together, which saves time and keeps your layout consistent. Using these built-in tools means you spend less time fixing mistakes and more time focusing on your message. Every poster can look professional without needing advanced design skills.
Make Your Poster Visually Engaging
A poster needs to grab attention. Use bold headings to show the main idea. Keep text short and easy to read. Bullet points help organize information. Images can make a big impact. Choose pictures that match your message. Icons and graphics can guide the reader’s eye. Color is important, too. Use a few colors that work well together. Avoid too many shades that distract. White space is your friend. It keeps the poster clean and easy to follow. Elements should have room to breathe. Finally, make sure everything lines up. Consistent spacing and alignment make your poster look professional.
Common Mistakes to Avoid
Many people try motion paths and make the same errors. One common mistake is adding too many paths on a single slide. This can make the movement confusing and distract the audience. Another error is moving objects too fast or too slow. If the motion is uneven, it feels awkward and breaks the flow of the presentation. Some presenters forget to check alignment. Objects that do not line up properly can look messy, even if the animation itself is smooth. A final mistake is using motion paths without purpose. Every movement should have a reason, like guiding attention or showing a process. Random or unnecessary motion makes slides feel cluttered.
Tips for Printing Your Poster
Choose the right paper for your poster. Glossy paper makes colors look bright. Matte paper reduces glare and is easier to read. Check the resolution of your images. Low-resolution images may look blurry when printed. Use at least 300 dpi for best results. Pick the correct size before printing. Make sure your printer can handle it, or use a print shop. Keep important text away from the edges. Leave a margin so nothing gets cut off. Use colors that stand out. Dark text on a light background is easier to read. Proofread everything before printing. Check for spelling mistakes and alignment issues. Consider doing a test print first. It helps you see how the final poster will look.
Final Thoughts
Making a poster in Google Slides is simple and free. You can create a professional-looking design without special software or skills. By setting up your page, arranging text and images, and using built-in tools, your poster can look neat and engaging. Focus on clear headings, readable text, and balanced visuals. Let your images, colors, and white space guide the viewer’s eye. Keep elements aligned and organized for a polished look. Before printing or sharing, double-check your layout, colors, and text. Test prints can help avoid surprises. With careful planning and these steps, you can make a poster that communicates your message clearly and looks professional.
FAQs
Can I use Google Slides to create a poster?
Yes, you can use Google Slides to make a poster. It lets you add text, images, shapes, and colors. You can also adjust the size to fit standard poster dimensions.
How do I set the dimensions for a poster in Google Slides?
Go to File > Page Setup and choose Custom. Enter the width and height you want for your poster. Google Slides will resize the slide to match these dimensions.
What layout should I choose for my poster?
Start with a blank slide. This gives you full control over where to place text, images, and other elements. You can also add shapes or grids to help organize content.
Can I add images to my poster on Google Slides?
Yes, you can add images by clicking Insert > Image. You can upload from your computer, Google Drive, or search the web. Images can be resized or moved anywhere on the slide.
How do I print my poster after designing it?
Go to File > Print or download your poster first. Make sure your printer supports the size you set. You may need to use a professional print service for larger posters.
How can I share my Google Slides poster online?
Click the Share button at the top right. You can enter email addresses or copy a shareable link. You can also adjust permissions to let others view or edit your poster.
How can I download my poster offline?
Go to File > Download and pick a format. The file will save to your computer so you can access it without the internet.
What file formats can I download a Google Slides poster in?
You can download as PDF, JPEG, PNG, or PowerPoint. PDF is good for printing, while JPEG or PNG works well for sharing online.


You may also be interested in ...

How To Create An Eye-Catching Portfolio
If you’re looking to create an eye-catching portfolio, this post will come in handy. In this article, you can find the easies...
23 Jun, 2024

How To Easily Create An Infographic
Infographics are the perfect way to make a presentation that will impact an audience, but their design and composition might...
08 Jun, 2024

PowerPoint Template Tips & Tricks You Ne...
PowerPoint seems to be an unknown world for many people, especially those who have been assigned to create a presentation out...
08 Jun, 2024