How to Curve Text in PowerPoint: A Step-by-Step Guide
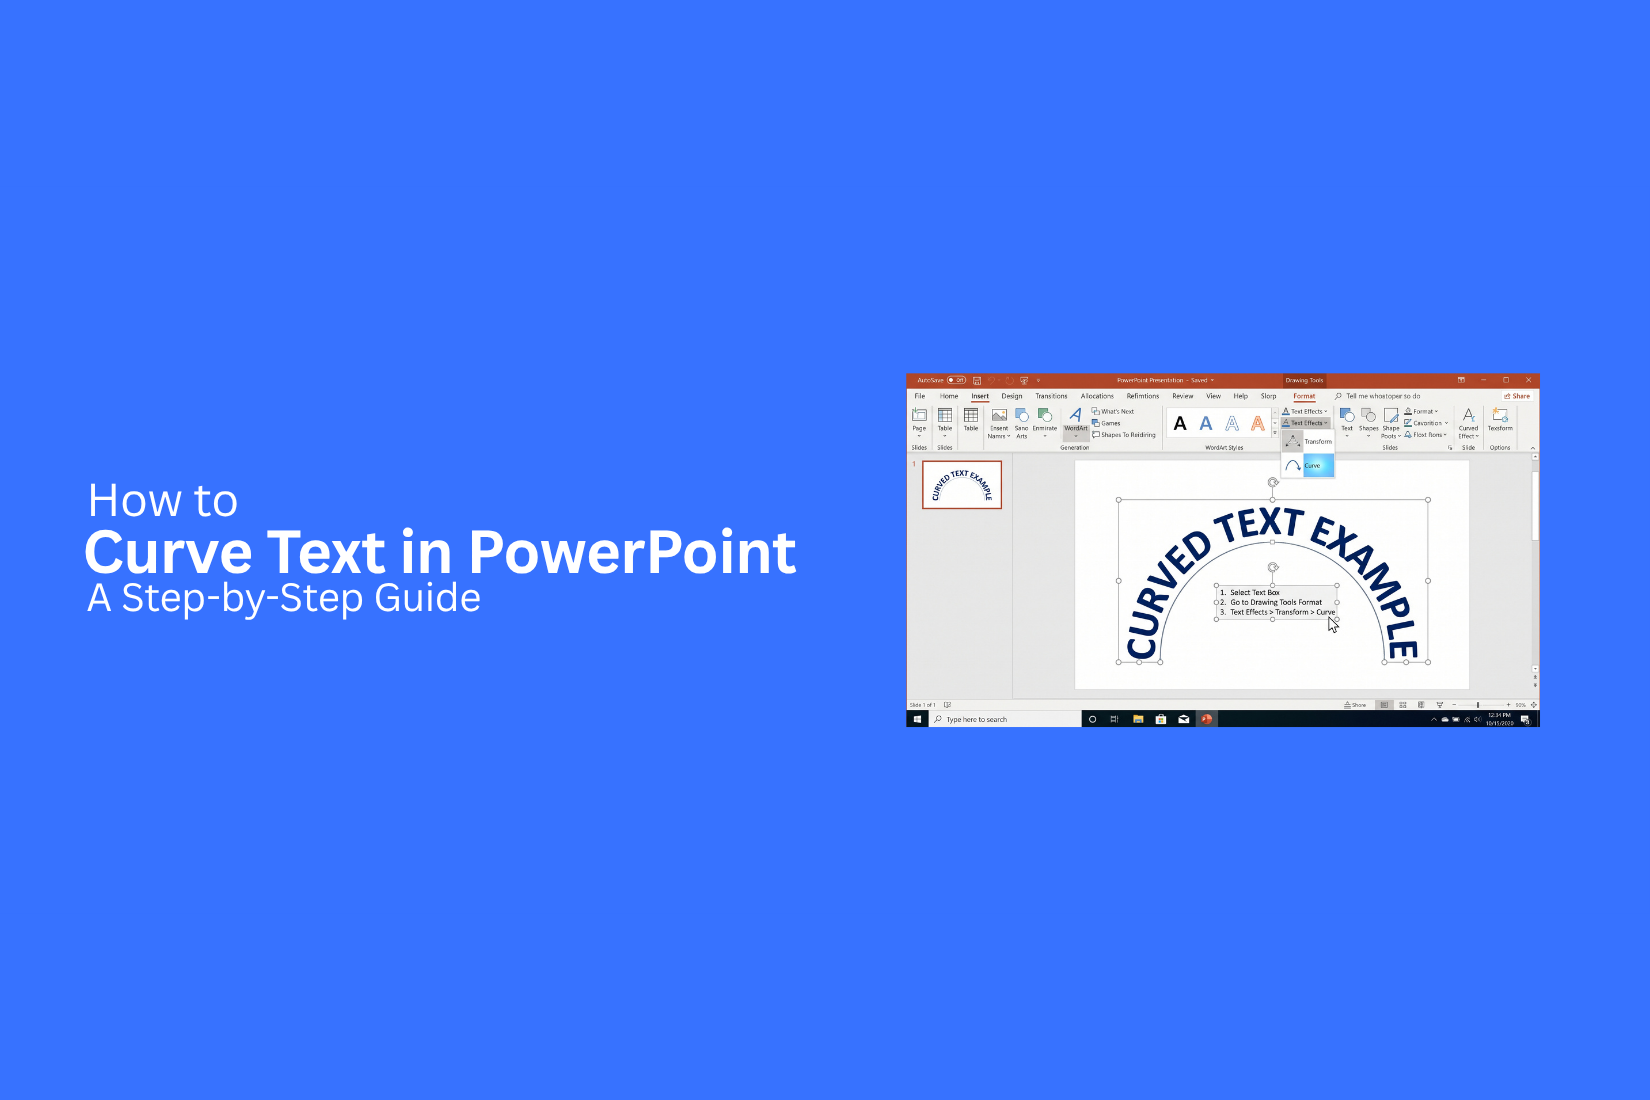
Curved text can give a PowerPoint slide a different look, but creating it may feel confusing at first. The text may stay straight, curve in the wrong direction, or become hard to read. Finding the right text effect can also take time.
A few simple steps can fix these issues. PowerPoint lets you curve text, shape it around a circle, change its direction, and adjust its style. You can also rotate or flip the text to fit your slide design. The key is knowing where to find the right tools and how to use them. This guide shows you how to curve text in PowerPoint, adjust the curve, fix common problems, and style the text for a clean result.
What Is Curved Text in PowerPoint?
Curved text is text that follows a curved or circular path instead of sitting in a straight line. In PowerPoint, you can create this effect by applying a text effect to a text box. Curved text can help shape a slide title, label, logo, or other design element. It works well for circular layouts, badges, diagrams, and creative slide designs.
PowerPoint lets you adjust the curve after applying the effect. You can change the text size, font, spacing, and shape to get the look you want. The process does not require drawing each letter by hand. A built-in text effect handles the curved layout for you.
How to Curve Text in PowerPoint
PowerPoint lets you bend text into different shapes. A curved heading can fit around an image, form part of a logo, or add style to a title. You can create the effect with WordArt and the Transform text effect.
The process starts with a WordArt text box. From there, you can apply a curve and adjust its shape on the slide. You can also change the font, size, color, and position after applying the effect.
Insert WordArt
The first step is to add WordArt to your slide. Regular text boxes do not show all the text-shaping options needed for this effect.
- Open your PowerPoint presentation.
- Go to the Insert tab.
- Select WordArt.
- Pick a WordArt style from the menu.
- Type the text you want to curve.
A short phrase often works well for curved text. Long sentences can become hard to read after bending them into a shape. You can change the font after adding the WordArt. Select the text and use the font controls on the Home tab. Pick a font that stays clear after the letters bend. You can also set the font size at this stage. A larger font makes the curve easier to see. It also takes up more space on the slide, so leave enough room around the text.
Open Text Effects
After adding your WordArt, select it on the slide. PowerPoint will show extra formatting options in the ribbon.
- Select the Shape Format tab.
- Find the WordArt Styles section.
- Click Text Effects.
A drop-down menu will appear. It contains several options for changing the look and shape of your text. Look for Transform in this menu. This is the option that lets you bend the text along a curved path. You can also make other changes from the formatting tools. For example, you can change the text fill, outline, or other visual settings. Make the curve first, then adjust the other settings.
Select Transform
Open the Text Effects menu and point to Transform. PowerPoint will show a group of text shapes. These options control how the letters follow a path. Some shapes bend the text upward. Others bend it downward or form a circular path. Move your pointer over the available options to preview the effect on your slide. This makes it easier to compare the shapes before making a choice.
Select a transform style that matches your design. The text will change as soon as you select the effect. The Transform menu is useful because you do not need to manually rotate each letter. PowerPoint handles the text path for you.
Choose a Curved Text Effect
Now choose the curve that fits your slide. PowerPoint offers several curved and circular text effects. A simple arc is useful for a title above an image. A downward curve can work below an image. A circular effect can help create a round label or badge. Select the effect from the Transform menu. Check the text on your slide before making other changes. Pay attention to the direction of the curve. Text that bends in the wrong direction can change the look of the whole slide. Pick a shape that follows the layout of the other elements. You can also test several effects. Select a different option from Transform and compare the results. This takes only a few clicks and can help you find a better fit.
Adjust the Curve
The default curve may not fit your slide perfectly. You can change the size and proportions of the WordArt to control how the curved text looks. Select the WordArt box and use the sizing handles around it. Drag the handles to make the text wider, narrower, taller, or shorter.
Try changing the width first. A wider text box can create a broader curve. A narrower box can make the curve feel tighter. The height also affects the shape. Adjust it until the text follows the path you want. You can move the WordArt after adjusting the curve. Place it near the image, shape, or other slide element that it supports. Keep enough space between the curved text and nearby objects.
Font size can also change the result. Larger letters create a stronger visual effect. Smaller letters may work better around a small circle or image. Check the spacing between each letter. Tight spacing can make curved text harder to read. Give the letters enough room to stay clear. Once the curve looks right, review the full slide. Make sure the text is readable and fits the layout. A curved effect should support the content rather than make the text harder to understand.
How to Curve Text Around a Circle in PowerPoint
Curved text can give a slide a clean and balanced look. PowerPoint lets you place text around a circle using WordArt and a text effect. You can also adjust the text so it sits in the right spot around the shape.
Insert a Circle
Start by adding a circle to your slide. Go to Insert > Shapes and choose the Oval shape. Hold the Shift key while drawing it to create a perfect circle. The circle acts as a guide for your text. You can resize it later to change the overall shape of the design.
Add WordArt
Next, add the text you want to curve. Go to Insert > WordArt and choose a style. Type your text into the WordArt box. WordArt works well for curved text because PowerPoint lets you apply text effects to it. You can also change the font, size, and color before or after applying the effect.
Apply a Circular Text Effect
Select the WordArt text. Open the Shape Format or WordArt Format tab. Select Text Effects > Transform. Look for the options under Follow Path. Choose a circular or arch-style effect that matches the shape you want. Your text will curve along a circular path. The exact look depends on the effect you select and the size of the WordArt box.
Adjust the Text Position
The text may not sit in the right spot at first. Use the WordArt handles to resize and move the text around the circle. You can also change the font size and spacing to improve the fit. Place the text above, below, or around the circle based on your slide design. Check the spacing between the letters and the circle. A small adjustment can make the curved text look much cleaner.
How to Curve Text Upward or Downward
PowerPoint lets you curve text in different directions. An upward curve works well for badges, logos, and title designs. A downward curve can fit text around the lower part of a shape. Start by adding your text to a text box. Select the text box, then open the Shape Format tab. Select Text Effects, then Transform. You will see several curved text options.
Choose an upward curve from the Follow Path options. Your text will bend along an upward path. For a downward curve, select a path that bends the text toward the bottom. The curve may not look right at first. You can adjust the text box size to change the shape of the curve. Drag the text box handles until the text reaches the position you want.
Adjust the Curve
The size of the text box affects the curve. A wider box creates a flatter curve. A narrower box creates a tighter curve. You can also change the font size and letter spacing. Smaller text often fits a curve more cleanly. Use Home > Font to adjust the text size. Keep the text centered for a balanced look. Check the spacing between the first and last letters. Small changes can make the curve look much cleaner.
How to Rotate Curved Text in PowerPoint
Curved text may need a different angle to fit your slide design. PowerPoint lets you rotate the text after you apply a curved text effect. This helps you place the text around a shape, along an arc, or at an angle.
Rotate Curved Text
- Select the curved text.
- Click the text box or WordArt that contains your curved text.
- Open the rotation options.
- Go to the Shape Format or Graphics Format tab. Find the Rotate option.
- Pick a rotation angle.
- Choose an option such as Rotate Right 90° or Rotate Left 90°. You can also use More Rotation Options for a custom angle.
- Use the rotation handle.
- Select the curved text and find the circular handle above the object. Drag it left or right to set the angle by hand.
- Check the text position.
- Look at how the curve sits on the slide. Move or resize the text box to get the spacing and placement you want.
Rotating curved text works well for titles, labels, logos, and text placed around circles. Keep the curve and rotation aligned with the rest of the slide for a clean layout.
How to Change the Style of Curved Text
Curved text can match the look of your slide with a few text settings. PowerPoint lets you change the font, size, color, outline, and shadow. These options help you create text that fits your slide design.
Change the Font
The font affects the overall look of curved text. Pick a font that stays easy to read along the curve.
- Select the curved text.
- Go to the Home tab.
- Open the Font menu.
- Pick the font you want.
- Check the text on the slide and adjust it as needed.
Use a clear font for small curved text. Bold fonts can work well for short titles.
Change the Font Size
Font size controls how large the curved text looks on the slide.
- Select the curved text.
- Go to the Home tab.
- Find the Font Size box.
- Enter a new size or pick one from the list.
- Check the spacing around the curve.
A larger font may spread the letters farther along the curve. A smaller font can leave more open space.
Change the Text Color
Text color can help curved text stand out from the slide background.
- Select the curved text.
- Open the Home tab.
- Select Font Color.
- Pick a color from the palette.
- Check the text against the background.
Use a color with strong contrast. This keeps the curved text easy to read.
Add a Text Outline
A text outline adds a border around each letter. It can help the text stand out from a busy background.
- Select the curved text.
- Open the Shape Format tab.
- Select Text Outline.
- Choose a color.
- Adjust the outline weight if needed.
Keep the outline thin for a clean look. A heavy outline can make small letters harder to read.
Add a Text Shadow
A text shadow adds depth behind the curved text. It can also help separate the letters from the background.
- Select the curved text.
- Open the Shape Format tab.
- Select Text Effects.
- Choose Shadow.
- Pick a shadow style.
Use a light shadow for a simple design. Make sure the shadow does not cover or blur the letters.
How to Flip Curved Text in PowerPoint
Curved text can face the wrong direction after you apply a curve effect. PowerPoint lets you flip the text so it follows the curve from the other side.
- Select the curved text. Click the text box with the curved text.
- Open the Shape Format tab. Find the Shape Format tab in the PowerPoint ribbon.
- Open the Rotate menu. Click Rotate in the Arrange section.
- Choose a flip option. Select Flip Vertical or Flip Horizontal based on the direction you need.
- Check the text direction. The curved text should now face the desired direction.
You can also adjust the text box after flipping it. Drag the handles to change the curve and placement. Small changes can help the text sit better around a circle or other shape.
Common Problems With Curved Text in PowerPoint
Curved text can give a slide a clean and creative look. But the text may not always follow the curve as expected. A few common issues can affect the shape, size, or direction of the text. Here are some fixes you can try.
Text Does Not Curve
Text may stay straight after you apply a text effect. This often happens because the wrong WordArt style or transform option was selected. Select the text box and open the Shape Format or Format tab. Go to Text Effects > Transform and choose a curved style. Try a different option from the list if the first one does not create the shape you need.
Text Looks Stretched
Curved text can look stretched after you resize the text box or change the font size. The curve may also look uneven. Start by reducing the font size. Then adjust the size of the text box from the corners. Avoid pulling only one side of the box too far. A wider or taller text box can change how the letters follow the curve.
Curved Text Is Upside Down
Text can appear upside down after you apply a curved effect. This usually happens with certain curve styles or text box shapes. Select the text and adjust the curve option under Text Effects > Transform. You can also use the rotation handle to turn the text in the right direction. Try a different curve style if the letters still face the wrong way.
Curved Text Is Hard to Read
A strong curve can make text harder to read. Small fonts and tight curves can make the problem worse. Use a larger font and a simple typeface. Keep the curve gentle for longer text. Short words or phrases usually work better for curved designs. Leave enough space between the letters so each word stays clear.
Tips for Using Curved Text in PowerPoint
Curved text can add a clear visual shape to a PowerPoint slide. A few simple choices can keep the text easy to read and well placed.
• Keep the curve simple: A gentle curve is easier to read than a tight circle. Use a shape that fits the slide and the message.
• Pick a clear font: Use a simple font with enough space between letters
Final Notes
Curving text in PowerPoint is simple once you know where to find the right tools. Start with WordArt, then use Text Effects > Transform to choose a curved path. From there, resize the text box, change the font, adjust the spacing, or rotate the text to fit your slide.
Keep the curve gentle and the text easy to read. Short words and phrases often work best. For circular designs, match the text path with the circle and leave enough space between the letters and nearby elements. PowerPoint also gives you tools to flip, rotate, and style curved text. Use these options to fix text that faces the wrong direction or does not fit the slide. A few small adjustments can make the final design look clean and balanced.
FAQs
Can I curve text in PowerPoint without using WordArt?
WordArt is the recommended option for curved text because it provides the Transform text effects needed to bend text along a path.
How do I curve text in PowerPoint?
Add WordArt to your slide, select it, then go to Shape Format > Text Effects > Transform. Choose a curved or circular style from the available options.
How do I curve text around a circle in PowerPoint?
Insert a circle from Insert > Shapes > Oval. Add WordArt, then select Text Effects > Transform and choose a circular or arch-style effect. Resize and move the WordArt to position it around the circle.
How do I curve text upward in PowerPoint?
Select the WordArt, open Text Effects > Transform, and choose an upward curve under the available path options. Resize the text box to adjust the curve.
How do I curve text downward in PowerPoint?
Select the curved WordArt and open Text Effects > Transform. Pick a curve that bends downward. Adjust the text box size until the text reaches the desired shape.
Can I rotate curved text in PowerPoint?
Yes. Select the curved text and use Shape Format > Rotate. You can choose a preset angle or use the rotation handle to set the angle by hand.
How do I flip curved text in PowerPoint?
Select the curved text and go to Shape Format > Rotate. Choose Flip Vertical or Flip Horizontal, based on the direction you need.
Why does my text stay straight in PowerPoint?
The wrong text effect may be selected. Open Text Effects > Transform and choose a curved style. Make sure the text is in WordArt.
Why does my curved text look stretched?
Resizing the text box too much can change the shape of the curve. Reduce the font size and resize the text box from the corners. Avoid pulling one side too far.
How can I make curved text easier to read?
Use a clear font, a suitable font size, and a gentle curve. Give the letters enough space. Short words and phrases are often easier to read than long sentences.




You may also be interested in ...

How To Create An Eye-Catching Portfolio
If you’re looking to create an eye-catching portfolio, this post will come in handy. In this article, you can find the easies...
23 Jun, 2024

How To Easily Create An Infographic
Infographics are the perfect way to make a presentation that will impact an audience, but their design and composition might...
08 Jun, 2024

PowerPoint Template Tips & Tricks You Ne...
PowerPoint seems to be an unknown world for many people, especially those who have been assigned to create a presentation out...
08 Jun, 2024