How to Blur a Photo in Canva: A Simple Guide
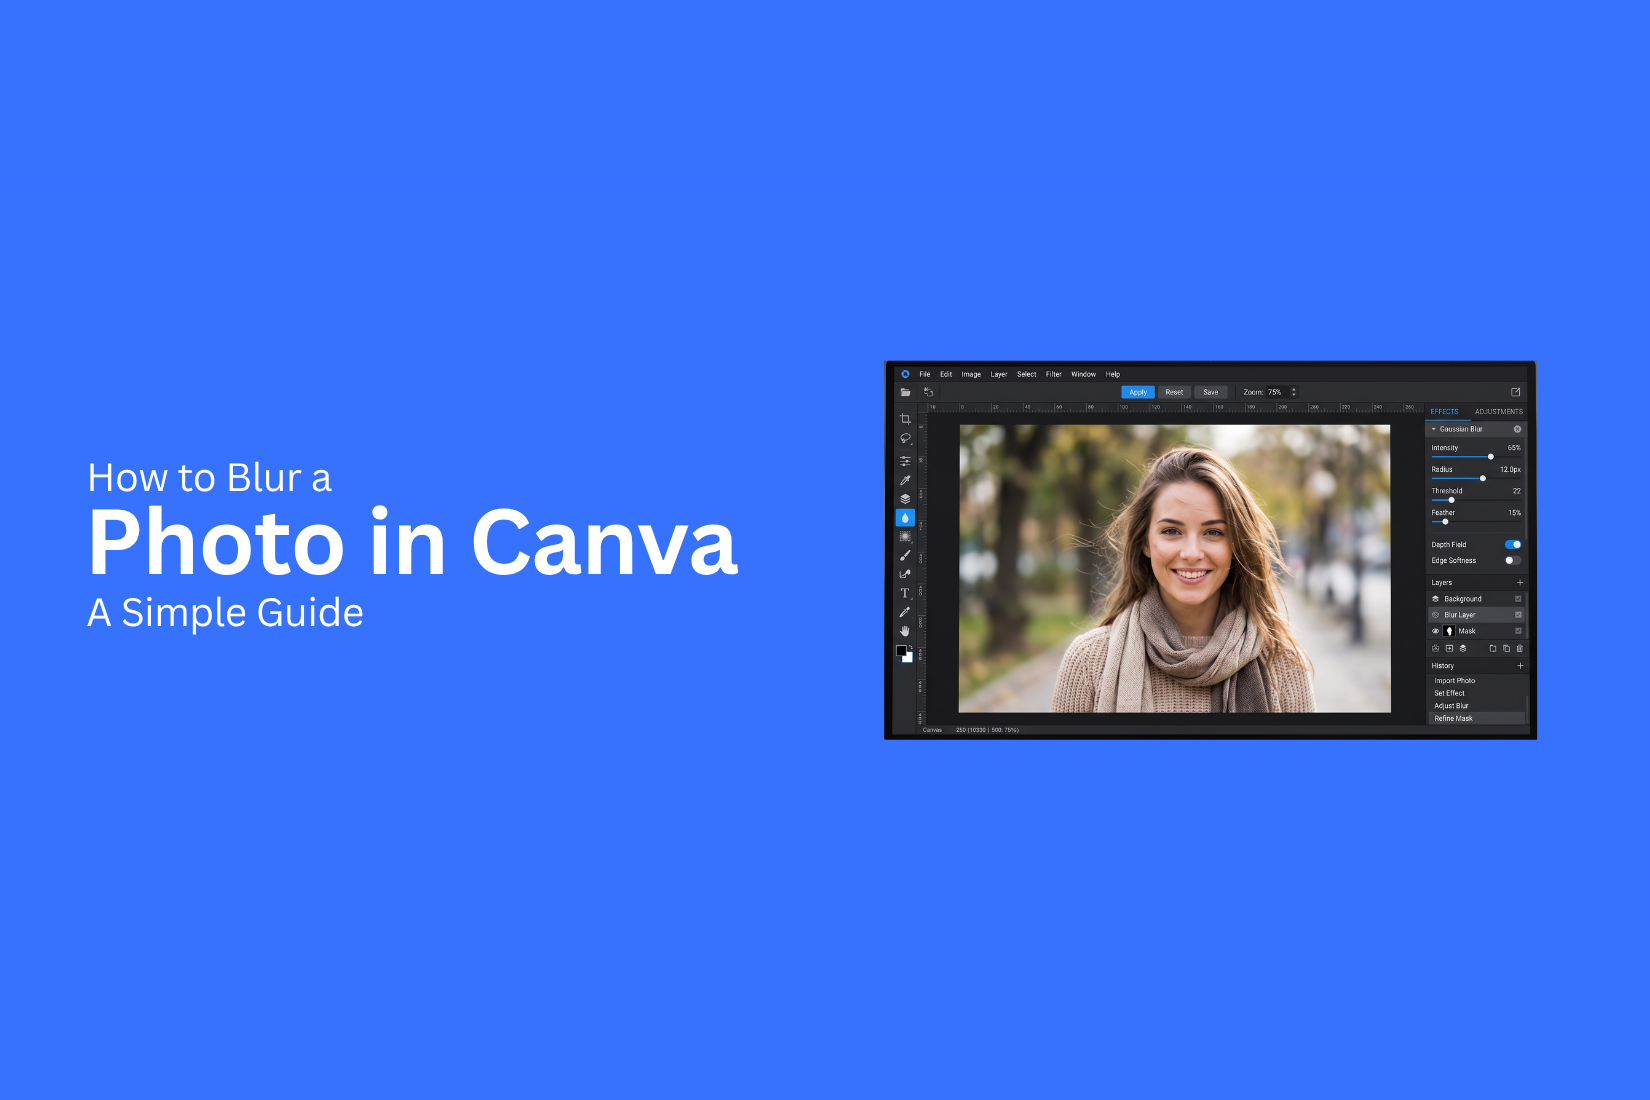
A photo does not always look right as it is. A busy background can pull attention away from the main subject. A face or private detail may also need to stay hidden. Canva gives you a simple way to blur a full photo or a selected area.
A small edit can change how a photo looks. Too little blur may leave unwanted details clear. Too much blur can make the photo look unclear. The right blur level helps you keep the focus where you want it.
This guide shows you how to blur a photo in Canva step by step. You will also learn how to blur part of a photo, a background, or a face. You can also adjust the blur effect to fit your design.
What Is the Blur Effect in Canva?
The blur effect in Canva makes a photo look soft or less sharp. It reduces the clear details in an image without removing the photo. You can control the level of blur based on the look you want. Canva lets you blur a full photo or use blur on parts of an image. A light blur can soften a busy background. A stronger blur can hide details and keep the main subject easier to see.
The blur effect also works well for design projects. You can use it for backgrounds, photo overlays, banners, social media graphics, and presentations. It gives you more control over how much detail appears in your design. Canva also lets you adjust the blur level after applying the effect. This makes it easy to test different settings until the photo fits your design.
How to Blur a Photo in Canva
Canva makes it easy to blur a photo with its built-in photo editing tools. You can blur the whole photo or adjust the blur level to get the look you need. Follow these steps to get started.
Step 1: Upload Your Photo to Canva
Open Canva and create a new design. Choose a design size that fits your project. Find the Uploads option in the side panel. Click Upload Files and select the photo from your computer. Wait for the photo to finish uploading. Your photo will appear under the Uploads section. Click it to add it to your Canva workspace.
Step 2: Add the Photo to Your Design
Select the uploaded photo from the Uploads panel. Canva will place it on your design. Drag the photo to the right spot on the page. You can also resize it by dragging the corners. Make sure the photo is selected before you continue. The editing options will appear in the toolbar above the design.
Step 3: Open the Edit Photo Tools
Click the photo on your design to select it. Then look at the top toolbar. Click Edit Photo to open Canva's photo editing tools. A panel will appear with different options for changing the photo. Look through the available tools until you find the option for blur effects.
Step 4: Apply the Blur Effect
Find the Blur option in the photo editing panel. Click it to apply the effect to your photo. Canva will add a blur effect to the image. The photo may look soft or less sharp after the effect is applied. You can use the blur controls to change how strong the effect looks.
Step 5: Adjust the Blur Intensity
Use the blur slider to set the level you want. Move the slider in one direction for a lighter blur. Move it further for a stronger blur. Check the photo as you adjust the setting. A light blur works well for a soft background. A stronger blur can hide details in the photo. Take a moment to check the full design. Make sure the blurred photo still fits the purpose of your project.
Step 6: Download Your Blurred Photo
Once the photo looks right, you can save your design. Click Share in the top-right corner of Canva. Select Download from the menu. Choose your preferred file type and adjust any available settings. Click Download to save the finished photo to your device. Your blurred photo is now ready to use.
How to Blur Part of a Photo in Canva
Canva lets you blur a full photo, but you can also blur only one part of an image. This method uses two copies of the same photo. One copy stays clear. The other copy gets a blur effect. You then crop the blurred copy to cover only the area you want to hide or soften.
Duplicate the Photo
Start by adding your photo to your Canva design. Place it where you want it on the page. Next, create a second copy of the photo. The two copies should match in size and position. Keep the clear photo as the bottom layer. Place the duplicate directly over it. This setup gives you two layers to work with. The bottom layer keeps the full photo clear. The top layer will hold the blur effect.
Apply Blur to the Top Copy
Select the top copy of your photo. Open Canva's image editing tools and find the blur effect. Apply the blur to the top copy. Adjust the blur level until the image looks soft enough for the area you want to cover. Do not apply the blur to the bottom copy. That layer needs to stay clear. The clear copy will show through once you crop the top layer.
Crop the Blurred Layer
Now crop the blurred copy so only the part you want to blur remains visible. Focus on the area that needs the blur. This could be a face, name, number, or other detail in the photo. Keep the crop close to that area. The clear photo remains underneath. The cropped blurred layer sits above it. This creates a small blurred section while the rest of the photo stays sharp.
Position the Blurred Area
Move the cropped blurred layer over the exact part of the photo you want to blur. Line up the image details as closely as possible. Check the edges of the blurred section. Make sure the clear and blurred copies match. A small shift can make the blur look out of place. Resize the cropped layer if needed. You can also adjust its position until the blurred area covers the full detail. Once the layers line up, only the selected part of the photo appears blurred.
How to Blur a Photo Background in Canva
A blurred background can help the main subject stand out. Canva gives you a simple way to separate the subject from the background and add a soft blur effect. The process takes only a few steps.
Remove the Subject From the Background
Start by adding your photo to a Canva design. Select the image and open the image editing tools. Look for the option that removes the background from the photo. Canva will remove the area around the main subject. Check the result closely. Use the erase or restore tools to fix small areas that need more detail. Keep the subject clean around the edges. This helps the final image look more natural.
Apply Blur to the Background
Create a copy of the original photo before adding the blur. Keep one copy for the subject and use the other copy for the background. Select the background copy. Open the image editing tools and find the blur option. Apply the blur effect to the full image. The subject may still appear on this copy. That is fine. The subject layer will cover it later.
Adjust the Blur Level
Use the blur control to set the level you want. A light blur keeps some background details visible. A stronger blur makes the background softer and places more focus on the subject. Check the image at its normal viewing size. Too much blur can make the background look unnatural. A moderate level often works well for portraits, product photos, and social media graphics.
Place the Subject Over the Blurred Background
Move the subject cutout over the blurred photo. Align both layers so the subject matches its original position. Place the subject layer above the blurred background layer. This keeps the subject sharp while the background stays soft. Check the edges around the subject. Small gaps or rough edges can make the cutout stand out. Use Canva's editing tools to clean up these areas before finishing the design.
How to Blur a Face in Canva
Blurring a face in Canva can help hide a person’s identity or keep part of a photo private. Canva gives you a simple way to create this effect with a blurred copy of the photo. You can then place it over the face and adjust the blur to fit the area.
Add the Photo to Canva
Open Canva and create a new design or open an existing project. Upload the photo you want to edit. Add the photo to your design and place it where you want it on the page. Make sure the face you want to blur is clear and easy to see. This makes it easier to place the blurred copy in the right spot.
Create a Blurred Copy
Select the photo on your Canva page and create a copy of it. Keep the copied photo in the same position as the original for now. Use Canva’s blur effect on the copied photo. Adjust the blur level until the photo has a soft, unclear look. The blurred copy will be used to cover the face in the original photo.
Position the Blur Over the Face
Place the blurred copy over the original photo. Move it so both photos line up as closely as possible. Next, crop the blurred copy so only the part covering the face remains. Move the cropped area over the face. Make sure it fully covers the face without leaving clear edges around it.
Adjust the Size and Intensity
Resize the blurred area so it matches the size of the face. Keep the blur area large enough to cover the full face. Adjust the blur level based on the result you want. A stronger blur makes facial details harder to see. A lighter blur keeps more detail visible. Check the full photo after making changes to ensure the face stays covered.
How to Customize the Blur Effect in Canva
Canva gives you a few ways to adjust a blur effect. You can make the blur soft or strong based on the look you need. You can also mix blur with other photo settings. Small changes can help keep your design clear and balanced.
Increase or Reduce Blur
Start with a photo that has the blur effect. Open the photo editing tools and find the blur setting. Move the blur slider to adjust the strength. A lower setting creates a soft blur. This works well for backgrounds or small details. A higher setting makes the photo look more blurred. Use this for areas that need less visual focus. Check the photo after each change. A small adjustment can make a big difference. Keep the blur level strong enough for the effect without making the whole design hard to view.
Combine Blur With Transparency
Blur and transparency can work well together. This setup is useful for background images, overlays, and text areas. Apply the blur effect to your photo first. Then adjust the transparency level. A more transparent photo becomes lighter and less noticeable. This can help text stand out over the image. Try different levels for both settings. Keep the text easy to read. The photo should support the design instead of taking attention away from the main content.
Use Blur With Other Photo Effects
Blur does not have to be the only effect on a photo. Canva also lets you adjust other photo settings. You can use these tools to change the overall look of the image. Start with a light blur. Then test other available photo effects or adjustments. Make small changes and check how they work together. Too many effects can make a photo look unclear. Keep the changes simple. The goal is to create a clear visual that fits the rest of your design.
Keep the Main Subject Sharp
A blurred background can help the main subject stand out. Keep the main subject clear while adding blur to the area around it. One simple approach is to use a copy of the photo. Place one copy above the other. Keep the top copy sharp and apply blur to the lower copy. Then adjust the position and size so the sharp subject stays over the blurred image. This creates a clear difference between the subject and the background. It also gives the photo more visual focus without blurring the main details.
Common Uses for Blurred Photos in Canva
Blurred photos can help you create clean and useful designs in Canva. A soft blur can place more focus on text or other design elements. It can also help a photo work better as a background.
Here are some common ways to use blurred photos in Canva:
• Backgrounds: A blurred photo can create a soft background for presentations, posters, flyers, and social media graphics.
• Text overlays: Blur can make text easier to read over a busy photo. The image stays visible while the text gets more attention.
• Portrait designs: A blurred background can keep the person in focus while reducing visual distractions.
• Social media posts: A soft photo can give a post a simple and clean look.
• Presentations: Blurred images can support slide content without pulling attention away from key points.
• Product designs: A blurred image can work as a background while the main product or message stays clear.
The amount of blur also matters. A light blur keeps more photo details visible. A stronger blur creates a softer background with less detail. Choose the level that fits your design and keeps the main message easy to read.
Tips for Using the Blur Effect in Canva
The blur effect can change how a photo looks and how people view the main subject. A light blur can soften the background. A stronger blur can hide parts of an image. Use the effect based on the goal of your design.
Here are a few simple tips:
• Use a light blur for backgrounds: A soft blur can help text stand out without hiding the whole photo.
• Use stronger blur for private details: A stronger setting can hide faces, names, or other parts of an image.
• Keep the main subject clear: Blur only the areas that do not need much attention.
• Check the image after editing: Zoom out and view the full design. Make sure the blur does not affect other parts of the photo.
• Try different blur levels: Small changes can make a big difference. Adjust the effect until the photo fits your design.
Canva Blur Effect Not Working? Try These Fixes
Canva may not show the blur option as expected. The issue can come from the selected image, editing menu, or available Canva features. A few quick checks can help you find the cause.
Check the Photo Editing Options
Start by selecting the photo on your Canva design. Open the photo editing tools and look for the blur option. The editing menu can change based on the type of image you select. Check the available options carefully. Make sure you are editing the photo itself rather than another design element.
Make Sure You Selected the Correct Image
A Canva design can contain several elements. It is easy to select a frame, graphic, or text box instead of the photo. Click the photo you want to edit. Check that the photo is highlighted before opening the editing tools. Try moving other elements aside if they make selection difficult.
Try Duplicating the Photo
Duplicating the photo can help if the editing tools do not respond as expected. Select the photo and create a copy. Then try applying the blur effect to the duplicate. This also lets you keep the original photo unchanged. You can compare both versions and use the one that works best for your design.
Check Your Canva Plan and Available Features
Some Canva tools and features may depend on your plan. Your available editing options can also vary based on the type of content you are using. Check the features available in your Canva account. Make sure the blur option is available for the selected photo. This can help explain why an editing option is missing.
Final Notes
Blurring a photo in Canva is a simple way to change how an image looks. You can blur the full photo or focus on one area. The effect can also help make a background softer or keep private details hidden. Start with a light blur and adjust it as needed. Check the full design after each change. Keep key subjects and text clear. For faces or private details, make sure the blurred area covers the full section.
Canva also lets you use blur with transparency and other photo settings. These tools can help the photo fit better with the rest of your design. With the right blur level and placement, you can make photos work better for presentations, social media posts, banners, and other Canva designs.
FAQs
Can I blur a photo in Canva?
Yes. Canva lets you blur a full photo using its photo editing tools. You can also adjust the blur level to make the effect softer or stronger.
How do I blur part of a photo in Canva?
Create two copies of the photo. Apply the blur effect to the top copy. Crop that copy to cover the area you want to blur. Keep the original photo underneath.
Can I blur a face in Canva?
Yes. Create a copy of the photo and apply the blur effect. Crop the blurred copy and place it over the face. Make sure the full face is covered.
How do I blur a photo background in Canva?
Create a copy of the original photo and apply blur to the background copy. Remove the subject from another copy and place the sharp subject over the blurred image.
Can I change the blur intensity in Canva?
Yes. Use the blur slider to adjust the strength. A lower setting gives a softer blur. A higher setting creates a stronger blur.
Why is my Canva blur effect not working?
Check that you selected the photo itself. Open the photo editing tools and look for the blur option. You can also try duplicating the photo or checking the features available with your Canva plan.
Can I use blur with transparency in Canva?
Yes. You can apply blur to a photo and then adjust its transparency. This can work well for backgrounds, overlays, and areas behind text.
What is the best blur level for a background?
A light or moderate blur often works well for backgrounds. It keeps some photo details visible while helping the main subject or text stand out.
Can I download a blurred photo from Canva?
Yes. After editing the photo, click Share, choose Download, select a file type, and download the finished design to your device.



You may also be interested in ...

How To Create An Eye-Catching Portfolio
If you’re looking to create an eye-catching portfolio, this post will come in handy. In this article, you can find the easies...
23 Jun, 2024

How To Easily Create An Infographic
Infographics are the perfect way to make a presentation that will impact an audience, but their design and composition might...
08 Jun, 2024

PowerPoint Template Tips & Tricks You Ne...
PowerPoint seems to be an unknown world for many people, especially those who have been assigned to create a presentation out...
08 Jun, 2024