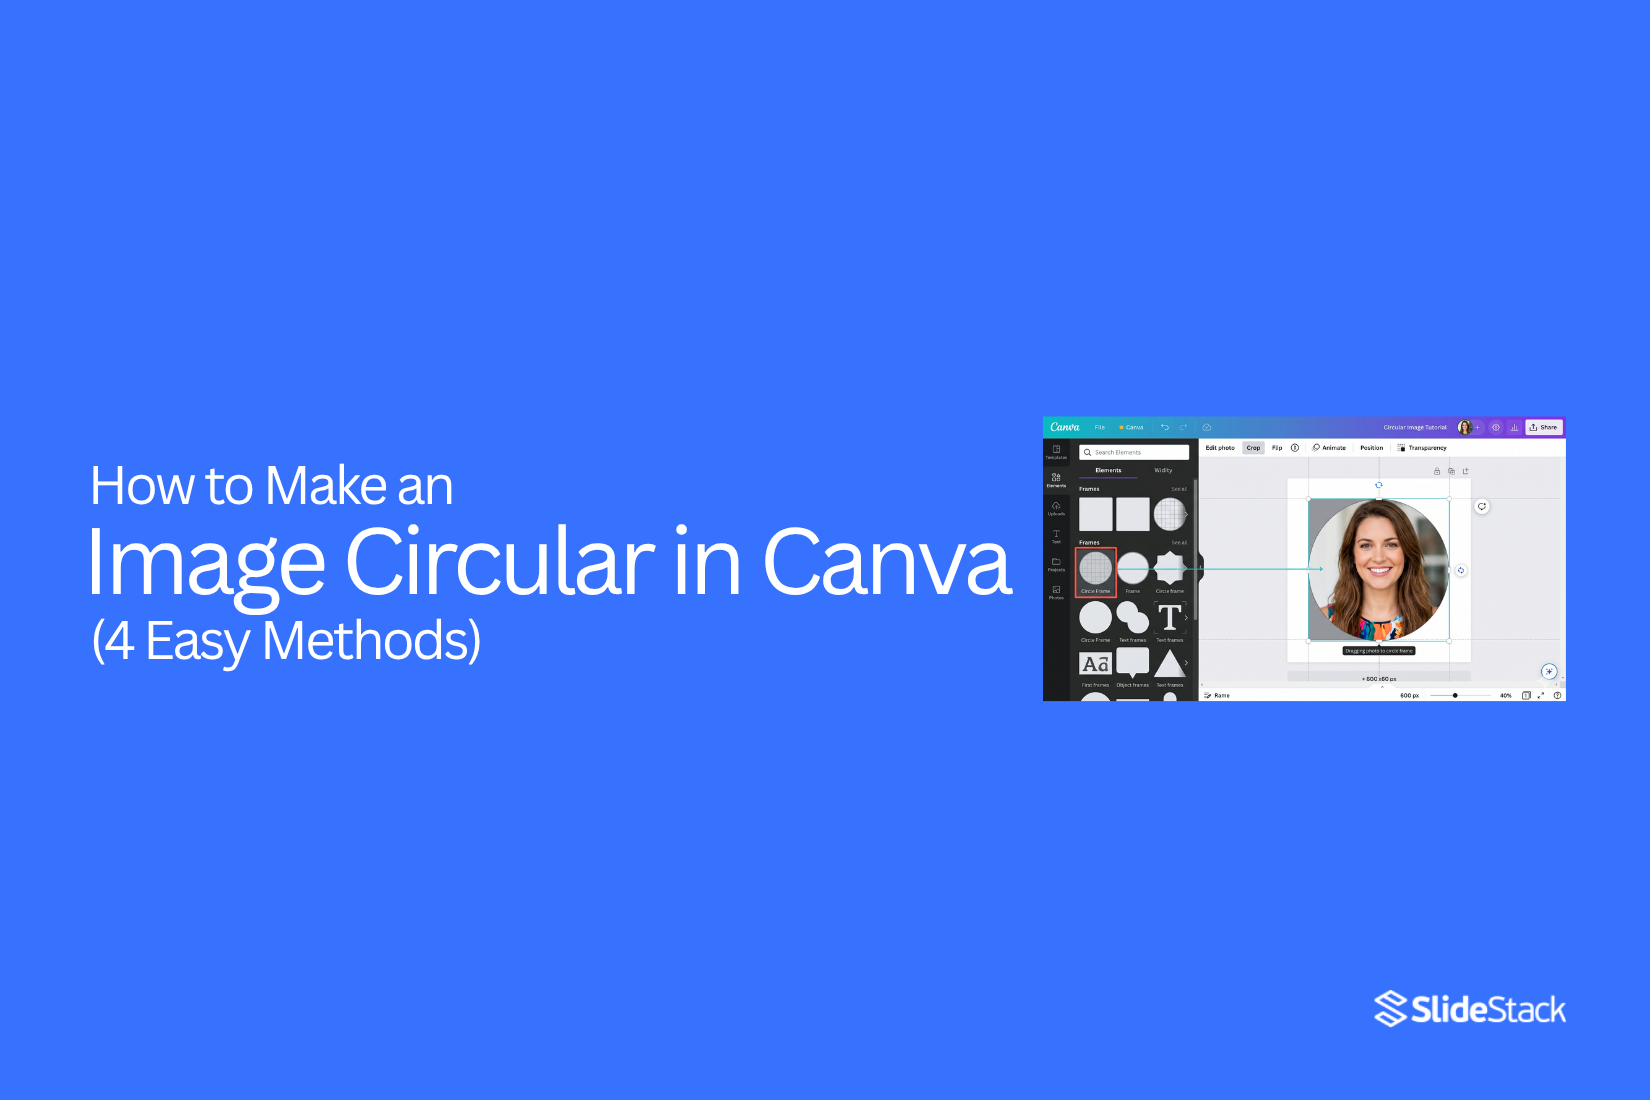
How to Make an Image Circular in Canva (4 Easy Methods)
Making an image circular in Canva is a common design need, especially for profile pictures, posts, and presentations. Many users struggle to find the right tool or method inside Canva, which can make the process feel confusing at first. There are simple ways to fix this and get a clean circular look in just a few clicks. You can use different tools depending on your design style and needs. Several easy methods inside Canva let you turn any image into a circle without stress or complex steps. These methods help you create neat and balanced visuals for any project.
Why Use Circular Images in Canva Designs
Circular images appear often in modern design layouts. They help content feel clean and structured. Designers use them to shape attention and guide how a viewer reads a page. Compared to standard square or rectangular images, circular images change how space feels on a slide or page.
Visual Appeal and Layout Balance
Circular images draw attention quickly. The soft edges reduce harsh corners that square images create. This helps the design feel more open and organized.
Square or rectangular images often fill space in a block style. They can make layouts feel tight or heavy. Circular images break that pattern. They create breathing room between elements. This supports a clearer visual order across the design.
The eye moves more smoothly across circular shapes. This helps important elements stand out without needing extra decoration.
Common Use Cases
Circular images appear in many design settings.
They are often used for:
- Profile photos in presentations
- Speaker introductions in slides
- Customer testimonials
- Social media posts and story layouts
- Product highlights in simple catalogs
These shapes work well in sections where people or single items need focus. They help keep attention on one subject at a time. This improves clarity in visual communication.
When to Avoid Circular Images
Some designs do not fit circular cropping well.
Detailed images can lose meaning when cropped into a circle. Important parts may get cut out. Wide scenes also lose context because edges disappear.
Charts and data visuals do not work well in circular frames. The shape can distort readability. Text inside images also becomes harder to read when the space is limited.
Some layouts need full rectangular images to keep the structure clear. In those cases, keeping the original shape supports better understanding.
Circular images work best when the subject is simple and centered. They support clean layouts and help keep designs consistent across slides or pages.
How to Make a Circular Image Frame Canva Design
Canva offers more than one way to create a circular image design. Some methods use frames. Some use shapes and manual editing. Frames are the easiest place to start. They help you place images into clean circular layouts without extra work.
Now the focus shifts to the simplest method using frames.
Method 1: Use a Circular Image Frame in Canva
Start by opening Canva and going to the editor page.
Next, look at the left panel. Find the search bar inside the Elements tab. Type “circle frame” into the search box.
Then select a circular frame from the results. The frame looks like a hollow circle. It is made to hold images inside it.
After that, drag the frame onto your design canvas. Place it where you want the image to appear.
Now add your image. Drag a photo from your uploads or choose one from Canva’s library. Drop it directly into the circular frame. The image will snap into shape automatically.
Next, adjust the image position inside the frame. Double-click the frame to move the photo. Slide it left, right, up, or down until it looks right.
Some Canva templates already include circular frames. These templates save time. A quick note appears here about fonts. Some designs use fonts that do not always export the same way. This can slightly change the look when downloading the final file.
The process ends here, but design settings sometimes shift during export. Font availability and conversion can affect how the final Canva design appears outside the platform.
Method 2: Crop Image into a Circle
This method gives a quick way to shape an image into a circle. It uses Canva’s crop tool along with a circle frame. The process is simple, but it needs a bit of care to get the right result.
Step-by-Step Guide
Start by opening your Canva project. Pick the image you want to edit. Drag it onto the design page.
Click on the image. Look at the top menu. Select “Crop.”
Adjust the crop handles around the image. Try to center the part you want to keep. Press “Done” to apply the crop.
Next, go to “Elements.” Search for “circle frame.” Pick a simple circle shape.
Drag your cropped image into the circle frame. Canva will fit it inside the circle automatically.
Adjust the position if needed. Move the image until it looks right inside the circle.
Limitations of This Method
This method can feel less flexible. The crop tool removes parts of your image. You may lose important details.
Some images do not fit well into a circular frame. Faces or objects near the edges can get cut off.
Fine adjustments can take extra time. The final look may need several tries to feel balanced.
Method 3: Use Shapes for Circular Effect
This method gives you more control over how the image fits inside a circle. It helps you place focus exactly where you want. The result looks clean and structured. It works well in both design and presentation slides.
Step-by-Step Guide
Start by opening your design in Canva. Pick the page where the image will go.
Go to the elements panel. Search for a circle frame or circle shape. Place it on the page.
Drag your image into the circle. Adjust it until it fits well inside the shape.
Move the image around inside the circle. Set the focus on the main subject.
Resize the circle if needed. Keep the edges smooth and even.
Best Use Cases
This method works well for profile photos. It also fits team slides in presentations.
It is useful for social media posts. It helps keep visuals clean and balanced.
Method 4: Create a Circular Image Mask in Canva
This method uses shapes and layering to make a circular photo effect. It works as an alternative to frames. The idea is to build a circle look by stacking elements and adjusting how the image fits inside.
A circular mask is not always a single tool in Canva. Users often mix shapes, frames, and cropping to get the same result. This method follows that mixed approach.
Step 1: Upload the Image
Open Canva and go to the uploads section. Add the image from your device. It will appear in the upload area and stay ready for use.
Step 2: Add a Circle Shape
Go to elements and search for a circle shape. Place it on the canvas. This circle works as the base for the mask effect.
Some users pick a frame instead of a shape. Both can create a circular look, but they work in slightly different ways inside Canva.
Step 3: Place the Image Over the Circle
Drag the image onto the circle. The image sits above the shape at first. Adjust the size so it covers the circular area.
At this point, the image and circle start working together visually. The circle guides the final crop's look.
Step 4: Adjust Layer Position
Move the image layer backward or forward until it fits inside the circle shape. Canva may treat this as a frame effect or a clipping style, depending on the version.
Some users also try cropping at this stage. Others adjust corners, even though circles do not have corners. This mix of actions still leads to a round result.
Step 5: Fine-Tune the Position
Shift the image inside the circle. Center the face or object so it fits well. Small movements help balance the final design.
The goal is to keep everything inside the circular boundary without stretching the image.
Example Use
A profile picture for a presentation slide often uses this method. The image sits inside a clean circle and looks neat on the page.
Circular image mask Canva design works well for profile photos, team pages, and simple branding layouts.
How to Adjust a Circular Image in Canva
A circular image in Canva often needs small changes after you create it. You may want to move it, resize it, or adjust how it sits in your design. Canva gives you two main ways to edit it. One works inside frames. The other works on the main canvas.
Each method works differently. The steps below break both down in a clear way.
How to Edit a Circular Image in a Frame
A frame keeps your image inside a fixed circular shape. This helps keep designs neat and aligned.
Start by selecting the circular frame. Click on the image inside it. You will see options appear around it.
Drag the image inside the frame to change its position. Move it left, right, up, or down until the important part sits in the center.
Use the corner handles to adjust size. Pull outward to zoom in. Pull inward to zoom out. This helps control what part of the image is visible inside the circle.
Double-clicking also opens crop control. This lets you fine-tune the placement without breaking the circular shape.
Small adjustments make a big difference here. Focus on keeping the subject centered and balanced within the circle.
How to Edit a Circular Image Placed on the Canvas
Some circular images are not inside frames. They are regular images with a circular crop or effect applied.
Click the image once to select it. You can then move it freely around the canvas.
Drag the corners to resize it. Hold and adjust until it fits your layout. Keep proportions balanced so the circle does not look stretched.
Use the crop tool to adjust what part of the image is shown. Shift the visible area until the key subject is placed correctly.
If the image was made circular using cropping or masking, reapplying the crop tool is often the fastest way to fix alignment.
Simple Styling Options for Circular Images
After positioning the image, small design changes can improve how it looks.
- Add a thin border for clearer edges
- Use shadow effects to create depth
- Apply glow effects for focus
- Adjust brightness or contrast for better clarity
- Try soft color filters for a smoother tone
These changes help the circular image stand out without making the design look crowded.
How to Add Shadows and Effects
Shadows and effects help images stand out. You can apply a shadow to create depth. This makes the image look slightly raised from the background. You can also adjust blur and distance for a softer or stronger look. Keep effects simple so the image stays clear.
Best Practices for Circular Images
Circular images work best when they are simple and clear. The focus should stay on one main subject. Clean layout helps the design look neat. Keep spacing and size consistent for a balanced look.
Use High-Quality Images
Start with a clear image. Blurry images look worse when cropped into a circle. A sharp image keeps details visible.
Center the Subject Properly
Place the main subject in the middle. This helps the circle crop show the right focus. Off-center subjects may look cut or unbalanced.
Maintain Consistent Sizes
Use the same size for all circular images in a set. This keeps your layout even. Mixed sizes can look uneven.
Avoid Overcrowding
Do not place too many elements inside one circle. Keep space around the subject. This helps the image stay easy to view.
Design Tips for Circular Images
Design rules for circular images help improve layout quality in Canva. Clean structure makes visuals easier to view and understand.
Use High-resolution Images
Sharp images keep circles clear and smooth. Low-quality images look blurry after cropping. Details can get lost around the edges.
In Canva, upload the best quality file available. Larger images hold shape better inside a circular frame. This keeps the design clean on both small and large screens.
Center Important Elements
The main subjects need to sit in the middle of the frame. Off-center placement can cut off faces or key details after cropping into a circle.
In Canva, place the subject inside the center before applying the circle crop. This keeps the focus stable inside the shape. The final image feels balanced.
Maintain Consistent Sizes
Mixed image sizes can break visual flow. Uneven circles draw attention for the wrong reason.
In Canva, set all circle frames to the same width and height. This keeps alignment steady across the design. The layout feels organized across rows and columns.
Use Consistent Spacing
Uneven gaps make layouts feel messy. Tight or random spacing reduces clarity between images.
In Canva, adjust the spacing between circular images using the position tool. Equal gaps create a structured look. The eye moves across the design without distraction.
Choose Colors Carefully
Color choice affects how circular images stand out. Poor contrast can make images blend into the background.
In Canva, place circles against simple backgrounds when possible. Soft contrast helps each image stay visible. Matching tones across the design also keeps a steady visual feel.
Common Mistakes to Avoid
Design issues often show up in small details. These small mistakes can make a slide look unclear or unprofessional. A clean layout needs attention to spacing, quality, and style choices. The points below highlight common problems that often reduce design impact.
Misalignment Issues: Misaligned elements make a design look messy. Text and images should line up in a clear structure. Uneven spacing breaks visual flow. This can distract from the main message. Keep items placed with balanced spacing on each slide.
Low-Resolution Images: Blurry images reduce visual quality. They make slides look less professional. Sharp images keep content clear and easy to view. Always use high-quality visuals that stay clear after resizing.
Overuse of Effects: Too many effects can hurt readability. Shadows, animations, and filters lose value when used too much. Simple design choices often work better. Each effect should support the message, not pull attention away.
Inconsistent Design Styles: Mixing fonts, colors, and styles creates confusion. A presentation needs a steady visual style. Consistency helps the content feel organized and easy to follow. Stick to a limited set of design elements across all slides.
Creative Ways to Use Circular Images
Circular images change how visuals feel on a page or slide. They bring focus to the subject and remove hard edges. This helps the design feel cleaner and more balanced.
Profile Photos: Profile pictures often need a clear and simple look. A circular crop keeps the face at the center and removes distractions around it. This works well for resumes, portfolios, and team pages. It also helps viewers focus on the person, not the background.
A uniform circle shape also keeps all profile images consistent across a page. That makes a group of people look organized and easy to scan.
Presentation Slides: Slides often carry many elements at once. Circular images help break that clutter. They highlight key visuals without taking too much space.
A speaker's photo in a circle can sit next to short points. Product images also work well in this shape. The layout stays neat, and the message stays clear.
Social Media Designs: Social posts need strong visuals that stand out quickly. Circular images help create focus in busy feeds. They also fit well into story formats and post templates.
Brands often use them for logos, product shots, or user photos. The shape keeps attention on the center and supports a clean design style.
Infographics: Infographics rely on a clear structure. Circular images help divide sections and guide the eye from one point to another.
Icons or small photos inside circles can mark different data points. This keeps information easy to follow. The layout also feels more organized without adding heavy design elements.
Final Notes
The main skill is making an image circular in Canva. This helps create clean and simple designs for slides and posts.
Frames are the easiest method inside Canva. They let an image fit into a circular shape with one quick step. This method keeps the image aligned and neat.
Masks also work for more control over shape. Users can adjust edges and fit the image with more detail. Manual cropping can also help shape images, but it takes more steps and care.
Some users move to Google Slides for layout control. It gives a different way to place circular images inside presentations. A separate tutorial explains how this works in Google Slides for users who want a cross-platform approach.
FAQs:
1. How do I make an image circular in Canva?
Use a circle frame from the Elements tab. Drag your image into the frame. The image takes a round shape.
2. Where is the circle frame in Canva?
Open Elements. Type circle frame in the search bar. Pick the round frame from the results.
3. Can I crop any image into a circle?
Yes. Use a circle frame or crop tool. Place the image inside the circle to shape it.
4. Why does my image look cut inside the circle?
The image position is not centered. Move the image inside the frame until the main subject sits in the middle.
5. Can I resize a circular image in Canva?
Yes. Click the frame or image. Drag the corner handles to change the size.
6. What images work best in a circle shape?
Simple images work best. Faces, logos, and single objects fit well inside a circle.
7. Can I add effects to circular images?
Yes. You can add shadow, border, or glow. These effects make the image stand out.
8. Why should I use circular images in designs?
Circular images keep layouts clean. They help focus attention on one subject and improve visual balance.


You may also be interested in ...

How To Create An Eye-Catching Portfolio
If you’re looking to create an eye-catching portfolio, this post will come in handy. In this article, you can find the easies...
23 Jun, 2024

How To Easily Create An Infographic
Infographics are the perfect way to make a presentation that will impact an audience, but their design and composition might...
08 Jun, 2024

PowerPoint Template Tips & Tricks You Ne...
PowerPoint seems to be an unknown world for many people, especially those who have been assigned to create a presentation out...
08 Jun, 2024