How to Remove the Footer From PowerPoint Slides
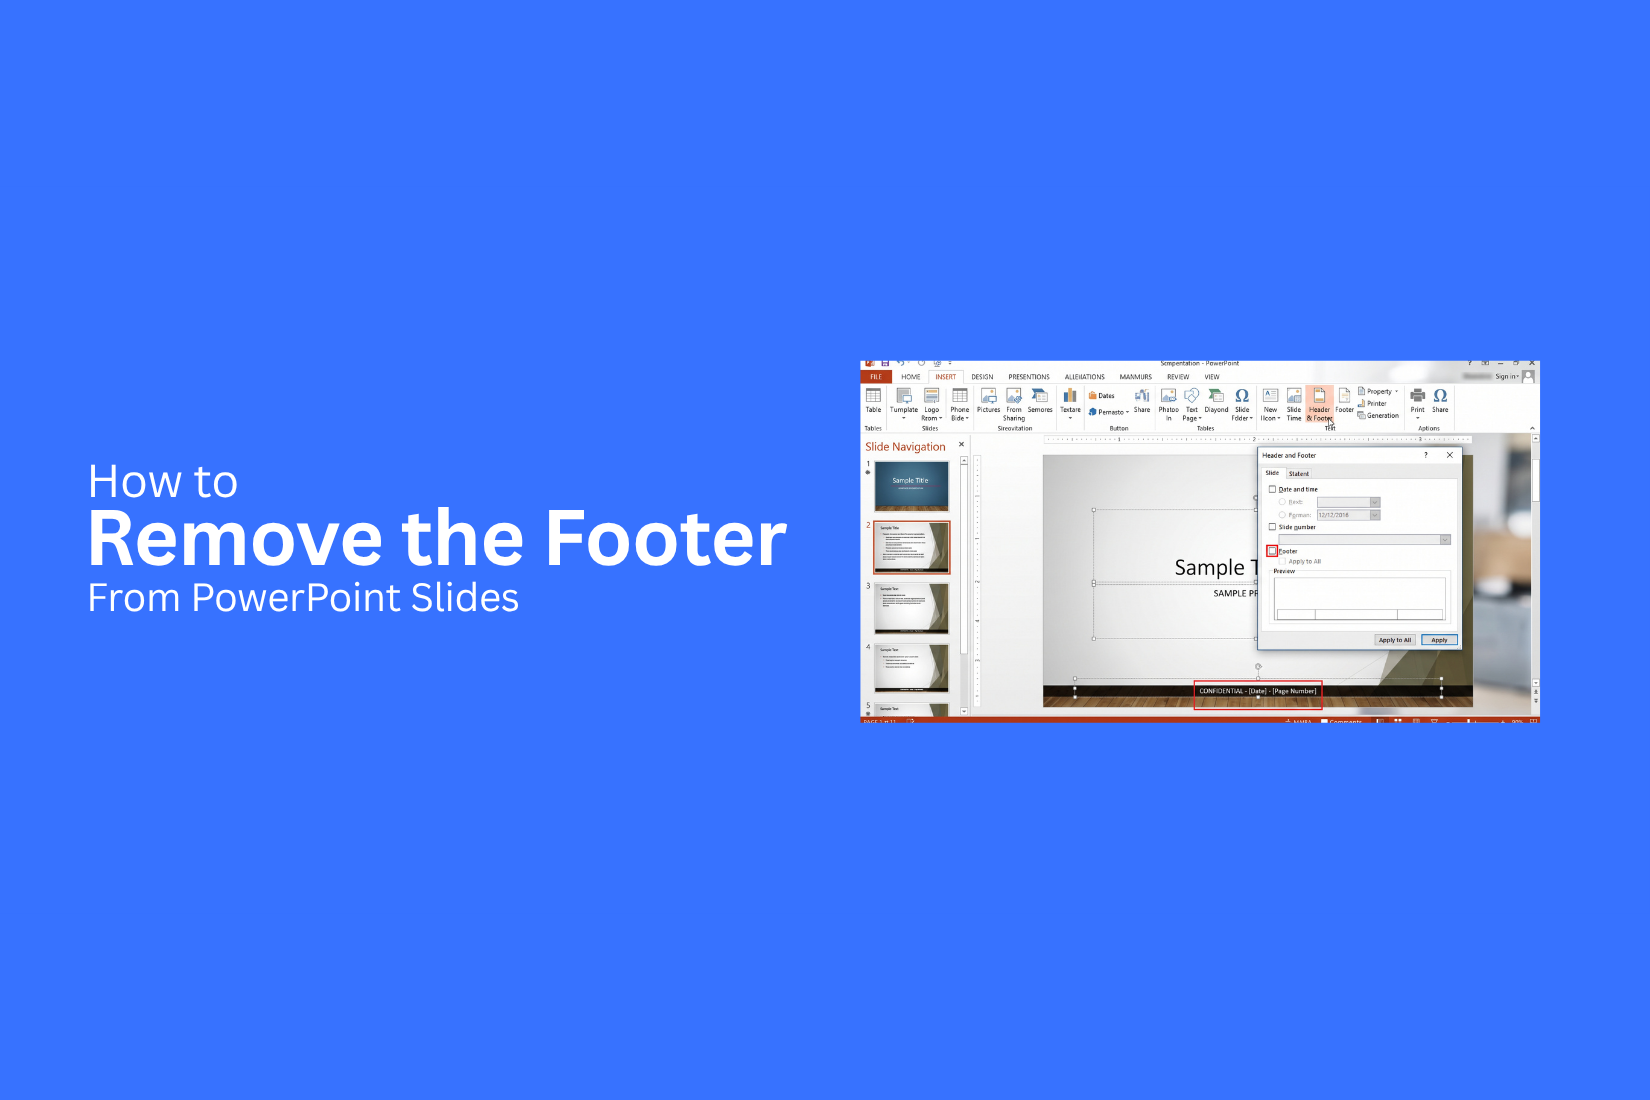
An unwanted footer can make your PowerPoint slides look cluttered. It may show text, a date, or a slide number that you do not want to display. Removing it from one slide may also leave the same footer on other slides. That can make a simple edit feel more confusing than expected.
The footer may also come from the Slide Master, a template, or a slide layout. This means deleting the visible text box may not always work. Finding the right setting saves time and keeps your slides clean.
This guide shows how to remove the footer from one slide or all slides. You’ll also learn how to remove dates and slide numbers, fix footers you cannot select, and keep footers on selected slides.
What Is a Footer in PowerPoint?
A footer is a small area at the bottom of a PowerPoint slide. It can show extra details, such as a date, slide number, or short text. PowerPoint lets you add footer text to one slide or to many slides at once. A footer can help viewers know the slide date or page number. It can also show a company name or other short details.
You can manage footer settings from the Insert tab. Select Header & Footer to view the available options. From there, you can add, edit, or remove footer details.
Some PowerPoint templates already have footer content. It may appear on every slide through the slide master. This can make the footer harder to remove from a single slide. Removing a footer gives the slide more open space. It also helps keep the layout clean when the footer does not add useful information.
How to Remove the Footer From PowerPoint Slides
A footer can show useful details such as a date, slide number, or short note. Sometimes, you may want a cleaner slide without this extra text. PowerPoint gives you several ways to remove a footer. You can remove it from one slide, remove it from every slide, or change it through Slides Master. Each method works for a different need.
Remove the Footer From One Slide
A single slide may need a different layout from the rest of your presentation. In that case, you can remove the footer from only that slide.
This method does not change the footer settings on your other slides.
- Open your PowerPoint presentation.
- Select the slide that has the footer.
- Click the Insert tab on the ribbon.
- Select Header & Footer.
- The Header and Footer window will open.
- Select the Slide tab.
- Clear the Footer checkbox.
- Click Apply.
PowerPoint will remove the footer from the selected slide. The footer will stay on the other slides. This option works well for title slides, section slides, or slides that need more open space. You can also use it for a slide with a large chart, image, or other content near the bottom.
Remove the Footer From All Slides
Removing the footer from each slide one by one can take time. PowerPoint has an option that lets you change the setting for the whole presentation.
Use Apply to All to remove the footer from every slide.
- Open the presentation.
- Go to the Insert tab.
- Click Header & Footer.
- Select the Slide tab.
- Clear the Footer checkbox.
- Click Apply to All.
PowerPoint will apply the change to all slides covered by the current footer setting. This method is useful for presentations that no longer need footer text. It also helps keep the slides clean without editing each slide separately. The Header and Footer window also has options for the date and slide number. Check those settings if you want to remove more than just the footer text.
Remove the Footer Using Slides Master
Slide Master gives you another way to control footer placeholders. It can be useful for presentations with many slide layouts. A footer may come from a master layout instead of being added directly to one slide. Editing the Slide Master can help you remove that footer from slides that use the same layout.
- Open your PowerPoint presentation.
- Click the View tab.
- Select Slide Master.
- Look at the main Slide Master and its layouts.
- Select the master or layout that contains the footer.
- Find the footer placeholder near the bottom of the slide.
- Click the footer placeholder.
- Press Delete.
- Click Close Master View.
Slides that use that master or layout will now follow the updated design. Slide Master is also useful for presentations with custom layouts. You can edit the footer once instead of making the same change on many slides. Keep in mind that a footer may be controlled by more than one layout. Check the layouts used in your presentation. A footer may still appear on slides linked to another layout.
Which Method Should You Use?
The best method depends on how much of the presentation you want to change.
- One slide: Use Header & Footer and select Apply.
- All slides: Use Header & Footer and select Apply to All.
- Multiple layouts: Use Slide Master to control the footer at the layout level.
For a quick change, the Header & Footer option is usually the simplest choice. Slide Master gives you more control over the layout and placeholder settings.
How to Remove Date and Slide Numbers Along With the Footer
The footer area in PowerPoint can contain several items. A slide may show footer text, a date, and a slide number at the same time. These items can make the bottom of a slide look crowded. PowerPoint gives you control over each item. You can remove the date and slide numbers without changing the main content of your slides. The Header & Footer window is the main place to manage these settings. From there, you can turn off the items you do not want to show.
Remove the Date
PowerPoint may add the date to your slides as part of the presentation footer settings. The date can appear on one slide or across the whole presentation, based on how the setting was applied.
You can remove it from the Header & Footer window.
- Open the PowerPoint presentation.
- Select the Insert tab from the top menu.
- Find the Text section.
- Click Header & Footer.
- Make sure the Slide tab is selected.
- Find the Date and time option.
- Clear the checkbox next to Date and time.
- Click Apply to All.
The date will no longer appear on the slides.
The Apply to All button is useful for a full presentation. It removes the date from all slides that use the same setting. You do not need to repeat the steps for every slide. PowerPoint also gives you two date options in this window. You can use a fixed date or let PowerPoint update the date automatically. Both options are controlled by the Date and time settings. Clearing this option removes the date display from the slides.
Remove Slide Numbers
Slide numbers help viewers keep track of their place in a presentation. They can also take up space near the bottom of a slide. A clean design may work better without them. You can remove slide numbers from the same Header & Footer window.
- Open your presentation in PowerPoint.
- Click the Insert tab.
- Select Header & Footer.
- Stay on the Slide tab.
- Find the Slide number option.
- Clear the Slide number checkbox.
- Click Apply to All.
PowerPoint will remove the slide numbers from the slides. This setting does not remove your footer text. It only turns off the slide number. Your footer can still appear if the Footer option is selected. You can also remove the date, slide number, and footer at the same time. Open Header & Footer, clear the options you do not need, then select Apply to All. This gives you a clean bottom area across the presentation. After making the change, check a few slides. Look at the title slide, content slides, and any slides with special layouts. This helps you confirm that the unwanted items are gone.
How to Remove a Footer From a PowerPoint Template
A footer can appear on every slide in a PowerPoint template. It may contain text, a date, or a slide number. Removing it from each slide one by one can take time. PowerPoint lets you remove footer content from the template itself. This can remove the footer across multiple slides at once. Open your presentation and go to the View tab. Select Slide Master. The Slide Master controls the design and layout used by your slides.
In the left panel, select the main Slide Master. Look for the footer area near the bottom of the slide. Select the footer text box or footer placeholder and delete it. Some templates use separate layouts under the main Slide Master. Check these layouts too. Remove the footer from any layout that still shows it.
After making the changes, select Close Master View. Your slides should now use the updated template without the footer. This method works best for templates that place the footer through the Slide Master. A footer added directly to a slide may need to be removed from that slide instead.
How to Remove a Footer That You Cannot Select
Sometimes, a footer does not let you click or edit it from the slide. This often happens because the footer comes from the Slide Master or the slide layout. The regular slide view may not give you control over these elements. Check the Slide Master and the slide layout to find the source of the footer.
Check the Slide Master
The Slide Master controls shared items across multiple slides. A footer placed there may not be selectable from the normal slide view.
- Open your PowerPoint presentation.
- Go to the View tab.
- Select Slide Master.
- Look through the master slide and its layouts.
- Find the footer area.
- Click the footer text box or placeholder.
- Press Delete.
- Select Close Master View.
Return to the normal slide view. The footer should no longer appear on slides that use that master or layout.
Check the Background or Layout
A footer may also be part of the slide background or tied to a specific layout.
Start by checking the slide layout:
- Select the slide with the footer.
- Go to the Home tab.
- Select Layout.
- Try another layout.
- Check if the footer disappears.
You can also check the background settings:
- Select the slide.
- Open the Design tab.
- Select Format Background.
- Check the background options.
- Look for a background image or graphic that contains the footer.
A footer that is part of a background image cannot be selected like normal text. You need to change or remove the background instead.
How to Keep the Footer on Some Slides Only
You may want a footer on most slides but not on every slide. For example, a title slide may look cleaner without a footer. A section divider may also need a simple layout.
PowerPoint lets you control the footer on individual slides. You can keep the footer on the slides that need it and remove it from the rest.
Remove the Footer From a Single Slide
Start with the slide where you want to hide the footer.
- Open your PowerPoint presentation.
- Select the slide you want to edit.
- Go to the Insert tab.
- Click Header & Footer.
- Clear the Footer checkbox.
- Click Apply.
The footer will be removed from that slide. Other slides will keep their footers.
Remove the Footer From Several Slides
You can also remove the footer from several slides at once.
- Select the slides that should not show the footer.
- Open the Insert tab.
- Click Header & Footer.
- Clear the Footer checkbox.
- Click Apply.
PowerPoint applies the change to the selected slides.
Keep the Footer on Content Slides
A footer can still be useful on slides with key content. It can hold information such as a company name, presentation title, date, or slide number.
Keeping the footer on these slides helps maintain a consistent layout. At the same time, removing it from title or divider slides gives those slides more open space.
Check the Slides After Making Changes
Move through the presentation after editing the footer. Check the title slides, content slides, and final slides. Make sure the footer appears only where you want it. Also check that it does not cover other content or sit too close to the edge of the slide. This approach gives each slide the footer setup it needs without changing the whole presentation.
Tips for Managing PowerPoint Footers
PowerPoint footers can add useful details to a slide. They may show a date, slide number, or other text. Too much footer content can make slides look crowded.
Use these tips to keep your footers clean:
- Keep footer text short: Use only the details your audience needs.
- Check every slide: Make sure the footer appears in the right place and does not cover other content.
- Use one style: Keep the font, size, and position consistent across the presentation.
- Remove unused footer items: Delete dates, slide numbers, or text that does not add value.
- Check the Slide Master: Footer settings may come from the Slide Master. Review it before making changes to individual slides.
- Preview the full presentation: Run through the slides after making changes. Check that the footer looks right on each slide.
- Keep key content clear: Do not let footer text compete with titles, images, charts, or other main content.
Common Footer Problems in PowerPoint
PowerPoint footers can cause small issues that affect the look of your slides. A footer may show text you do not need. It may also appear on slides where you want a clean layout.
Here are some common footer problems you may see:
- The footer appears on every slide: A footer setting can apply to the full presentation. This makes the same text appear across many slides.
- The footer cannot be selected: Some footer items are linked to the slide layout or Slide Master. You may not be able to click or edit them from the normal slide view.
- The footer keeps coming back: Removing the footer from one slide does not always remove it from other slides. The same footer may still be set in the layout.
- The footer covers other content: A footer can take up space near the bottom of a slide. This can make text, images, or other objects harder to place.
- The footer shows unwanted information: Dates, slide numbers, or custom text may appear even though they are not needed.
- The footer has different formatting: Font size, color, or position may vary across slides. This often happens if slides use different layouts.
Finding the cause of the footer problem makes it easier to remove it. The next step is to check how the footer was added and where its settings are stored.
Final Notes
Removing a footer from PowerPoint does not always require editing each slide. The Header & Footer window works well for footer text, dates, and slide numbers. Use Apply for a single slide or Apply to All for the full presentation.
Slide Master is a better choice for footers tied to a master or layout. It lets you remove shared footer elements in one place. Check the slide layout and background if a footer cannot be selected. After making changes, review the full presentation. Check title slides, content slides, and slides with custom layouts. Make sure the footer appears only where needed and does not cover other content. A clean footer setup keeps the bottom of each slide clear. It also helps the main content stay easy to read.
FAQs
Can I remove a footer from only one PowerPoint slide?
Yes. Open Insert > Header & Footer, clear the Footer checkbox, and select Apply. The footer will be removed from the selected slide only.
How do I remove a footer from all PowerPoint slides?
Open Insert > Header & Footer. On the Slide tab, clear the Footer checkbox. Then select Apply to All. This removes the footer from slides covered by that footer setting.
Why can’t I select the footer in PowerPoint?
The footer may come from the Slide Master or slide layout. Open View > Slide Master and check the master and its layouts. You may also need to check the slide background.
How do I remove the date from PowerPoint slides?
Go to Insert > Header & Footer. On the Slide tab, clear Date and time. Select Apply to All to remove it from the full presentation.
How do I remove slide numbers in PowerPoint?
Open Insert > Header & Footer. Clear the Slide number checkbox on the Slide tab. Select Apply to All to remove slide numbers from the presentation.
Can I keep the footer on some slides but remove it from others?
Yes. Select the slide where you want to hide the footer. Open Header & Footer, clear Footer, and select Apply. Other slides can keep their footers.
How do I remove a footer from a PowerPoint template?
Open View > Slide Master. Select the main Slide Master and check its layouts. Delete the footer text box or placeholder from the areas that contain it. Then select Close Master View.
What should I do if the footer keeps coming back?
Check the Slide Master and the layouts used by the affected slides. The footer may still be set in another layout. Remove it from the layout that controls those slides.
Can a footer be part of a PowerPoint background?
Yes. A footer may be part of a background image or graphic. Such a footer cannot be selected like normal text. Check Design > Format Background to review the background settings.
Should I remove the footer from every slide?
Not always. A footer can show useful details such as a company name, presentation title, date, or slide number. Keep it on slides where the information helps. Remove it from slides that need more open space.




You may also be interested in ...

Tips To Create A Great Infographic
Infographics Have been around for a while, but not many people know about them or are their preferred presentation choice. If...
08 Jun, 2024

3 Steps To Create The Best Presentation...
Presentations are something wonderful when well done, you can captivate an audience or be super interested in what another pe...
23 Jun, 2024

3 Tips For Your Next Presentation You MU...
PowerPoint presentations are perfect for explaining a topic and communicating your ideas with a visual aid. But most people s...
08 Jun, 2024