How to Loop a PowerPoint Presentation Automatically
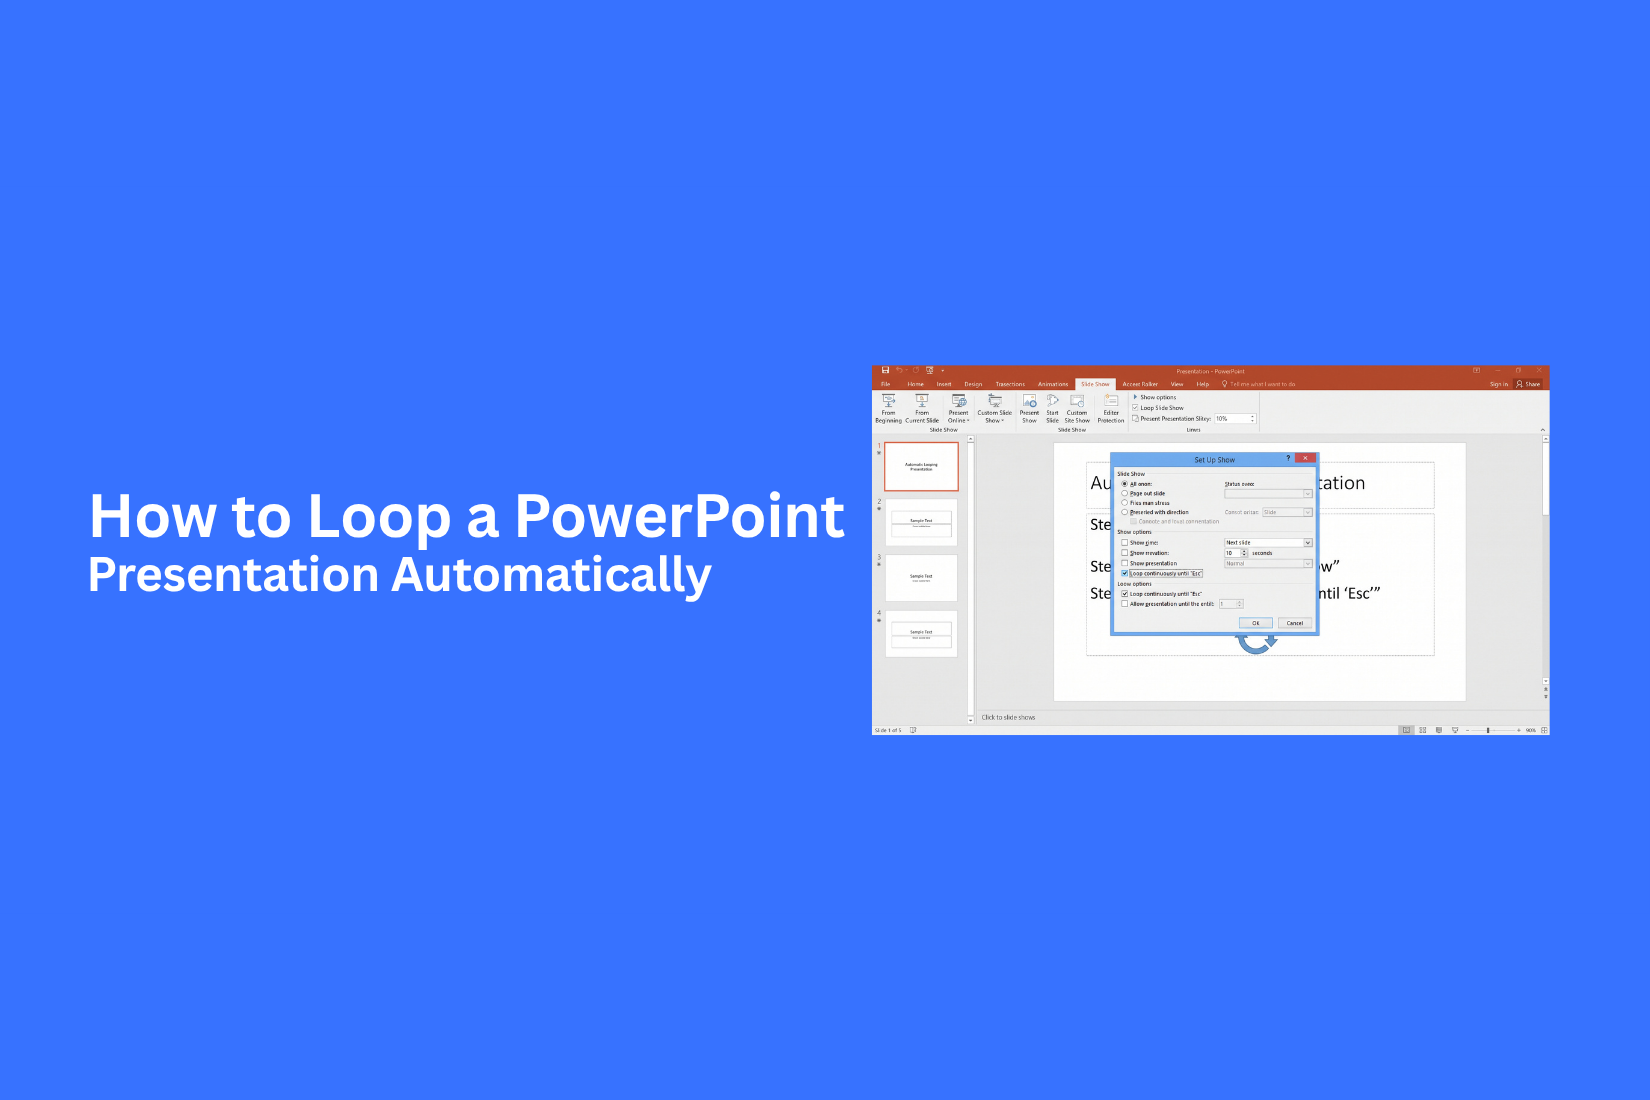
A PowerPoint presentation can stop after the last slide, which can be a problem for displays that need to run without constant attention. Restarting the presentation by hand also takes time and can break the flow of your display. This is where the loop feature can help. PowerPoint lets you set a presentation to play again after it reaches the final slide. You can also set slides to advance on their own and choose different timing for each slide. In this guide, you’ll learn how to loop a PowerPoint presentation automatically, set slide timings, test the loop, fix common issues, and stop the loop when you no longer need it.
What Does It Mean to Loop a PowerPoint Presentation?
Looping a PowerPoint presentation means playing the slides again and again without stopping. After the last slide ends, the presentation starts again from the first slide. This setup is useful for presentations that need to run on their own. The slides can keep playing without someone clicking through them each time. PowerPoint has settings that let you create this repeating playback. You can also set slide timings so each slide stays on screen for a set amount of time. This makes the presentation run on its own from start to finish, then start again.
How to Loop a PowerPoint Presentation Automatically
PowerPoint can play your slides again and again without manual control. You can set the presentation to repeat after the last slide ends. This works well for trade shows, kiosks, waiting areas, events, and digital signs.
The setup takes only a few steps:
- Open your PowerPoint presentation.
- Go to the Slide Show tab.
- Select Set Up Slide Show.
- Find the Show options section.
- Check Loop continuously until 'Esc'.
- Click OK.
- Start the slide show.
PowerPoint will now return to the first slide after the last slide finishes. Press Esc to stop the loop. For a hands-free presentation, slide timings also matter. Set a time for each slide under the Transitions tab. Turn off On mouse click if you want the slides to change only after the set time. This setup lets the presentation run on its own. It also helps keep screens active without someone needing to restart the show.
How to Make PowerPoint Slides Advance Automatically
PowerPoint can move from one slide to the next without any clicks. You can set a time for each slide. This lets your presentation run on its own. Open your presentation and select a slide. Go to the Transitions tab. Find the Timing section. Under Advance Slide, select After. Enter the number of seconds you want the slide to stay on screen. You can also turn off On Mouse Click. This makes the slide move only after the set time. Select Apply to All to use the same timing for every slide.
Different slides may need different amounts of time. A slide with a short title may need only a few seconds. A slide with charts, images, or more text may need more time. Set the timing based on how long people need to read each slide. Play the presentation in Slide Show mode after setting the timing. Watch the slides from start to finish. Check that each slide stays on screen long enough. Make changes to the timing as needed. Once the timing feels right, the presentation can move through the slides without manual clicks. This setting is also useful for presentations that play on a screen without someone controlling them.
Read also: How to Create a Loop Animation in PowerPoint
How to Set Different Timings for Each Slide
Every slide does not need the same amount of screen time. A title slide may need only a few seconds. A slide with charts or key points may need more time. PowerPoint lets you set a separate time for each slide. Open the Transitions tab and select a slide. In the Timing section, find Advance Slide and select After. Enter the number of seconds you want. Repeat this for the other slides. You can give each slide its own timing based on its content.
For example, a title slide could stay for 5 seconds. A simple content slide could stay for 10 seconds. A detailed slide could stay for 15 seconds. This setup helps your presentation move on its own without using the same timing for every slide.
How to Test Your PowerPoint Loop
A quick test helps make sure your slides play as planned. Start the slideshow from the beginning. Let it run through every slide. Check that each slide stays on screen for the right amount of time. Make sure the presentation moves to the next slide without any clicks.
Watch for the last slide. It should move back to the first slide after the set time. The loop should keep running without stopping. Test the presentation a few times. This helps catch timing issues before you show it to an audience.
Test the Loop in Slide Show Mode
- Open your PowerPoint presentation.
- Go to the Slide Show tab.
- Select From Beginning.
- Let the presentation play.
- Watch the slide changes and timing.
- Check that the last slide returns to the first slide.
- Let it run for one full cycle to confirm the loop works.
A short test can prevent playback problems during your presentation.
Common Problems With PowerPoint Looping
PowerPoint looping is simple to set up, but a few issues can stop it from working as expected. The slides may stop after the last slide. The show may also move too quickly or stay on one slide.
Here are some common problems:
• The presentation stops: The loop setting may not be turned on.
• Slides move too fast: Slide timings may be too short.
• Slides do not move: Some slides may not have timing settings.
• The loop does not start: The presentation may not be running in Slide Show mode.
• Videos stop early: Media settings may affect how a video plays during the show.
• The presentation ends: The show may be set to stop after the final slide.
A quick check of the loop, timing, and playback settings can fix most of these issues. Test the presentation from start to finish before leaving it to run on its own.
Tips for Creating a Better Looping Presentation
A good looping presentation should be easy to follow without help. Keep each slide clear and simple. Use short text and large fonts. This helps viewers read the content as the slides play. Use the same design style across the presentation. Keep colors, fonts, and layouts consistent. Avoid adding too many effects. Simple animations can keep the slides active without making them hard to follow. Set the right time for each slide. Give viewers enough time to read the content before the next slide appears. Slides with more text may need extra time.
Add a clear start and end point. The last slide should connect smoothly to the first slide. This makes the loop feel natural instead of looking like the presentation has stopped. Test the presentation before you play it. Check the slide timing, animations, audio, and loop settings. Run the full presentation from start to finish. This helps you spot timing or playback issues before your audience sees them.
How to Stop a PowerPoint Presentation From Looping
PowerPoint can keep playing slides in a loop after the “Loop continuously until ‘Esc’” option is turned on. You can stop this setting in a few steps.
- Open the presentation in PowerPoint.
- Go to the Slide Show tab.
- Select Set Up Slide Show.
- Look for the Show options section.
- Uncheck Loop continuously until ‘Esc’.
- Click OK to save the change.
Start the slide show to test it. PowerPoint will now play the slides from start to finish. It will not return to the first slide after the last one. Press Esc during the slide show to exit it at any point.
Final Notes
Looping a PowerPoint presentation takes only a few settings. Turn on Loop continuously until 'Esc' to repeat the show. Add slide timings to make the presentation run without clicks.
Set different times for slides that need more reading time. Test the full presentation before using it on a screen. These steps can help you create a PowerPoint presentation that plays smoothly from the first slide to the last and back to the first again.
FAQs
Can I make a PowerPoint presentation loop automatically?
Yes. Open the Slide Show tab, select Set Up Slide Show, and check Loop continuously until 'Esc'. Click OK and start the slide show.
How do I make PowerPoint slides change automatically?
Go to the Transitions tab. Under Advance Slide, select After and enter the number of seconds. Turn off On mouse click so the slide changes based on the timer.
Can each PowerPoint slide have a different timing?
Yes. Select each slide and set its own time under Transitions > Advance Slide > After. This lets simple slides stay on screen for less time than detailed slides.
How do I stop a PowerPoint presentation from looping?
Go to Slide Show > Set Up Slide Show. Under Show options, uncheck Loop continuously until 'Esc'. Click OK to save the change.
Why does my PowerPoint presentation stop after the last slide?
The loop setting may be turned off. Open Set Up Slide Show and check Loop continuously until 'Esc'. Also check your slide timings.
Why are my PowerPoint slides moving too fast?
The slide timings may be too short. Open the Transitions tab and increase the time under Advance Slide. Slides with more text or charts may need more time.
Can PowerPoint loop without someone clicking the slides?
Yes. Turn on the loop setting and add automatic slide timings. Turn off On mouse click so the presentation can play without manual clicks.
How do I test a PowerPoint loop?
Start the slide show from the beginning. Let it play through every slide. Check the timing and make sure the last slide returns to the first slide.
Where is the loop setting in PowerPoint?
The setting is under Slide Show > Set Up Slide Show. Look for Show options, then select Loop continuously until 'Esc'.
How do I exit a PowerPoint loop?
Press Esc during the slide show. PowerPoint will stop the presentation.




You may also be interested in ...

How To Create An Eye-Catching Portfolio
If you’re looking to create an eye-catching portfolio, this post will come in handy. In this article, you can find the easies...
23 Jun, 2024

How To Easily Create An Infographic
Infographics are the perfect way to make a presentation that will impact an audience, but their design and composition might...
08 Jun, 2024

PowerPoint Template Tips & Tricks You Ne...
PowerPoint seems to be an unknown world for many people, especially those who have been assigned to create a presentation out...
08 Jun, 2024