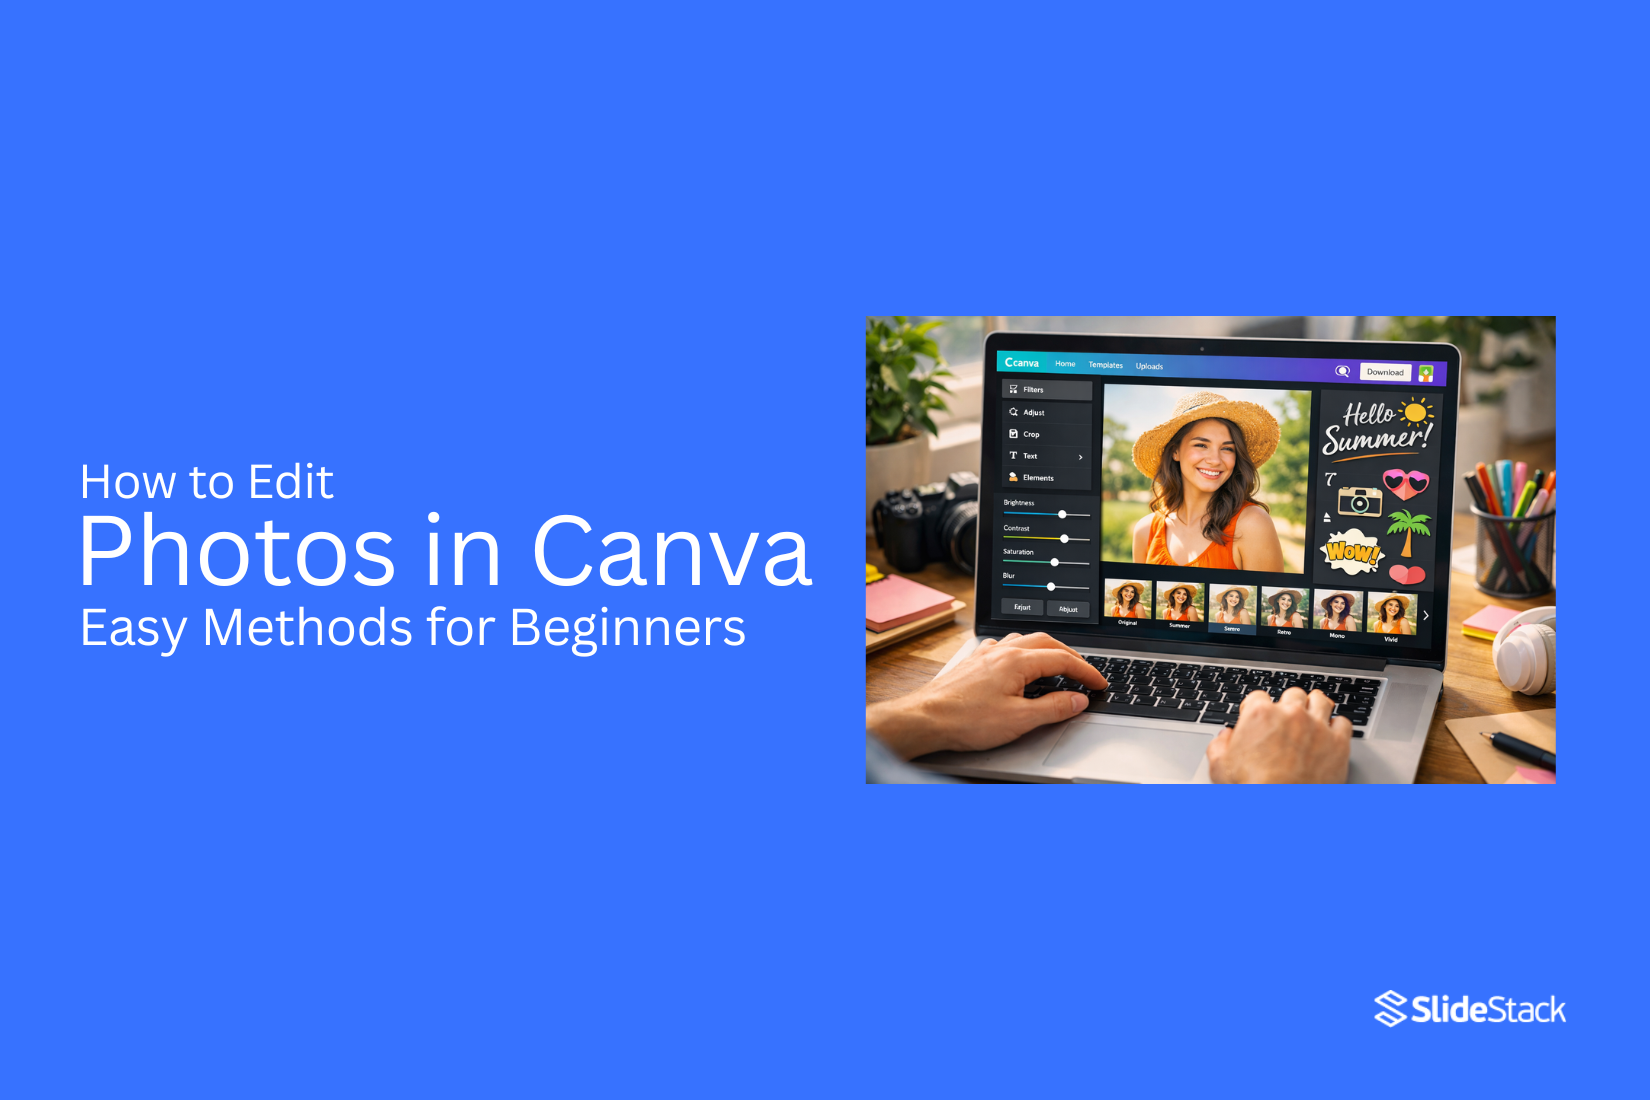
How to Edit Photos in Canva: Easy Methods for Beginners
Editing photos can feel hard for beginners who want clean and sharp images. Canva gives a simple way to edit pictures without complex tools. You can change colors, fix lighting, and improve image quality in a few clicks. This helps you create better visual content quickly. Next, Canva editing tools make the process easier. Small edits can change how your photos look online. Clear images also help your posts look more professional. This guide shows each step in Canva. Follow simple steps to edit, adjust, and save your images with ease. Even first-time users can improve photos quickly inside Canva. You only need a few minutes to start editing. Let’s begin now.
What Is Canva Photo Editing?
Canva photo editing means changing pictures using the Canva tool. It runs in a web browser and also works on mobile devices. People use it to adjust photos without complex software. You can crop images to change size or focus. You can also adjust brightness and contrast. These tools help fix lighting and improve photo clarity. Text can be added to images inside Canva. Shapes, filters, and simple effects are also available. These options help users create clean and clear visuals for posts, blogs, and designs.
Why Edit Images in Canva
People edit images in Canva to change how photos look and fit different needs. Images often need small changes before use. Canva gives simple tools for this work.
• Crop parts of an image to fit a layout
• Adjust light and color to make the photo clearer
• Add text to explain or label the image
• Resize images for posts, slides, or pages
• Remove small distractions from the photo
• Place shapes or elements over images for design work
These changes help match the image with its purpose. A photo can look different after small edits. This makes it easier to use across different projects.
How to Edit Photos in Canva Step by Step
Editing photos in Canva is simple and beginner-friendly. The tools are easy to find and use. Each step helps improve your image without confusion or extra effort. Let’s go through the full process from start to finish.
Upload Your Photo
Start by opening Canva on your device. Go to the upload section on the left panel. Select a photo from your computer or phone. The image loads into your workspace in a few seconds. It stays ready for edits in your project area. You can upload more than one image if needed for your design.
Open the Photo Editor
Click on the image once it appears on the canvas. The top toolbar changes and shows editing tools. This is where all main photo controls appear. You can now start adjusting the image based on your needs. The editor keeps everything simple and easy to access.
Adjust Brightness, Contrast, and Saturation
Find the edit sliders in the adjustment panel. Brightness changes how light or dark the image looks. Contrast controls the balance between shadows and highlights. Saturation changes how strong or soft the colors appear. Small adjustments often work best for a clean result. You can move each slider until the photo feels balanced.
Crop and Resize Images
Select the crop tool from the toolbar. Drag the edges to remove unwanted parts of the photo. This helps focus on the main subject. Resize the image by pulling the corner handles. The image adjusts while keeping its shape. This step helps fit the design layout more neatly.
Apply Filters and Effects
Go to the filter section to change the style of the photo. Each filter gives a different mood to the image. Some filters make colors warmer, while others make them cooler. Effects can also add blur or sharpen details. These options help change the look without complex editing steps.
Retouch and Enhance Photos
Use the basic enhancement tools to fix small issues. You can smooth areas or improve clarity. Some tools help clean up the background or reduce noise. This step gives the photo a more polished look. Small edits here can improve the final result in a clear way.
Add Text and Design Elements
Open the text tool from the side menu. Add words to explain or support your image. Choose simple fonts that match your design style. Shapes, icons, and stickers can also be placed around the photo. These elements help build a stronger visual message.
Download Your Edited Photo
Click the download button at the top right corner. Choose a file type such as PNG or JPG. Select the quality that fits your use. The file saves to your device in a few seconds. Your edited photo is now ready for sharing or printing.
Read also: How to Edit Master Slide in Google Slides Quickly
Best Canva Photo Editing Tools
Canva has many tools for photo editing. Each tool has a simple job. These tools help fix and change images in different ways.
Adjust Tool
The Adjust tool changes light and color in a photo. It can make a photo brighter or darker. It can also change contrast and saturation. This tool helps fix photos that look too dull or too sharp.
Filters
Filters change the look of a photo with one click. Each filter gives a different style. Some make colors warm. Some make colors cool. Filters help set a mood for the image.
Magic Edit
Magic Edit lets you change parts of a photo. You brush over an area. Then you replace it with something new. This tool helps modify small details without changing the whole image.
Magic Eraser
Magic Eraser removes unwanted objects. You mark the object on the photo. The tool clears it from the background. This helps clean up distractions in an image.
Background Remover
Background Remover takes out the full background of a photo. It keeps only the main subject. This tool helps create clean cutouts for designs or product images.
Blur Tool
Blur Tool softens parts of a photo. It can blur the background or a selected area. This helps bring focus to the main subject in the image.
How to Edit Photos in Canva on Different Devices
Canva works on many devices. The tools look a bit different on each one. The main editing steps stay the same. You can crop, adjust, and add elements to your photos.
Windows
Open Canva in a web browser on Windows. Log in to your account. Upload a photo from your computer. Drag the image onto the design page. Use the toolbar to crop, adjust brightness, and add text.
Mac
Open Canva in Safari or Chrome on Mac. Sign in to your account. Upload your image from Finder. Place the photo on your canvas. Use the top menu to change size, color, and position.
Chromebook
Open Canva in Chrome on a Chromebook. Log in with your account. Upload a photo from Google Drive or local storage. Drop the image into your design. Use editing tools on the side panel for changes.
Android
Open the Canva app on Android. Sign in to your account. Tap the plus button to start a design. Upload a photo from your gallery. Use the bottom menu to edit brightness, filters, and crop.
iPhone and iPad
Open the Canva app on iPhone or iPad. Log in to your account. Tap the plus icon to create a new design. Select a photo from your Photos app. Use touch controls to adjust and edit the image.
Tips for Better Photo Editing in Canva
Start with a clear goal for your image. Know what you want to fix or change before you begin. This helps you stay focused while editing. Use simple adjustments first. Brightness, contrast, and saturation can change the look of a photo quickly. Small changes often give better results than large edits. Crop your image to remove extra space. This helps the main subject stand out. A clean frame also makes the photo easier to view.
Try filters in a light way. Pick one that fits your image style. Lower the strength if the photo starts to look too heavy. Work with layers when needed. Place text or shapes on top of your image to create balance. Keep each element easy to read. Zoom in while editing small details. This helps you see edges, skin tones, or sharp areas more clearly.
Save different versions as you work. This gives you room to go back if a change does not look right. Step back and review your design before finishing. Check if the photo still feels clear and balanced on screen.
Common Canva Photo Editing Mistakes to Avoid
Many beginners run into simple issues while editing photos in Canva. These issues can change how the final image looks.
Over-editing photos: Too many changes can make an image look unnatural. Small edits often work better.
Using too many filters: Strong filters can hide details in the photo. A light touch keeps the image clear.
Ignoring image quality: Low-quality images can look blurry after editing. Starting with clear images gives better results.
Stretching images incorrectly: Pulling an image out of shape can make it look odd. Keeping the original shape keeps it clean.
Poor background choice: A busy background can take attention away from the main subject. Simple backgrounds help the subject stand out.
Not checking text readability: Text can blend into the photo and become hard to read. Clear contrast between text and background improves visibility.
Canva Free vs. Canva Pro for Photo Editing
Canva Free and Canva Pro give different options for photo editing. Both help with simple image work. The tools are not the same. Canva Free gives basic editing tools. Users can crop images. They can adjust brightness and contrast. Simple filters are also available. These tools work well for small edits.
Canva Pro gives more editing options. Background removal is included. More filter styles are available. Users also get extra effects for images. Storage space is larger for files and projects. The free version works for simple tasks and quick edits. Pro version fits users who work with many images and need more control over edits.
Common Canva Photo Editing Problems and Solutions
Blurry images often come from low-quality uploads. Use high-resolution photos before adding them to Canva. This keeps details sharp. Cropping can remove important parts of an image. Adjust the frame before finalizing the layout. Small shifts help keep key subjects visible. Colors may look different after export. Check the color settings and use the same color mode across your design. This helps keep tones steady.
Text sometimes looks uneven on images. Increase contrast between text and background. A solid overlay behind text improves readability. Images may not align properly on the page. Use Canva alignment tools for center or edge placement. Small adjustments create a cleaner layout. File size can become too large after export. Choose the right download format based on use. PNG works well for quality; JPG helps reduce size.
Final Notes
Editing photos in Canva feels simple once the basics are clear. The tools stay easy to find, and each one has a clear purpose. Small changes in brightness, contrast, or crop can shift how a photo looks in a big way. Many beginners rush through edits. That often leads to heavy filters or stretched images. A slower approach keeps photos clean and easy to read. Clear images always stand out more on screens and in print. Different tools help at different stages. Adjust settings to fix light and color. Filters shift the mood. Crop and resize tools shape the frame. Each step builds on the one before it.
Device use also matters. Canva works on phones, tablets, and computers. The layout changes a little, but the main tools stay the same. This makes editing possible anywhere. Good editing comes from simple choices. Clean images, light adjustments, and readable text often give the best results. Small edits done with care can lift the full design without much effort.
FAQs
What is Canva photo editing?
Canva photo editing means changing images inside Canva. You can adjust color, crop size, and improve photo quality using simple tools.
Do I need experience to edit photos in Canva?
No experience is needed. Canva has basic tools that are easy to use. Most actions need only a few clicks.
Can I edit photos on my phone?
Yes. Canva works on Android and iPhone. You can upload, edit, and save images using the mobile app.
What tools are used in Canva for photo editing?
Common tools include Adjust, Crop, Filters, Magic Eraser, Background Remover, and Blur. Each tool has a clear job.
What is the difference between Canva Free and Canva Pro?
Canva Free gives basic editing tools like crop and brightness control. Canva Pro adds extra tools like background removal and more effects.
How can I make my photos look clear in Canva?
Use clear source images first. Then adjust brightness, contrast, and crop extra space. Small edits often give better results.


You may also be interested in ...

How To Create An Eye-Catching Portfolio
If you’re looking to create an eye-catching portfolio, this post will come in handy. In this article, you can find the easies...
23 Jun, 2024

How To Easily Create An Infographic
Infographics are the perfect way to make a presentation that will impact an audience, but their design and composition might...
08 Jun, 2024

PowerPoint Template Tips & Tricks You Ne...
PowerPoint seems to be an unknown world for many people, especially those who have been assigned to create a presentation out...
08 Jun, 2024