How to Add and Edit Tables in Google Slides for Better Layouts
Tables organize information in rows and columns, making it easier to read and understand. They are used in business presentations, reports, and even school projects. Adding a table and formatting it is one of the simplest ways to structure your slides.
Google Slides is a popular tool for creating presentations, and it makes working with tables straightforward. You can create a table from scratch, adjust its style, and add content to suit your needs. Tables help display budgets, sales data, product lists, and more clearly. Learning how to add and edit tables will make your slides look organized and professional.
How to Add a Table in Google Slides Step by Step
Adding a table in Google Slides can make your information easier to read and organize. In the next section, we will walk through the steps you need to follow. Keep reading to see each point clearly explained.
Adding a Table to a Slide
Start by opening your presentation and going to the slide where you want the table.
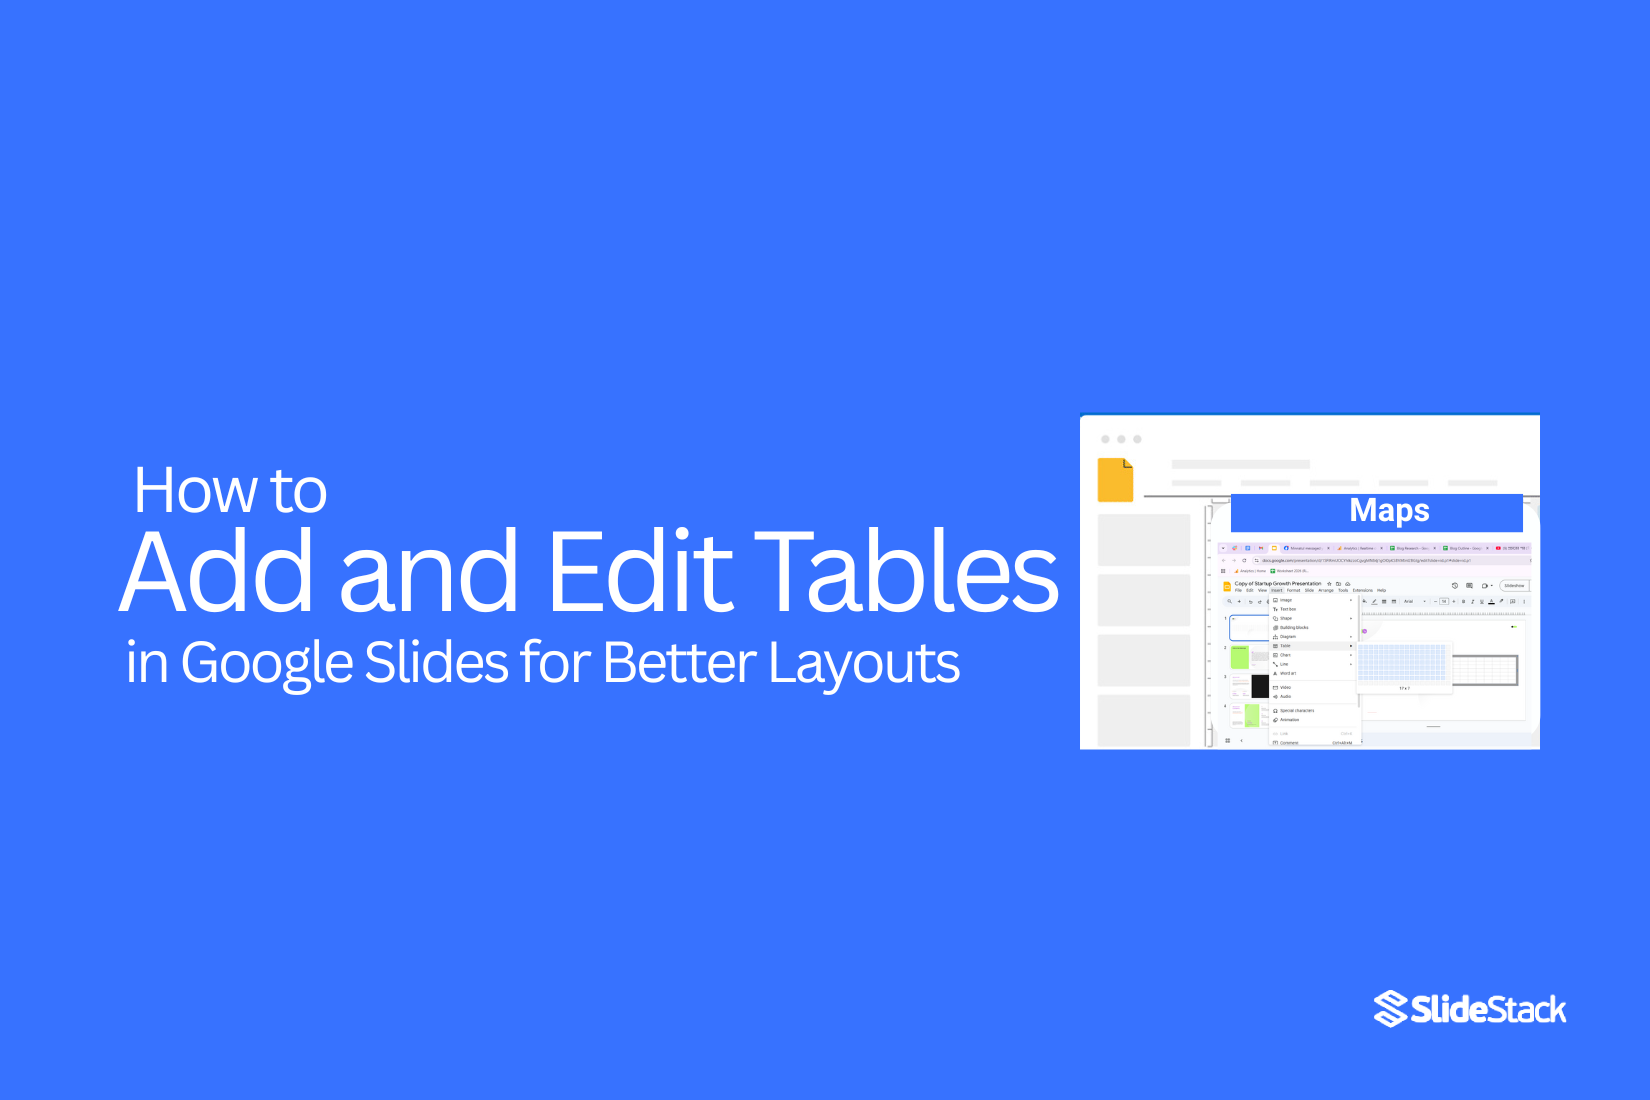
Select Insert → Table from the menu. Choose the number of rows and columns you need using the sidebar.
Don’t worry if your rows and columns are not perfect. You can adjust them later by right-clicking the table and selecting Insert or Delete rows and columns.
Editing the Style of a Table
Changing a table’s look can make it clearer and easier to read. You can adjust colors, borders, and sizes with a few simple steps.
Table Color and Border: You can change the border color, thickness, and style. Some programs let you adjust transparency, too. Try picking a color that contrasts with the background. This makes the table stand out.
Visual Guidance: Blue highlights often show which cells are selected. This helps avoid editing the wrong part. Watch for the highlight when making changes. It may be hard to tell if you’ve selected the whole table.
Resize: Drag from the corners to adjust the table size. Hold down the shift to keep the proportions even. You can also adjust individual columns or rows for more control.
Tips to Avoid Mistakes
• Check that the correct cells are selected before changing color or borders.
• Resize slowly to prevent stretching text unevenly.
• Use consistent border styles for a neat appearance.
Small changes make a table look clean and professional. Following these steps keeps your edits accurate and your table easy to read.
Adding content to a table
Adding content to a table helps organize information clearly. It makes numbers and text easier to read. Here is how you can do it step by step.
Step 1: Click on the table in your slide. Double-click any cell to start typing. The cursor will appear inside the box.
Step 2: Type your text or numbers directly. Keep your content short and clear. Avoid long sentences. Use numbers where needed for clarity.
Step 3: Change the font to match your slide design. Keep the size readable, usually between 10 and 14 points. You can use color to highlight important data.
Step 4: Make headers bold so they stand out. Use a different typeface for totals or special items. This helps your audience find important points quickly.
Step 5: Check all cells for alignment. Make sure text is centered or left-aligned consistently. Keep spacing even to improve readability.
Adding content to a table is simple when you follow these steps. Clear tables make your slides more professional and easier to understand.
Adding a Table from a Template in Your Presentation
Tables can make your slides clear and organized. Using a template saves time and keeps your design consistent. You can quickly show comparisons, lists, or data blocks without starting from scratch.
Step 1: Choose a Table Template
Start by finding a table template that fits your slide. Templates often include multiple cells, colors, and styles ready to use. Pick one that matches your presentation theme.
Step 2: Add the Template via Copy-Paste
Copy the table from the template source. Go to your slide and paste it. The table appears instantly with all its elements in place. You can move it around or place it where it fits best.
Pro tip: Use the grid or guides on the slide to help position the table neatly.
Step 3: Handle Multi-Element Templates
Some tables have multiple blocks or sections. Select and group elements if needed. This makes moving or resizing easier without breaking the layout.
Pro tip: Use the “Arrange” menu to align blocks evenly. This keeps the table balanced and tidy.
Step 4: Resize and Align
Click and drag the corners to resize the table. Use the alignment guides to keep it centered or aligned with other slide elements. Check that text and numbers fit inside the cells.
Pro tip: Adjust row and column sizes in small steps. It prevents text from being cut off or cells from looking uneven.
Step 5: Style Your Table
Change fills, borders, and fonts to match your slide theme. Light fills keep tables readable, while darker borders separate sections clearly. Choose fonts that are simple and easy to read on screen.
Pro tip: Keep font sizes consistent across the table. Use bold text for headers to guide the viewer’s eye.
Once you complete these steps, your table is ready. It will look clean, organized, and fully integrated into your presentation.
Handy Tips and Tricks
• Tables can help you organize information and make your slides easier to read. Using them well can save you time and make your presentations look professional.
• Use pre-made templates: Starting with a template can save you hours. Many templates already include styled tables. You just need to add your content.
• Pick table-focused presentation templates: Some templates are designed for tables and charts. These templates make your data easy to follow and visually clear.
• Check tutorials for tips: Watching a short tutorial can help you learn new tricks. You can see how others format tables and pick up practical shortcuts.
• Combine resources: Try mixing templates with tutorials. You can create polished slides quickly without starting from scratch.
• Keep practicing: The more you work with tables, the easier it becomes. You’ll notice which layouts make your points clear.
Summary:
Using tables in Google Slides makes your slides neat and easy to read. You can add tables from scratch or use templates to save time. Editing colors, borders, and fonts helps make information clear. Adding content carefully ensures your numbers and text are easy to follow. With practice, you will create organized and professional slides quickly.
FAQs:
1. How do I add a table to a slide?
Open your slide, go to Insert → Table, and pick the number of rows and columns. The table will appear on your slide, ready to edit.
2. Can I change the size of a table?
Yes. Click the table and drag the corners to resize it. You can also adjust individual rows or columns.
3. How do I change the color of a table or its borders?
Right-click the table and choose the style options. Pick colors that make the table easy to read.
4. Can I add text or numbers to a table?
Yes. Double-click any cell and type your content. Keep it short and clear. Use bold text for headers.
5. How do I clear formatting in a Google Slides table?
Select the table or the cells you want to reset. Then choose the option to clear formatting. This will remove colors, fonts, and styles so you can start fresh.
6. How do you change the theme of a table in Google Slides?
Click the table, go to the style or design options, and pick a new theme. This updates the colors, fonts, and borders to match your presentation.
7. How do you split cells in a table in Google Slides?
Right-click the cell you want to split. Choose the split option and select how many rows or columns you need. The cell will divide into smaller sections.
8. Can I use a table template instead of making one from scratch?
Yes. Copy a table from a template and paste it into your slide. Adjust its size and style to fit your presentation.
9. How do I keep my table neat and organized?
Use consistent fonts, colors, and borders. Align text evenly and check spacing. Small, careful edits make a big difference.
10. Are there tips for working with tables faster?
Yes. Use templates, check tutorials for shortcuts, and practice often. The more you work with tables, the easier it gets.


You may also be interested in ...

How To Create An Eye-Catching Portfolio
If you’re looking to create an eye-catching portfolio, this post will come in handy. In this article, you can find the easies...
23 Jun, 2024

How To Easily Create An Infographic
Infographics are the perfect way to make a presentation that will impact an audience, but their design and composition might...
08 Jun, 2024

PowerPoint Template Tips & Tricks You Ne...
PowerPoint seems to be an unknown world for many people, especially those who have been assigned to create a presentation out...
08 Jun, 2024