How to Create Links Between Slides in PowerPoint
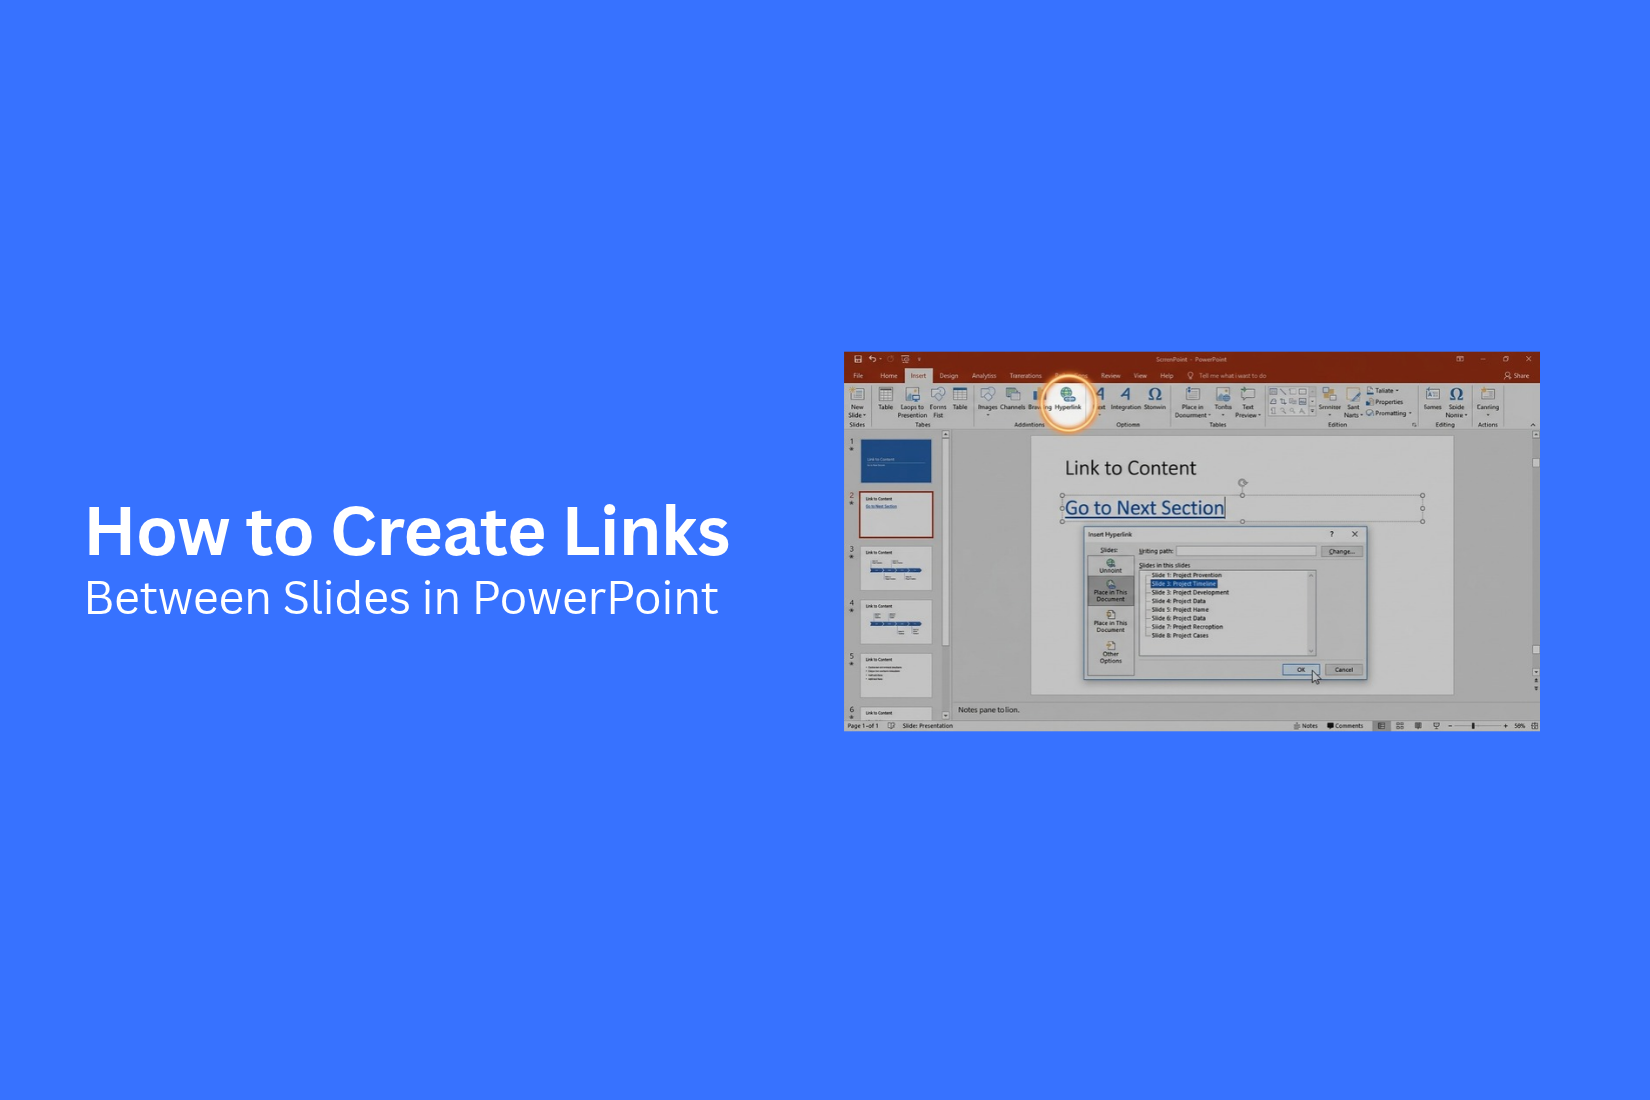
Moving through a PowerPoint presentation slide by slide can take extra clicks. This becomes a problem in presentations with menus, sections, or many slides. Finding a specific slide during a presentation can also break the flow.
A simple link can make slide navigation easier. You can connect text, shapes, buttons, or images to another slide in the same presentation. This lets you jump to a specific part without moving through every slide.
This guide explains how to create links between slides in PowerPoint. You’ll learn how to link text, shapes, buttons, and images. You’ll also learn how to edit, remove, and test slide links before presenting.
What Are Links Between Slides in PowerPoint?
Links between slides let you move from one slide to another with a click. You can link text, images, shapes, or other objects to a slide in the same PowerPoint file. This feature helps you control the order of your presentation. You can create a link from a menu slide to a specific section. You can also add a link that takes you back to an earlier slide.
For example, a presentation may start with a menu that lists several topics. Each topic can link to its own slide. A button on that slide can then take you back to the menu. Slide links are also useful for interactive presentations. They let you choose which slide to show next instead of moving through every slide in order.
How to Create a Link Between Slides in PowerPoint
PowerPoint lets you connect one slide to another with a link. You can add the link to text, a shape, or an object. This makes it easy to jump to a specific slide during a presentation.
Select the Text, Shape, or Object
Start by opening your PowerPoint presentation. Go to the slide where you want to add the link. Select the text, shape, or object that you want to use as the link. This item will act as the clickable area.
Open the Link Options
With the item selected, go to the Insert tab. Find the Link option and select it. A window will open with different link choices. This window lets you choose where the link should go.
Choose a Slide From This Presentation
In the link window, select Place in This Document. This option lets you link to another slide in the same PowerPoint file.
A list of your slides will appear. You can now pick the slide you want to use as the destination.
Select the Destination Slide
Look through the slide list and select the slide you want to open. PowerPoint will show the slide name and number. Check the preview to make sure you picked the right slide. This helps you avoid linking to the wrong part of your presentation.
Apply the Link
After selecting the destination slide, click OK. PowerPoint will add the link to your selected text, shape, or object. Start the slideshow and click the linked item to test it. It should take you directly to the selected slide.
How to Link a Shape or Button to Another Slide
Shapes and buttons can make slide navigation easier. You can link them to another slide in the same PowerPoint file. This works well for menus, agendas, quizzes, and interactive presentations.
Add a Shape or Button
Open the slide where you want the link. Go to the Insert tab and select Shapes. Pick a shape that fits your design. Click and drag on the slide to draw the shape. You can also use icons or other objects as clickable items.
Add Text to the Shape
Right-click the shape and select Edit Text. Type a short label that tells the viewer where the link leads. For example, you can use labels such as Next Slide, Home, Back, or Agenda. Keep the text short and easy to read.
Insert the Slide Link
Select the shape. Go to the Insert tab and choose Link. In the link window, select Place in This Document. You will see a list of slides in your presentation. Select the slide you want to open. Then click OK. Your shape now works as a link to that slide.
Test the Link
Start the slideshow and click the shape or button. PowerPoint should take you to the slide you selected. Test each link before you present. Check that every button opens the correct slide. This helps prevent navigation errors during the presentation.
How to Link Slides Using Action Buttons
Action buttons let you create clickable links between slides in PowerPoint. You can use them to build a simple menu, move to a specific slide, or add navigation controls to a presentation. The process only takes a few steps.
Insert an Action Button
Open your PowerPoint presentation and select the slide where you want to add the button.
- Go to the Insert tab.
- Select Shapes.
- Scroll to the Action Buttons section.
- Pick an action button shape.
- Click and drag on the slide to draw the button.
PowerPoint will open the Action Settings window after you place the button.
Choose the Hyperlink Action
The Action Settings window lets you decide what happens after someone clicks the button.
- Select the Mouse Click tab.
- Select Hyperlink to.
- Open the drop-down menu next to it.
- Choose Slide....
This option lets you connect the button to a specific slide in your presentation.
Select the Destination Slide
A new window will show the slides in your presentation.
- Select the slide you want to link to.
- Click OK.
- Click OK again in the Action Settings window.
The action button now links to the selected slide.
Test the Action Button
Test the button before you present your slides.
- Start the Slide Show.
- Go to the slide with the action button.
- Click the button.
- Check that PowerPoint takes you to the correct slide.
A quick test can help you catch the wrong slide or an incorrect link before your presentation begins.
How to Link an Image to Another Slide
An image can also work as a clickable link in PowerPoint. This is useful for menus, diagrams, photo-based navigation, and interactive presentations. The image takes the viewer to another slide after a click during the slideshow.
Select the Image
Start by adding an image to your slide. Click the image to select it. You should see a border around the image. Make sure you select the full image. This lets PowerPoint apply the link to the entire image.
Open the Link Settings
Right-click the selected image. Choose Link or Hyperlink from the menu. PowerPoint will open the link settings window. You can also use the keyboard shortcut Ctrl + K to open the link settings.
Select the Destination Slide
In the link settings window, select the option for a place in the presentation. You will see a list of slides in your presentation. Choose the slide you want the image to open. Click OK to save the link. Your image is now linked to that slide. During the slideshow, clicking the image will take you to the selected slide.
Test the Image Link
Start the PowerPoint slideshow. Move your pointer over the image and click it. PowerPoint should take you to the slide you selected. Test the link before presenting. This helps you catch a wrong slide link or a link that does not work.
How to Edit or Remove a Slide Link
Slide links may need changes as your presentation grows. You may want a link to open a different slide. You may also want to change or remove a link. PowerPoint lets you manage these links with a few simple steps.
Change the Destination Slide
A slide link can point to any slide in your presentation. You can change the destination if the content moves to another slide.
- Select the text, shape, or object with the link.
- Right-click the linked item.
- Select Link or Edit Link.
- Look for the option that lets you link to a place in the presentation.
- Select the new destination slide.
- Click OK to save the change.
The link now opens the new slide during the presentation.
Edit a Slide Link
You can also edit a slide link without creating a new one. This helps keep your presentation organized.
- Select the linked text or object.
- Right-click it.
- Select Edit Link.
- Choose the new slide or link target.
- Click OK.
Check the selected destination before saving the change. This helps prevent links from opening the wrong slide.
Remove a Slide Link
A link may no longer be needed. You can remove it without deleting the text or object.
- Select the linked text, shape, or object.
- Right-click it.
- Select Remove Link.
The object stays on the slide. Only the link is removed.
How to Test Links Between PowerPoint Slides
A link can look correct in the editing view and still need a quick test. Testing each link helps you catch wrong destinations and broken navigation.
Open Slide Show Mode
Start your presentation in Slide Show mode. This lets you use the links as your audience will.
- Open the Slide Show tab.
- Select From Beginning or From Current Slide.
- Click a linked item to test it.
Slide Show mode gives you a clear view of how the links work during a presentation.
Test Each Link
Go through the presentation and select each slide link. Check where each link takes you. Make sure every link opens the correct slide. Check buttons, text, shapes, images, and other linked objects. Pay close attention to links used for menus or navigation buttons. One wrong destination can disrupt the flow of the presentation.
Check the Navigation Flow
Test the full path through your slides. Start from the first navigation point and follow each link in order. Check that you can move from one section to another without getting stuck. Test any Back, Home, or Next buttons too. A final test gives you a chance to fix link errors before you present. It also helps make sure your slide navigation feels clear and easy to use.
Tips for Using Slide Links in PowerPoint
Slide links can make a PowerPoint presentation easier to use. They help you move between related slides with a click. A few simple habits can keep your links clear and easy to use.
Use Clear Navigation Buttons
Use simple buttons for actions such as Next, Back, Home, or Menu. Add short labels to each button. This helps your audience know where each button will take them.
Keep Link Placement Consistent
Place navigation buttons in the same spot on each slide. For example, keep the Home button in the lower-left corner. Keep the Back button in the lower-right corner. A fixed layout makes navigation easier.
Avoid Adding Too Many Links
Too many links can make a slide hard to use. Add links only to objects that serve a clear purpose. Keep the main content easy to read and follow.
Make Linked Objects Easy to Identify
Use buttons, shapes, icons, or short text for linked objects. Make them look different from regular text or images. This gives your audience a clear sign that the object can be clicked.
Test Links Before Presenting
Test every slide link before your presentation. Click each button and check the destination. Make sure the link opens the correct slide. This can help you catch errors before you start presenting.
Common Problems With PowerPoint Slide Links
Slide links are simple to create, but small errors can affect how they work. Checking the link settings and the linked objects can help fix many common issues.
The Link Opens the Wrong Slide
A link may point to a different slide than you intended. Open the link settings and check the selected slide. Pick the correct slide and test the link again.
The Link Does Not Work
A link may not work because the link was removed or changed. Select the linked object and open its link settings. Check that a slide is selected as the destination.
The Linked Object Is Hard to Click
Small buttons and text areas can be hard to click during a presentation. Make the linked object larger. Leave enough space around it so you can select it easily.
The Link Stops Working After Editing
Editing a slide can change or remove a linked object. This may affect its link. Test the links again after making major changes to your presentation. Recheck any buttons or objects that were moved, replaced, or copied.
Final Notes
Slide links can make PowerPoint presentations easier to move through. You can use them to connect menus, buttons, text, shapes, and images to specific slides. This gives you more control over how viewers move through your presentation.
Take a few minutes to test each link before you present. Check the destination of every button and linked object. Also test the full navigation path, including Home, Back, and Next buttons. This helps you catch link errors and keeps your presentation easy to use.
FAQs
1. Can I link one PowerPoint slide to another?
Yes. You can link text, shapes, buttons, images, and other objects to another slide in the same PowerPoint file.
2. How do I create a link between two slides in PowerPoint?
Select the text, shape, or object. Go to Insert > Link. Select Place in This Document. Pick the destination slide and click OK.
3. Can I link a shape or button to another slide?
Yes. Select the shape or button, open the Link option, choose Place in This Document, and select the slide you want to open.
4. Can I link an image to another PowerPoint slide?
Yes. Select the image and open the link settings. Choose the option for a place in the presentation, then select the destination slide.
5. How do I remove a link from a PowerPoint object?
Select the linked text, shape, or object. Right-click it and select Remove Link. The object will stay on the slide.
6. How can I test PowerPoint slide links?
Start the presentation in Slide Show mode. Click each linked item and check that it opens the correct slide.
7. Can I use slide links for a presentation menu?
Yes. You can create a menu slide with links to different sections. You can also add Home, Back, or Next buttons to help with navigation.
8. Why does my PowerPoint link open the wrong slide?
The link may point to the wrong destination. Open the link settings and check the selected slide. Pick the correct slide and test the link again.
9. Why is my PowerPoint slide link not working?
The link may have been removed or changed. Check the link settings for the selected object and make sure a destination slide is selected.
10. Should I test slide links before presenting?
Yes. Test every link before presenting. Check each destination and follow the full navigation path to catch errors.


You may also be interested in ...

How To Create An Eye-Catching Portfolio
If you’re looking to create an eye-catching portfolio, this post will come in handy. In this article, you can find the easies...
23 Jun, 2024

How To Easily Create An Infographic
Infographics are the perfect way to make a presentation that will impact an audience, but their design and composition might...
08 Jun, 2024

PowerPoint Template Tips & Tricks You Ne...
PowerPoint seems to be an unknown world for many people, especially those who have been assigned to create a presentation out...
08 Jun, 2024