How to Create a Route Map in PowerPoint
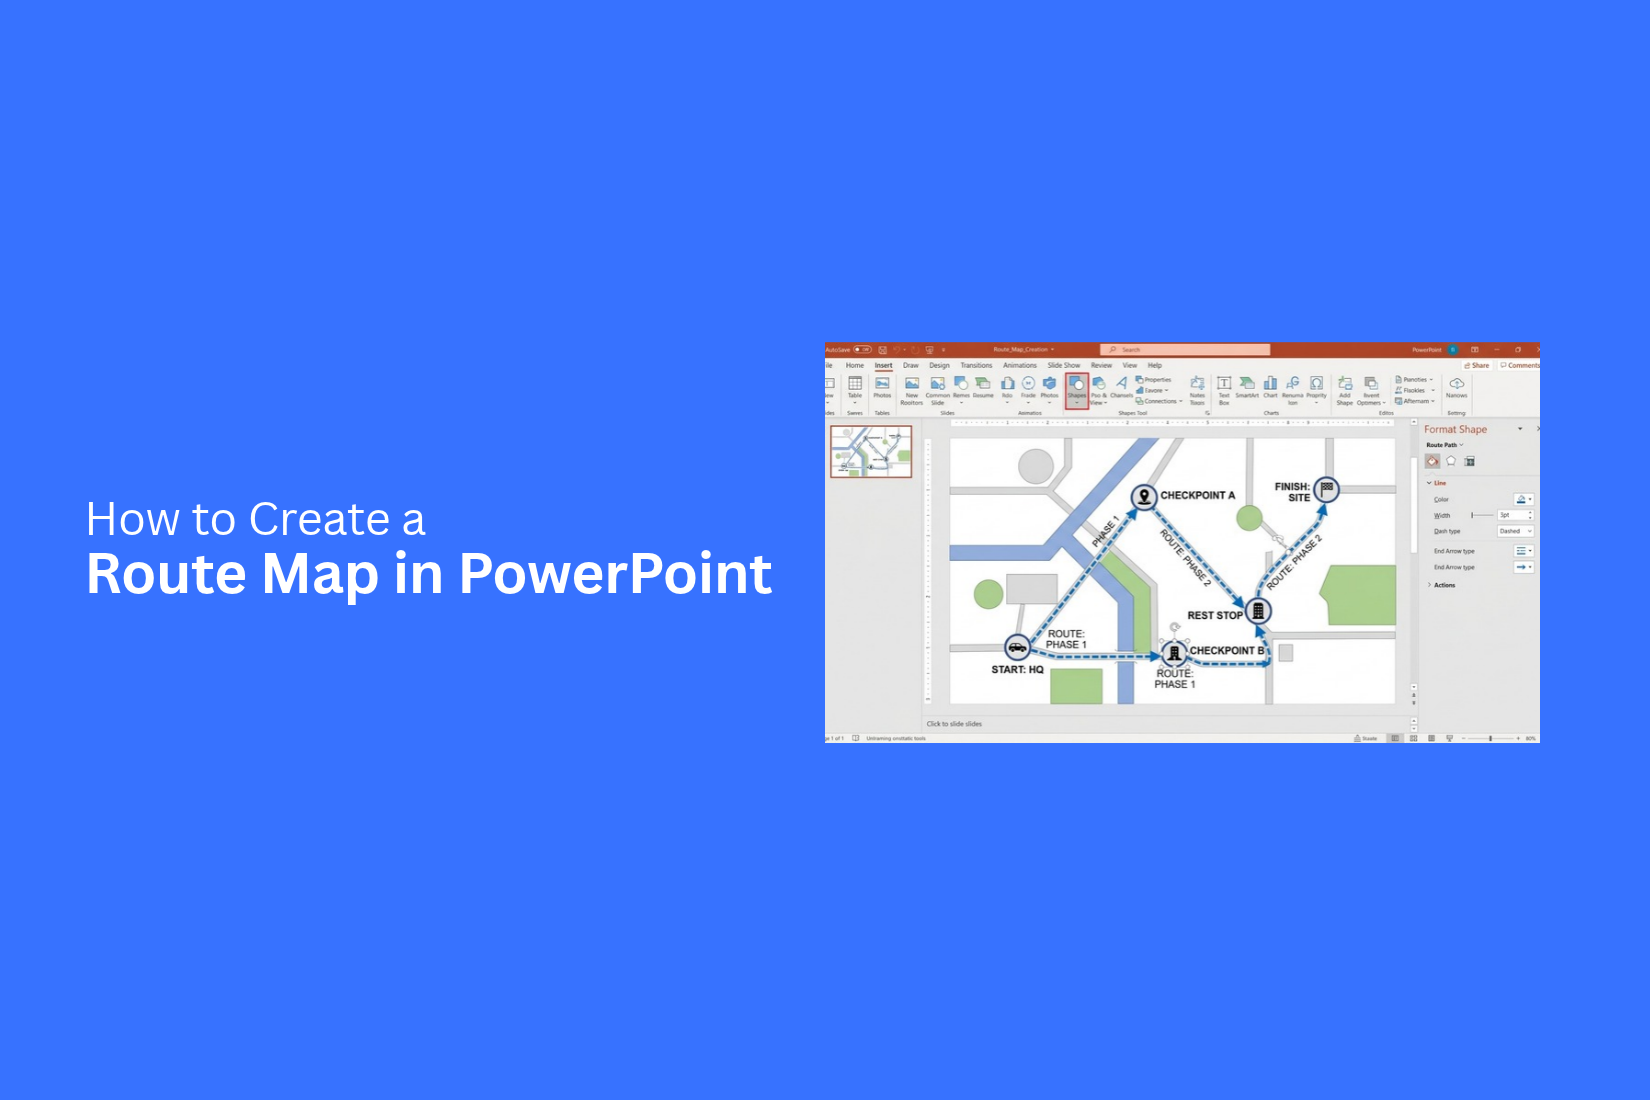
A route can be hard to explain on a PowerPoint slide using text alone. Your audience may need to see where a trip starts, where it ends, and which stops come along the way. A clear route map can make that information easier to follow.
A poorly arranged map can have the opposite effect. Too many locations, small labels, or extra map details can make the slide hard to read. The route may also lose focus.
PowerPoint gives you several ways to create a route map. You can add a map, draw route lines, mark locations, and customize the design. This guide shows how to create a clear route map in PowerPoint, add map images, use shapes, and animate the route.
What Is a Route Map in PowerPoint?
A route map in PowerPoint is a visual that shows a path from one place to another. It uses points, lines, and location markers to show the order of stops along a route. This makes the path easier to follow on a presentation slide.
What a Route Map Shows
A route map can show the starting point, stops, and final destination. Lines connect each point to show the direction of the route. Labels can also help viewers identify each location.
The map can be simple or detailed based on the message of the slide. A simple route with a few points is easy to read. More points can show a longer journey or a larger process.
Where Route Maps Are Used
Route maps can be used in many types of presentations. They can show travel plans, delivery routes, business locations, event routes, or steps that follow a set path.
They can also help explain movement from one location to another. A clear map gives the audience a quick view of the full route without relying on a long block of text.
How to Create a Route Map in PowerPoint
A route map can show how a trip, delivery, or journey moves from one place to another. PowerPoint gives you a simple space to build this type of visual. You can add a map, draw a route, mark key points, and add labels. Each part helps the viewer follow the path with ease.
Add a Map to Your Slide
Start with a blank PowerPoint slide. Add a map that shows the area you need for your route. Make sure the map has enough space for the route line and location labels.
Place the map in the main area of the slide. Leave some open space around the edges. This gives you room for other details later.
Insert a Route Line
Add a line to show the route between locations. Use a clear path that stands out from the map. The route should follow the direction of the journey. Keep the line simple. A clean path makes the route easier to follow.
Mark the Starting and Ending Points
Mark the point where the route begins. Then mark the final destination. Use clear shapes or markers for both points. You can use different markers to help the viewer tell them apart. The starting point and ending point should be easy to spot on the map.
Add Location Labels
Add labels for the key places along the route. These labels can show cities, stops, landmarks, or other locations that matter to the journey. Keep each label short. Place the text close to its location without covering the route or important map details.
Adjust the Route Path
Check the full route after adding all the elements. Adjust the line so it follows the intended path. Move markers and labels as needed. Make sure the route does not cross over important text. A clean layout helps the viewer follow the journey from start to finish.
How to Create a Route Map With PowerPoint Shapes
PowerPoint shapes can help you build a simple route map from scratch. You can use lines to show the path, curved lines for turns, and markers for key locations. This gives you control over the map layout and lets you match it to your presentation.
Draw the Route With Lines
Start by using lines to create the main path. Go to Insert > Shapes and pick the line shape. Click and drag across the slide to draw your route. Add more lines to create turns or separate sections. Keep the route clear and easy to follow. Use a thicker line so it stands out from other map elements.
Use Curved Lines for Routes
Some routes need smooth turns. PowerPoint has curved line shapes that work well for this.
Go to Insert > Shapes and select a curved line. Click along the path to create the route. Adjust the points until the curve matches your map. Curved lines work well for roads, travel paths, and other routes with several turns.
Add Location Markers
Location markers show key points along the route. You can use circles, pins, or other PowerPoint shapes for this.
Place each marker on the route. Add a short label beside it to show the location name. Keep the labels short so the map stays easy to read.
Group the Map Elements
Once the route is ready, group the lines, markers, and labels. Select the elements you want to group, then go to Shape Format > Group > Group.
Grouping keeps the map elements together. You can move or resize the full route map without moving each part separately.
How to Add a Map Image to PowerPoint
A map image gives your route a clear base. You can place it on a PowerPoint slide and draw your route over it. This works well for travel plans, delivery routes, event locations, and other route-based slides.
Find the Map You Need
Start with a map that shows the area you need. Make sure the streets, cities, or landmarks are easy to see. A simple map works best for a route slide.
Save the map image to your computer. Use a clear image so the details stay readable on the slide.
Add the Map Image to Your Slide
Open your PowerPoint presentation and go to the slide where you want the map.
Select Insert > Pictures. Choose the map image from your computer. PowerPoint will place the image on the slide.
Resize the image from a corner. Keep the map large enough for the route and location names to remain clear.
Draw the Route Over the Map
Place a line over the map to show the route. Go to Insert > Shapes and select a line or freeform shape.
Start at the first location and follow the roads or path on the map. Add bends to match the route.
Change the line color and width so it stands out from the map. You can also add an arrow to show the direction of travel.
Crop and Position the Map
The full map may include areas that you do not need. Select the map and choose Picture Format > Crop. Remove extra areas around the route. Keep the main locations visible. Move the map to the center of the slide. Leave enough space for a title or other route details. A clean layout makes the route easier to follow.
How to Customize a Route Map in PowerPoint
A route map looks better when its design matches the rest of your presentation. PowerPoint gives you several ways to adjust the route, markers, icons, and labels. Small design changes can also make the route easier to follow.
Change the Route Line Color
The route line should stand out from the map. Select the route line and open the Shape Format tab. Choose Shape Outline and pick a color that fits your slide. Use a color that is easy to see against the map. A strong color can help the route stay clear without covering other map details.
Adjust Line Width and Style
Line width affects how clear the route looks. Select the route line and open Shape Format > Shape Outline > Weight. Pick a line width that fits the map size. You can also change the line style. Solid lines work well for simple routes. Dashed or dotted lines can show a different type of path.
Customize Location Markers
Location markers show key points along the route. Select a marker to change its size, shape, or color. Keep markers large enough to see on the slide. Use the same marker style across the map. This gives each location a consistent look.
Add Icons and Labels
Icons can help explain what each location represents. Add icons for places such as offices, stores, airports, or meeting points. Labels give each marker a clear name. Keep the text short and place it close to the related marker. Use the same font style and size for each label. This keeps the map easy to read.
How to Animate a Route Map in PowerPoint
A route map can show more than a fixed path. Animation can show how the route moves from one location to the next. This can make the map easier to follow during a presentation.
Add a Motion Path
Start by selecting the object that will show the route. Add a motion path to it. Draw the path along the route on your map.
Keep the path aligned with the route line. Check the starting and ending points. Make sure the path follows the locations in the right order.
Animate the Route
Set the animation to follow the route. The route should move from the first location toward the final location.
Preview the animation after adding it. Check that the movement follows the map. Make changes to the path if the movement does not match the route.
Adjust Animation Timing
Set the timing for the route animation. A short route may need less time. A longer route may need more time. Use a speed that lets viewers follow the route. Preview the slide after changing the timing. Make sure the route does not move too quickly or too slowly.
Common Route Map Mistakes to Avoid
A route map should be easy to read. A few simple choices can make the map much clearer.
Adding Too Many Locations Too many locations can make the route hard to follow. Show only the locations that matter to the story.
Remove locations that do not add useful information. This gives the main route more space on the slide.
Making Labels Too Small
Small labels can be hard to read during a presentation. Use text that is large enough for viewers to see from a distance. Keep labels close to their locations. Make sure each label is easy to connect with the right place on the map.
Using a Hard-to-Follow Route
A route should have a clear path from one location to the next. Avoid paths that cross too many times or make the direction unclear. mCheck the route from start to finish. The order should be easy to understand at a glance.
Adding Too Many Map Details
Extra map details can take attention away from the route. Keep only the details that help viewers understand the path. Remove items that do not support the main message. Give the route and key locations enough space to stand out.
Tips for Creating a Clear Route Map
A route map should help your audience follow the path with little effort. Keep the design simple. Show only the details that support your main point. Use clear labels and enough space between each stop.
Keep the Route Easy to Follow
Start with a clear path from the first stop to the last. Keep the route line easy to see. Place stops in a logical order. Avoid crossing route lines when possible. Use short labels for each location. Make sure the text is large enough to read from a distance. A clean layout helps your audience follow the route as you speak.
Highlight Important Stops
Not every stop needs the same level of focus. Give more attention to the locations that matter most to your message. You can use a larger icon, a different shape, or a short label. Keep the main stops easy to spot. Do not add too many highlighted points. Too many can make the map harder to read.
Use Consistent Colors and Icons
Use the same color for similar types of stops. Keep route lines, location markers, and labels easy to tell apart. Use one icon style across the map. For example, use the same marker shape for each location. This creates a clear visual pattern. It also helps the audience understand the map without extra explanation.
Match the Map to Your Presentation
Your route map should fit the rest of your PowerPoint deck. Use the same fonts, colors, and general design style. Keep the map size suitable for the slide. Leave enough space around it. Make sure the route does not cover other slide content. A map should support your message, not take over the slide.
Where to Use Route Maps in PowerPoint
Route maps work well for slides that show movement from one place to another. They can help explain travel plans, delivery paths, sales visits, project stages, or location-based activities. You can use a route map to show a planned trip from one location to another. It can also show several stops in a set order.
For business presentations, route maps can show sales territories, service areas, or delivery routes. For project presentations, they can show progress across different locations or stages. Choose a route map when location and movement are part of the story. Keep the map focused on the information your audience needs to understand the slide.
Final Notes
A route map can make location-based information easier to understand in PowerPoint. It shows the starting point, key stops, and final destination in one visual.
PowerPoint gives you several ways to build a route map. You can use a map image as a base or create the map with shapes. Lines can show the route, while markers and labels can identify each location. You can also add icons and animations to make the route easier to follow during a presentation.
Keep the map simple and focused. Too many locations, small labels, and extra map details can make the slide harder to read. Use clear route lines, consistent markers, short labels, and enough space between key points.
Route maps work well for travel plans, delivery routes, business locations, sales visits, event routes, and project stages. Pick the locations that support your main message. A clear route helps your audience understand the path without relying on a large amount of text.
FAQs
How do I create a route map in PowerPoint?
Add a map to your slide, then use lines or freeform shapes to draw the route. Add markers for key locations and short labels for each stop.
Can I create a route map without a map image?
Yes. You can build a simple route map with PowerPoint shapes. Use lines for the path, shapes for location markers, and text boxes for labels.
How do I add a route line to a map in PowerPoint?
Go to Insert > Shapes and choose a line or freeform shape. Draw the line from the starting point to the final destination. Add bends to match the route.
Can I animate a route map in PowerPoint?
Yes. You can add a motion path and draw it along the route. Adjust the timing so viewers can follow the movement from the first location to the last.
How do I make a route map easier to read?
Use a clear route line, short labels, visible markers, and enough space between locations. Remove map details that do not support the main message.
What can I use route maps for in PowerPoint?
Route maps can show travel plans, delivery routes, sales visits, business locations, event routes, service areas, and project stages.
How do I add location markers to a PowerPoint route map?
Use circles, pins, or other PowerPoint shapes as markers. Place each marker on the route and add a short label beside it.
How can I customize a route map in PowerPoint?
You can change the route line color, width, and style. You can also resize markers, add icons, and adjust labels to match your presentation design.



You may also be interested in ...

How To Create An Eye-Catching Portfolio
If you’re looking to create an eye-catching portfolio, this post will come in handy. In this article, you can find the easies...
23 Jun, 2024

How To Easily Create An Infographic
Infographics are the perfect way to make a presentation that will impact an audience, but their design and composition might...
08 Jun, 2024

PowerPoint Template Tips & Tricks You Ne...
PowerPoint seems to be an unknown world for many people, especially those who have been assigned to create a presentation out...
08 Jun, 2024