How to Add and Edit Audio in Canva
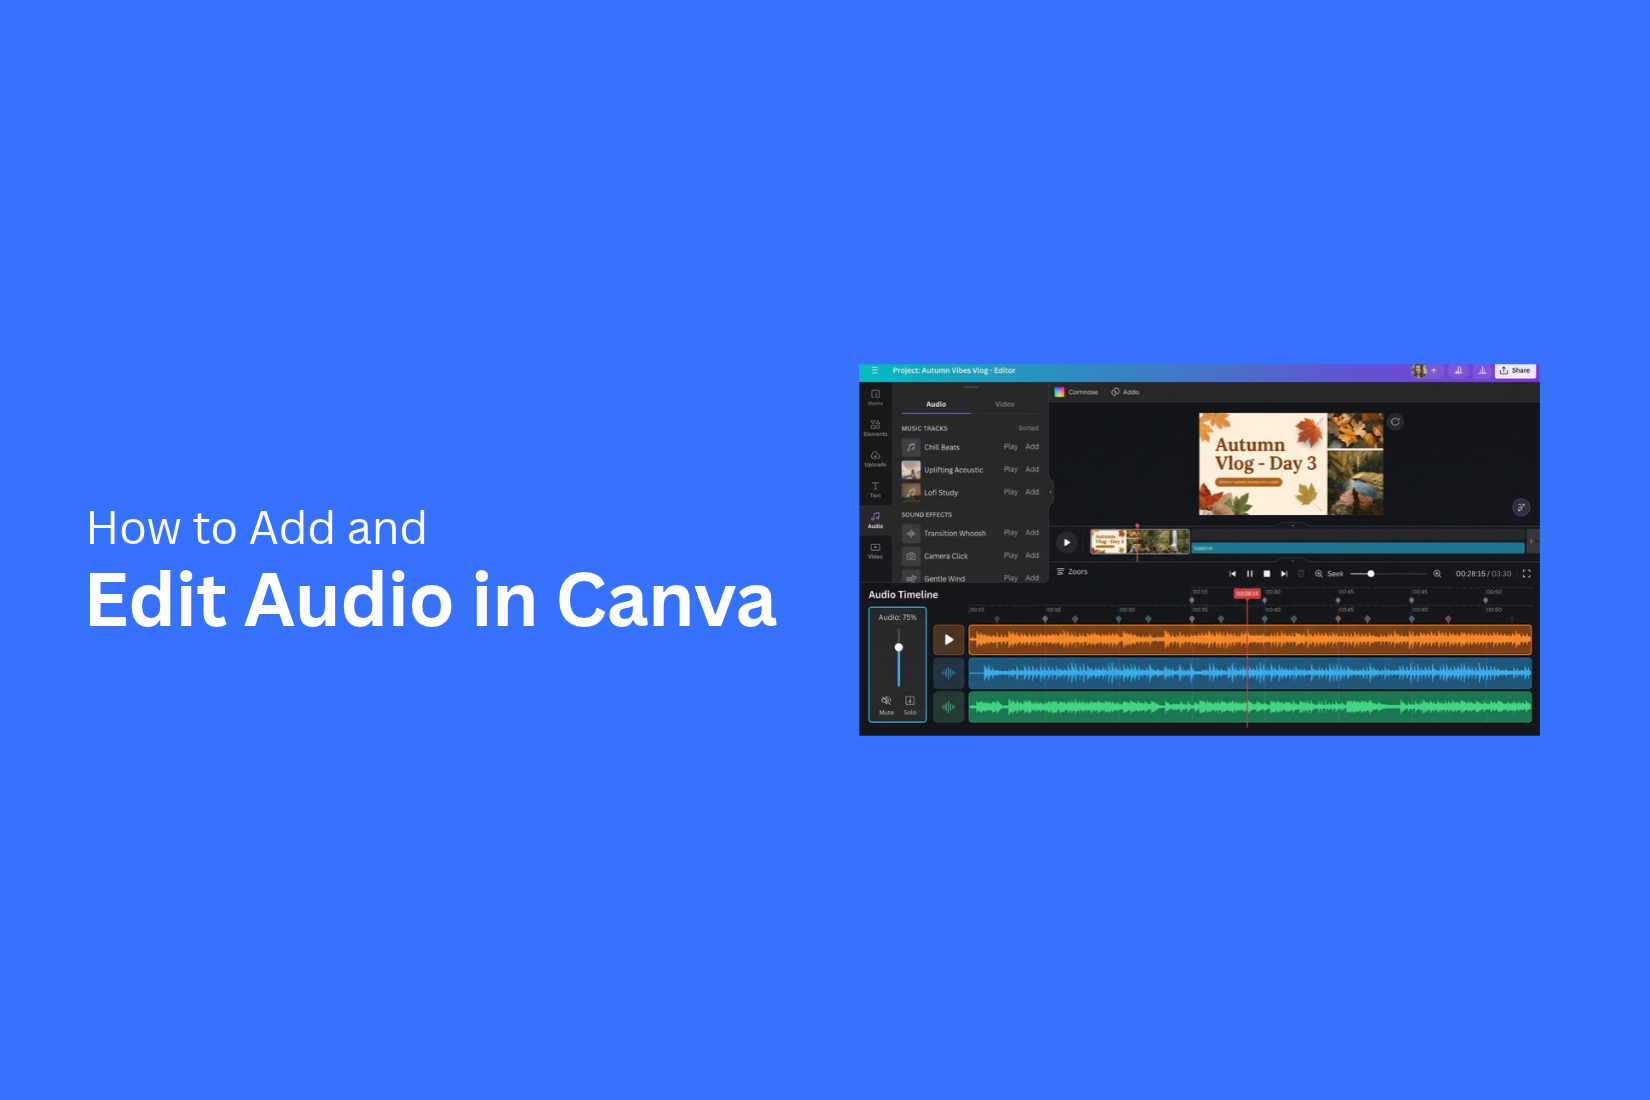
Adding audio to a Canva design can make a video or presentation more engaging. Yet, finding the right audio tools and placing a track in the right spot may not feel clear at first. Editing the track can also take extra steps.
A poorly timed track can distract from the main content. Audio that is too loud can also make the design harder to enjoy. Small timing or volume issues can change how the final project feels.
This guide shows you how to add and edit audio in Canva. You’ll learn how to upload audio, use Canva’s library, trim tracks, adjust volume, add effects, manage multiple tracks, and remove or replace audio.
How to Add Audio in Canva
Audio can make a Canva project more engaging. Canva lets you add your own audio file or pick audio from its library. You can also add audio to a Canva video and adjust it to fit your project.
Upload Your Own Audio File
You can upload an audio file from your computer and use it in your Canva design. This works well for voice recordings, music, or other audio you already have. Open your Canva project and go to the Uploads section. Select your audio file from your device. Once the upload is complete, select the file to add it to your project. You can then place the audio in your design and adjust it based on your project needs.
Add Audio From Canva’s Library
Canva also has an audio library that you can use in your project. This gives you audio options without needing to upload your own file. Open your Canva project and find the Audio section. Browse the available tracks and select one that fits your project. Click the track to add it to your design. The audio will appear in your project. You can then adjust it to match the rest of your content.
Add Audio to a Canva Video
Audio can also be added to a Canva video. It can play along with your video clips and help create a better viewing experience. Start by opening your video project in Canva. Add your video clips to the timeline. Next, add an audio file from your uploads or choose a track from Canva’s library. Place the audio on the timeline below your video. You can adjust its position so it starts at the right point. You can also edit the audio length to match your video.
How to Edit Audio in Canva
Canva lets you make quick changes to an audio track after adding it to your design. You can trim parts, change the volume, move the track, or remove parts you do not need. These tools help you match the audio with your design.
Trim an Audio Track
You can trim an audio track to keep only the part you need. Select the audio track in your design. Then adjust the start or end of the track on the timeline. This helps remove extra sound from the beginning or end. It also lets you keep the audio at the right length for your design.
Adjust Audio Volume
Audio that is too loud can distract from your content. Audio that is too quiet may be hard to hear. Canva lets you adjust the volume of your audio track. Select the audio track and open the volume control. Move the volume level up or down until it sounds right for your design.
Move Audio to the Right Position
The audio track should match the timing of your content. You can move the track along the timeline to place it at the right point. Select the audio track and drag it to a new position. This lets you start the audio at the part of the design where you need it.
Split or Delete Audio
You can split an audio track to remove a section or use different parts of the track. Select the audio track and place the split at the point you need. You can also delete an audio track from your design. Select the track and remove it from the timeline. This is useful for audio you no longer need.
How to Add Multiple Audio Tracks in Canva
Canva lets you work with more than one audio track in the same project. This can help you use different audio clips for different parts of your presentation or video. Each track can have its own place in the timeline.
Add More Than One Audio Track
Start by adding your first audio track to the project. Then add another audio clip for the next part of your content. You can repeat this step to add more tracks. Each audio track appears in the timeline. This makes it easier to see how the tracks are placed in your project. You can use different clips for different sections of your content.
Adjust the Timing of Each Track
The timing of each audio track helps control when the audio starts and ends. Move a track along the timeline to place it at the right point in your project. You can also adjust the length of each track to match the part of your content where it should play. Check the timeline after each change. This helps keep the audio in the right place as you edit your project.
How to Add Audio Effects in Canva
Audio effects can help your track start, end, and play at the right points in your Canva design. Canva gives you simple controls for making these changes.
Add a Fade-In Effect
A fade-in makes the audio start softly. The sound begins at a low level and gets louder as the track starts. Select the audio track in your Canva project. Open the audio editing controls and find the fade option. Set the fade-in time to control how quickly the sound reaches its normal level. A short fade works well for quick clips. A longer fade creates a softer start.
Add a Fade-Out Effect
A fade-out makes the audio end smoothly. The sound slowly becomes quieter instead of stopping at once.
Select your audio track and open the audio controls. Find the fade option and adjust the fade-out time. A short fade can work well for short clips. A longer fade gives the ending more space. This is useful for background music and presentation audio. It helps the track end without a sudden stop.
Adjust Audio Timing
Audio timing controls where the sound starts and ends in your design. This helps you match the audio with your slides, videos, or other elements.
Select the audio track and adjust its position on the timeline. Move the track to the point where you want the sound to begin. Trim the track to remove parts you do not need. Play the design to check the timing. Make small changes until the audio matches the rest of your content.
How to Remove Audio From Canva
Audio can change the feel of a Canva design. You may add a track during editing and later decide it does not fit. Canva lets you remove the track or replace it with a different one. Both options take only a few steps.
Remove an Audio Track
Open your Canva project and find the audio track in the timeline. Select the track you want to remove. Press the Delete key on your keyboard. You can also use the trash icon in the editor.
The audio track will disappear from the timeline. Your other design elements will stay in place. Check the timeline after removing the track. This helps you make sure the correct audio track is gone.
Replace Audio With a New Track
A new audio track can give your design a different mood. Start by selecting the audio track in the timeline. Delete the current track.
Next, add a new audio track to your design. Place it on the timeline. Adjust its length to match your video or presentation. Play the design from the start. Check the audio level and timing. Make small edits until the new track fits the rest of your content.
Tips for Using Audio in Canva
Audio can add more life to a Canva design. It can also affect how the whole project feels. A few simple checks can help keep the audio clear and well placed.
Choose Audio That Fits Your Design
Pick audio that matches the purpose of your design. A calm track can work well for a simple presentation. A lively track may suit a more active project. The audio should support the content rather than distract from it. Pay attention to the mood of the track. The right audio can help your design feel more complete and easier to follow.
Keep Audio Volume Balanced
Audio that is too loud can distract from your content. Audio that is too quiet may be hard to hear. Play your design and check the volume. Keep the sound at a level that feels comfortable. Your text, voice, or other key content should still be easy to follow.
Check Audio Timing Before Exporting
Audio timing can affect the final result. Play the full design from start to finish before exporting it. Check where the audio starts and ends. Make sure it matches the parts of your design where you want it to play. A quick review can help you catch timing issues before you save the final file.
Final Notes
Adding and editing audio in Canva can make your video or presentation more engaging. You can upload your own audio or choose a track from Canva’s library. You can also trim tracks, adjust volume, change timing, add fade effects, and manage multiple tracks.
Take a moment to review the full design before exporting it. Check the audio level and timing from start to finish. Remove any track that does not fit your content. Replace it with a better option when needed. A few small audio edits can help your final Canva project feel more balanced and easier to follow.
FAQs
Can I add my own audio to Canva?
Yes. You can upload an audio file from your computer through the Uploads section. You can then add the file to your Canva project.
Can I use audio from Canva’s library?
Yes. Canva has an audio library with tracks you can add to your project. Open the Audio section and select a track that fits your content.
Can I trim audio in Canva?
Yes. Select the audio track and adjust its start or end on the timeline. This lets you keep only the part you need.
Can I change the volume of an audio track in Canva?
Yes. Select the audio track and open the volume control. Move the volume level up or down until it fits your design.
Can I add multiple audio tracks in Canva?
Yes. You can add more than one audio track to the same project. Each track can have its own position and length on the timeline.
Can I add fade-in and fade-out effects to audio in Canva?
Yes. Canva lets you adjust fade-in and fade-out settings for an audio track. These effects can help the audio start or end more smoothly.
How do I remove audio from a Canva project?
Select the audio track in the timeline and press the Delete key. You can also use the trash icon in the editor.
Can I replace an audio track in Canva?
Yes. Delete the current track and add a new audio file or library track. You can then adjust its length, volume, and position.
How do I make sure my audio timing is correct?
Play the full design from start to finish. Check where the audio starts and ends. Adjust the track on the timeline until it matches your content.


You may also be interested in ...

How To Create An Eye-Catching Portfolio
If you’re looking to create an eye-catching portfolio, this post will come in handy. In this article, you can find the easies...
23 Jun, 2024

How To Easily Create An Infographic
Infographics are the perfect way to make a presentation that will impact an audience, but their design and composition might...
08 Jun, 2024

PowerPoint Template Tips & Tricks You Ne...
PowerPoint seems to be an unknown world for many people, especially those who have been assigned to create a presentation out...
08 Jun, 2024