How to Edit and Customize Points in PowerPoint
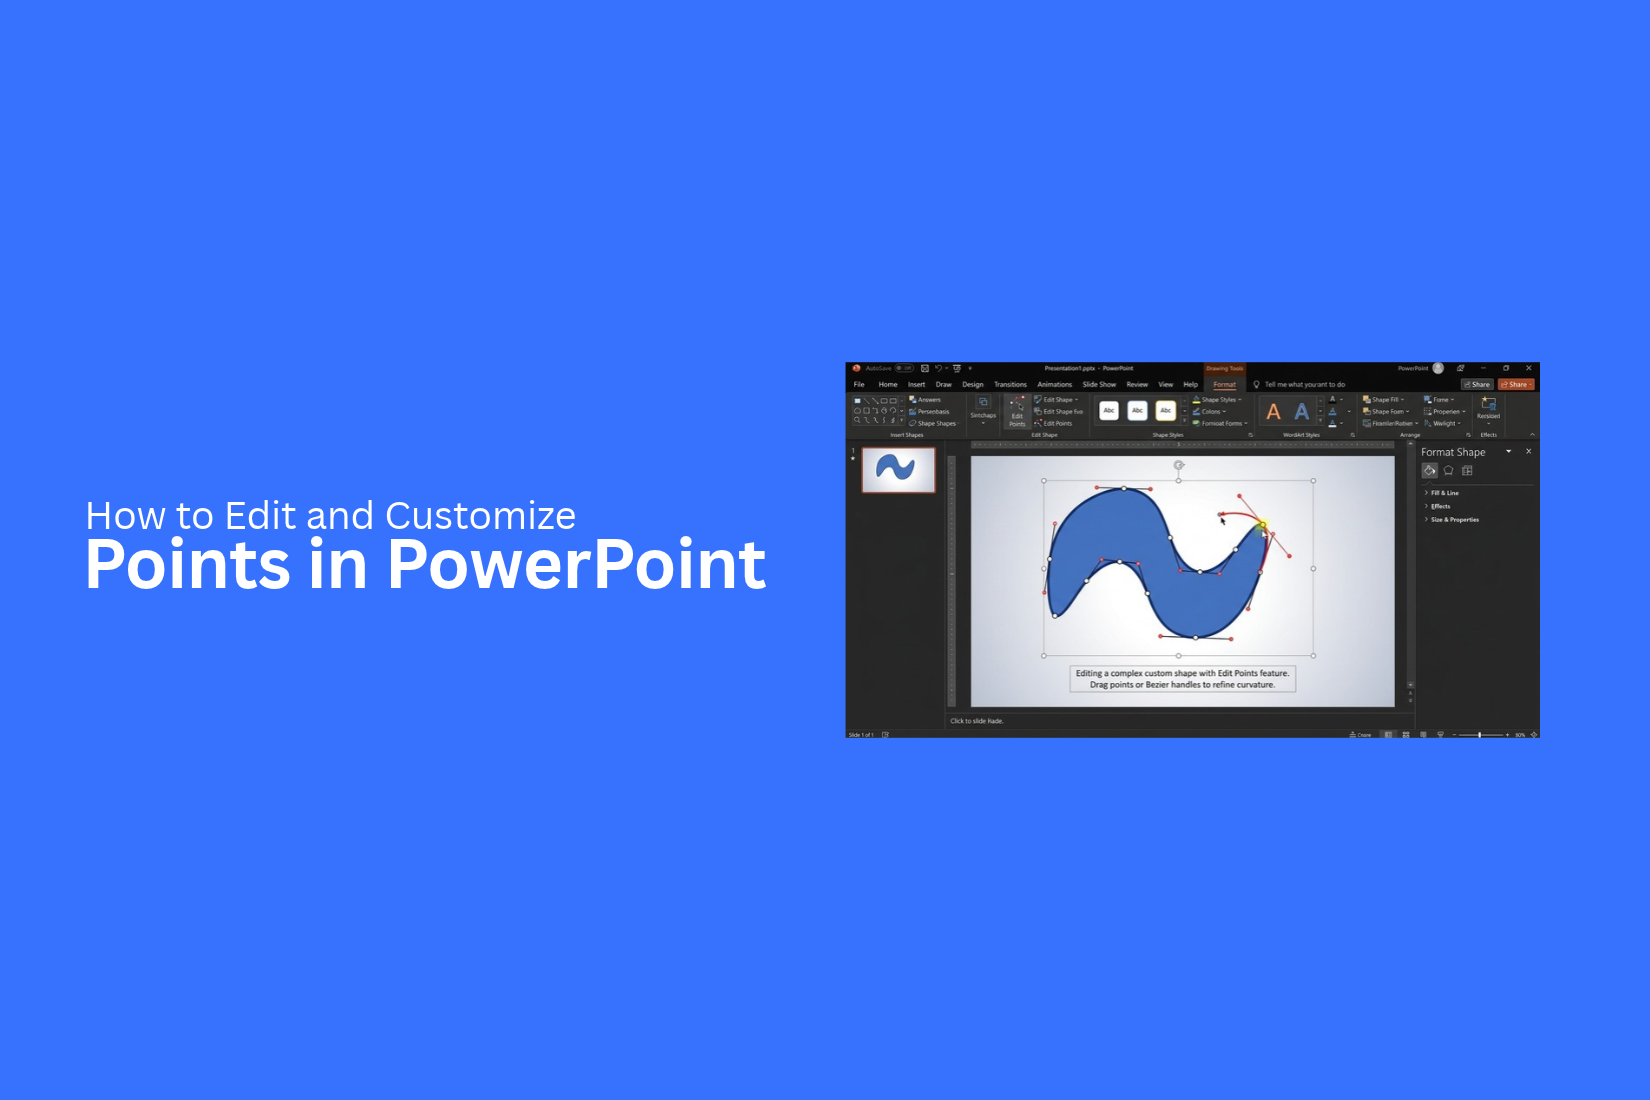
Editing shapes in PowerPoint can be hard when the default design does not match your needs. You may want to change a shape's outline, adjust its curves, or create a custom design. However, basic shape tools may not give you enough control over every part of a shape.
Small changes can make a big difference in how your slides look. Poorly shaped curves or uneven angles can affect the overall design. This can make your presentation look less polished.
PowerPoint's Edit Points tool gives you more control over shape designs. In this article, you will learn how to edit points, add or remove them, adjust handles, create a custom heart shape, and build a 3D polyhedron. You will also learn useful tips and common mistakes to avoid.
What Are Edit Points in PowerPoint?
Edit Points in PowerPoint let you change the shape of an object by moving its points. These points control the curves, corners, and edges of a shape. You can use them to adjust a shape to fit your slide design.
For example, you can change a straight edge into a curve or adjust the outline of a freeform shape. You can also move individual points to change the shape's size and form without drawing a new object.
This feature is useful for customizing arrows, diagrams, callouts, and other shapes. It gives you more control over the look of each object. You can use Edit Points to create custom shapes that match your presentation needs.
How to Edit Points in PowerPoint
PowerPoint lets you change the shape of an object by editing its points. You can move points, add new ones, or remove extra points. This gives you more control over the shape's outline. Follow these steps to edit points in PowerPoint.
Select a Shape
Start by opening your PowerPoint presentation. Select a shape on the slide that you want to edit. You can use a freeform shape or a shape that supports point editing. Make sure the shape is selected before moving to the next step.
Open the Edit Points Tool
Right-click the selected shape. Choose Edit Points from the menu. Small black squares will appear along the shape's outline. These squares mark the points that control the shape. You can use them to change its form.
Move Existing Points
Click a point to select it. Drag it to a new spot to change the shape's outline. Move one point at a time to control the result. For example, you can move a point outward to create a wider corner. You can also move it inward to make a curve or edge tighter.
Add or Remove Points
Extra points can help you create a more detailed shape. To add a point, right-click the shape's outline near the area you want to change. Choose Add Point from the menu. A new point will appear on the outline.
To remove a point, right-click the point you want to delete. Choose Delete Point from the menu. The outline will adjust to connect the remaining points. Remove only the points you do not need. Too many points can make the shape harder to edit.
Adjust Point Handles
Some points have handles that control the curve of the outline. These handles appear as small lines with control points at their ends. Drag a handle to change the direction or length of a curve. A longer handle creates a wider curve, while a shorter handle creates a tighter curve. You can also change a point's type from the right-click menu. Options such as Smooth Point, Straight Point, and Corner Point help you control how the outline meets at each point. Use these settings to create the shape you need.
How to Create a Custom Heart Shape in PowerPoint Using Edit Points
PowerPoint lets you change a shape to match your design. You can use the Edit Points tool to adjust its outline and create a custom heart shape. Start by adding a heart from the Shapes menu. Select the heart, then open the Shape Format tab. Click Edit Shape and choose Edit Points.
Small black points will appear around the heart's outline. Drag these points to change the shape. You can make the top curves wider or adjust the bottom tip. For more control, add new points or remove ones you do not need. You can also adjust the handles around each point to make the curves smoother. Once the heart looks right, click outside the shape to finish editing. Change its fill color, outline, or size to match your slide design.
How to Create a 3D Polyhedron in PowerPoint Using Edit Points
PowerPoint lets you change the shape of an object by editing its points. You can use this feature to create custom shapes, including a 3D polyhedron. A polyhedron is a solid shape with flat faces, straight edges, and corners.
Follow these steps to create one:
- Insert a shape: Open PowerPoint and go to the Insert tab. Select Shapes and choose a shape that you can edit.
- Convert the shape to a freeform: Right-click the shape and check for the Edit Points option. If it is not available, draw a freeform shape from the Shapes menu.
- Edit the points: Right-click the shape and select Edit Points. Drag the points to change the outline. Add or remove points to control the shape's corners and edges.
- Create the polyhedron faces: Use separate freeform shapes to draw the front, side, and top faces. Adjust their points to form a connected solid shape.
- Apply colors: Select each face and open the Shape Fill menu. Use different shades of the same color to make each face look like it sits at a different angle.
- Remove unwanted outlines: Open Shape Outline and choose a suitable option. Use clear edges to define the shape.
- Group the faces: Select all the faces, right-click, and choose Group. This keeps the parts together and makes the polyhedron easier to move or resize.
Your 3D polyhedron is now ready to use in a presentation. You can edit its points again to change its shape or adjust the faces to create a different look.
How to Customize Shapes Using Edit Points
PowerPoint lets you change the outline of a shape by editing its points. You can move these points to change the shape's form. You can also adjust curves and create new angles. This gives you more control over the look of your slides.
Change the Shape's Outline
You can change a shape's outline by moving its edit points. This helps you adjust its size and form without drawing a new shape.
- Select the shape you want to edit.
- Go to the Shape Format tab.
- Click Edit Shape, then select Edit Points.
- Click and drag a black edit point to change the outline.
- Move other points as needed to get the shape you want.
- Click outside the shape to finish editing.
You can move points inward or outward to change the shape's form. This works well for adjusting arrows, polygons, and other shapes in a presentation.
Create Curves and Angles
Edit Points also lets you adjust curves and angles. You can use these controls to create smooth lines or sharp corners.
- Select a shape and open Edit Points.
- Right-click an edit point to view the available options.
- Select Smooth Point to create a curved edge.
- Select Straight Point to create sharp corners.
- Select Corner Point to adjust a point with separate directions.
- Drag the point or its handles to adjust the curve or angle.
These options help you control how each part of the shape looks. You can use them to adjust curved arrows, create uneven edges, or change a basic shape into a custom design.
Make Custom Shapes for Presentations
Custom shapes can help you match your slides to your content. You can adjust a basic shape to create a unique visual without starting from scratch. Start with a shape that is close to the form you need. Open Edit Points and move the points to change its outline. Add curves or sharp corners to match your design.
For example, you can change a rectangle into a tag shape. You can also adjust a triangle to create a directional pointer. A freeform shape can work well for a diagram or a section divider. Keep the shape simple and easy to read. Use a consistent fill color and outline style across your slides. This helps your custom shapes fit the rest of the presentation.
Tips for Editing Points in PowerPoint
Small changes can make points in PowerPoint easier to read and understand. Use these tips to keep your slides clear and neat.
Keep Points Short and Clear
Use short phrases to share your main ideas. Avoid adding too much text to one point. A few clear words can help your audience follow your message.
Use Consistent Formatting
Keep the font, size, color, and spacing the same across your list. This gives your slide a clean look. Use bold text to highlight key words or phrases.
Choose the Right Bullet Style
Pick a bullet style that fits your slide design. Round bullets work well for general lists. Squares or other symbols can help separate points in a more formal layout. Keep the style consistent across related slides.
Adjust Indentation and Spacing
Use indentation to show the link between main points and subpoints. Add enough space between lines to make each point easy to read. Avoid large gaps that break the flow of the list.
Use Color With Care
Use colors that stand out against the slide background. A different color can draw attention to a key point. Keep most text in one color so the list stays easy to scan.
Check Alignment and Readability
Make sure all points line up properly. Check the slide in Slide Show mode to see how it looks on screen. Fix any text that feels too small, crowded, or hard to read.
Common Mistakes to Avoid When Editing Points
Editing points in PowerPoint gives you more control over shapes and lines. A few small errors can affect the final design. Keep these common mistakes in mind as you edit your slides.
• Moving the wrong point: Select the correct point before dragging it. Moving the wrong point can change the shape in ways you did not plan.
• Adding too many points: Extra points can make a shape harder to edit. Use only the points you need to create the desired shape.
• Creating uneven curves: Moving points without checking the curve can make edges look rough. Adjust the points and handles to create smooth lines.
• Changing the shape too much: Large changes can distort the original shape. Make small adjustments and check the result after each change.
• Ignoring alignment: Poorly aligned points can make shapes look uneven. Check the edges and curves to keep the design consistent.
• Forgetting to review the slide: An edited shape may look fine up close but appear uneven on the full slide. Review the entire slide before using the final design.
Final Notes
PowerPoint's Edit Points tool gives you more control over the shape of objects on your slides. You can move points, adjust curves, add or remove points, and create custom designs. These tools can help you build shapes that fit your presentation.
Start with a basic shape and make small changes. Keep your curves smooth and your edges neat. Avoid adding too many points, as this can make editing harder. Review each shape on the full slide to check its appearance.
With a little practice, you can use Edit Points to create custom shapes, heart designs, and 3D polyhedrons. These simple changes can help your slides look clean and well-organized.
Frequently Asked Questions
1. What is the Edit Points tool in PowerPoint?
The Edit Points tool lets you change the outline of a shape. You can move points, adjust curves, and change corners to create a custom design.
2. How do I open Edit Points in PowerPoint?
Select a shape, right-click it, and choose Edit Points. You can also select the shape, open the Shape Format tab, click Edit Shape, and choose Edit Points.
3. Can I add or remove points in PowerPoint?
Yes. Right-click the shape's outline and select Add Point to add a new point. To remove a point, right-click it and select Delete Point.
4. How do I make a smooth curve with Edit Points?
Select the shape and open Edit Points. Right-click a point and choose Smooth Point. You can also drag the handles to adjust the curve's direction and width.
5. Can I edit points on every PowerPoint shape?
No. Some shapes may not support point editing. If the Edit Points option is not available, draw a freeform shape from the Insert > Shapes menu and edit its points.
6. How can I create a custom heart shape in PowerPoint?
Insert a heart shape and open Edit Points. Move the points to change the top curves and bottom tip. Adjust the handles to refine the curves, then change the fill color and outline to match your slide design.
7. How do I create a 3D polyhedron in PowerPoint?
Draw separate freeform shapes for the front, top, and side faces. Edit their points to connect the faces and form a solid shape. Apply different shades to each face, then group the shapes to keep them together.
8. How can I avoid mistakes while editing points?
Make small changes and check the shape after each adjustment. Avoid adding extra points that you do not need. Review curves, corners, and alignment before using the shape in your presentation.




You may also be interested in ...

How To Create An Eye-Catching Portfolio
If you’re looking to create an eye-catching portfolio, this post will come in handy. In this article, you can find the easies...
23 Jun, 2024

How To Easily Create An Infographic
Infographics are the perfect way to make a presentation that will impact an audience, but their design and composition might...
08 Jun, 2024

PowerPoint Template Tips & Tricks You Ne...
PowerPoint seems to be an unknown world for many people, especially those who have been assigned to create a presentation out...
08 Jun, 2024